
Did I mention I have (really) narrow feet? Trotters are one of the few brands that come in narrow options, and when I found this glorious golden pair at a local thrift shop a few years ago–in narrow, no less!–I jumped on them. They were a bit short, but that didn’t stop me from wearing the crap out of them–leather stretches, right??
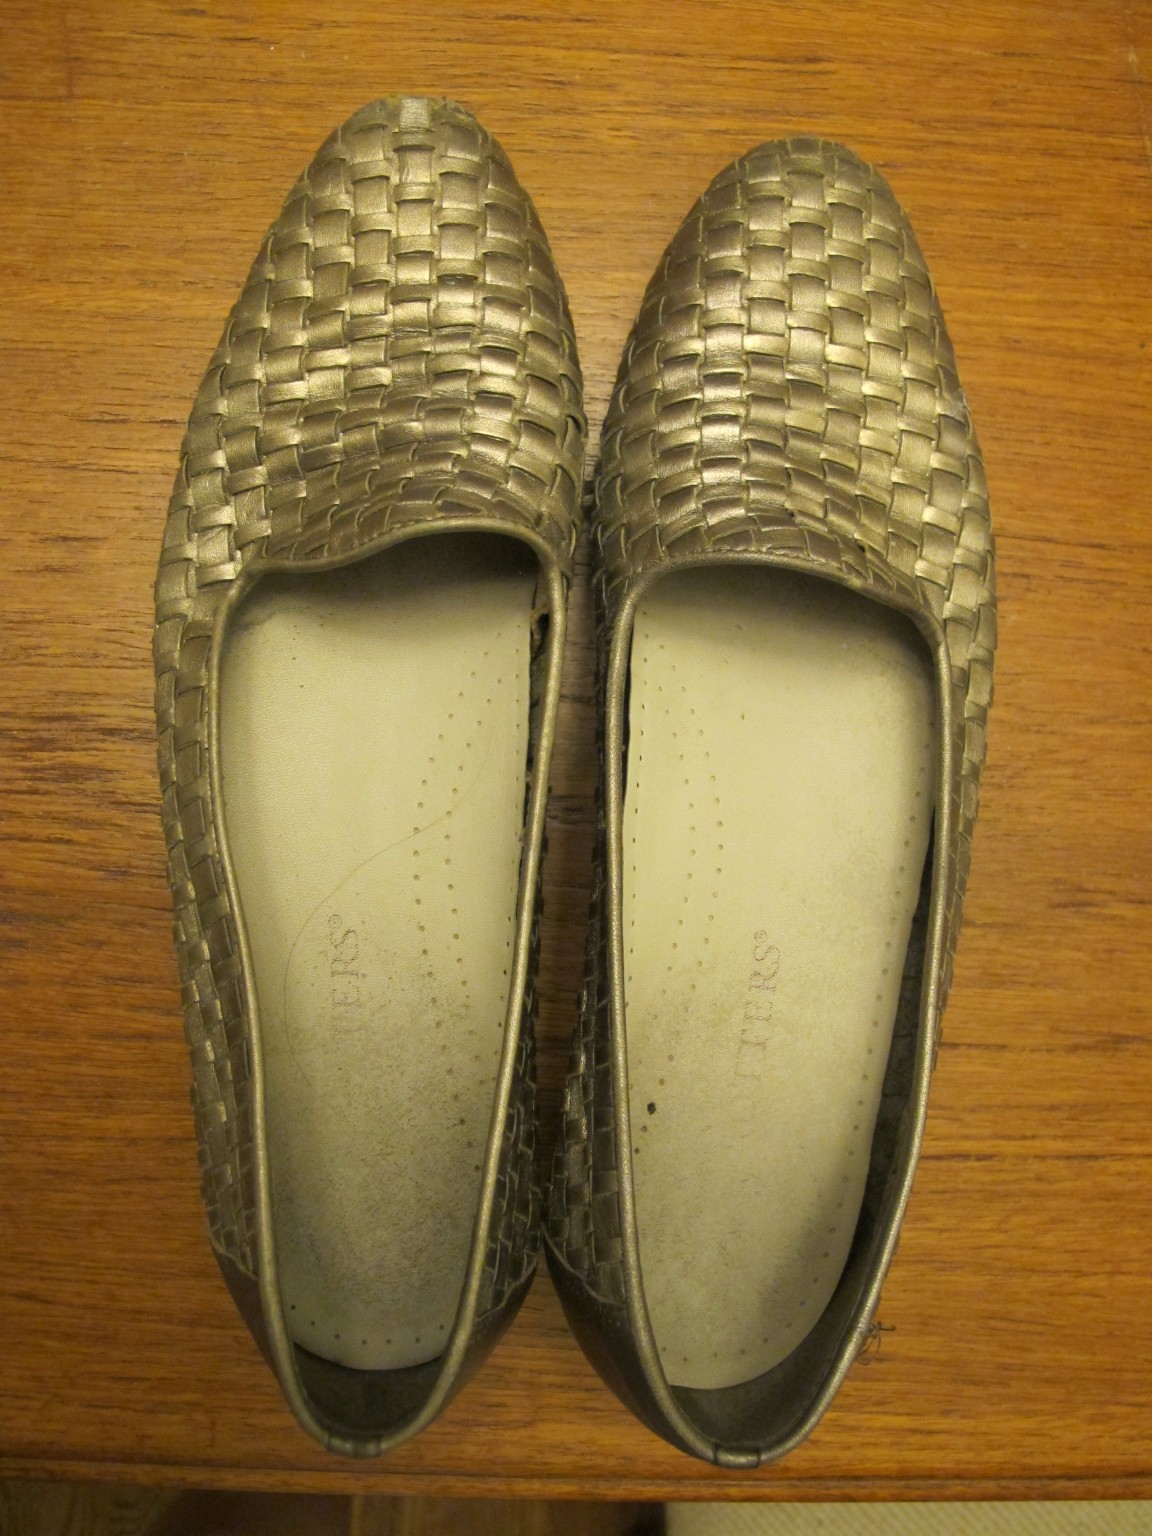
Through many work days and fancy events they affirmed my love of flats and taught me that metallics make excellent neutrals (particularly if you’re partial to navy). I loved that they lent an understated sheen to every outfit and easily avoided the “matronly” look sometimes associated with their brand.
But friends, style never trumps comfort in my book, and after awhile I could no longer ignore the fact that these puppies were a half size too small. Plus, they were starting to show their age:


You know it’s bad when you start looking for a gold Sharpie to color over leather that’s broken off…
For several months I kept an eye out for a pair to replace these faithful soldiers–a flat in a neutral metallic shade that was my proper size and not so wide I’d be swimming in them. I even went to my locally-owned shoe store to try to find a retail pair that wouldn’t break the bank, but couldn’t find a good shade. And although I know that well-constructed shoes–particularly the kind that come in narrows–aren’t inexpensive, I couldn’t bring myself to pay almost $100 online for a new pair (maybe this blog should be called cheapchic.com?).
Lo and behold, the Thrift Gods smiled on my patience/procrastination and bestowed upon me the perfect solution. Last Christmas my mother-in-law brought out a pair of barely-worn teak-colored Trotters in this EXACT style and said they didn’t fit her anymore (apparently your foot bones spread as you age, making your feet longer/wider??), and asked whether I would like them. HELL to the YASSSS.
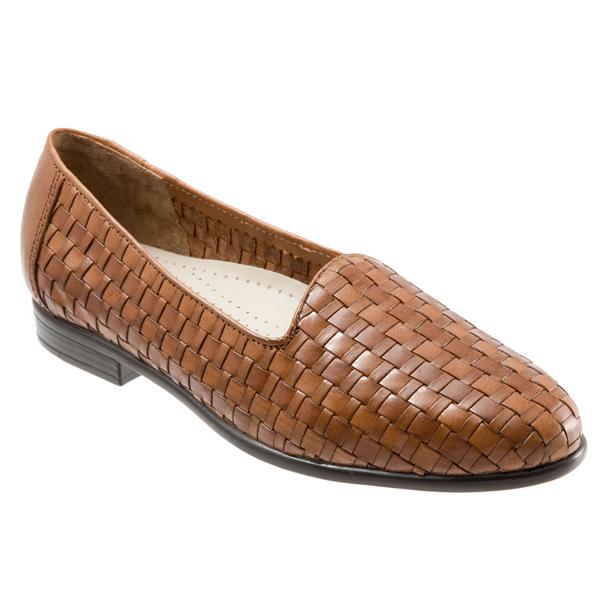
This lovely shade is known as “Light Tan Tonal”
As my in-laws live out of state and airlines have those pesky luggage limits, I had to wait a few months for my in-laws to drive to our neck of the woods with my new beauties in tow. I would occasionally dream of the day they would arrive, longing for the sassy chicness they would impart to my outfits. But the delay gave me enough time to plot their redecoration (because teak??) and purchase the supplies necessary to execute their fabulous transformation.
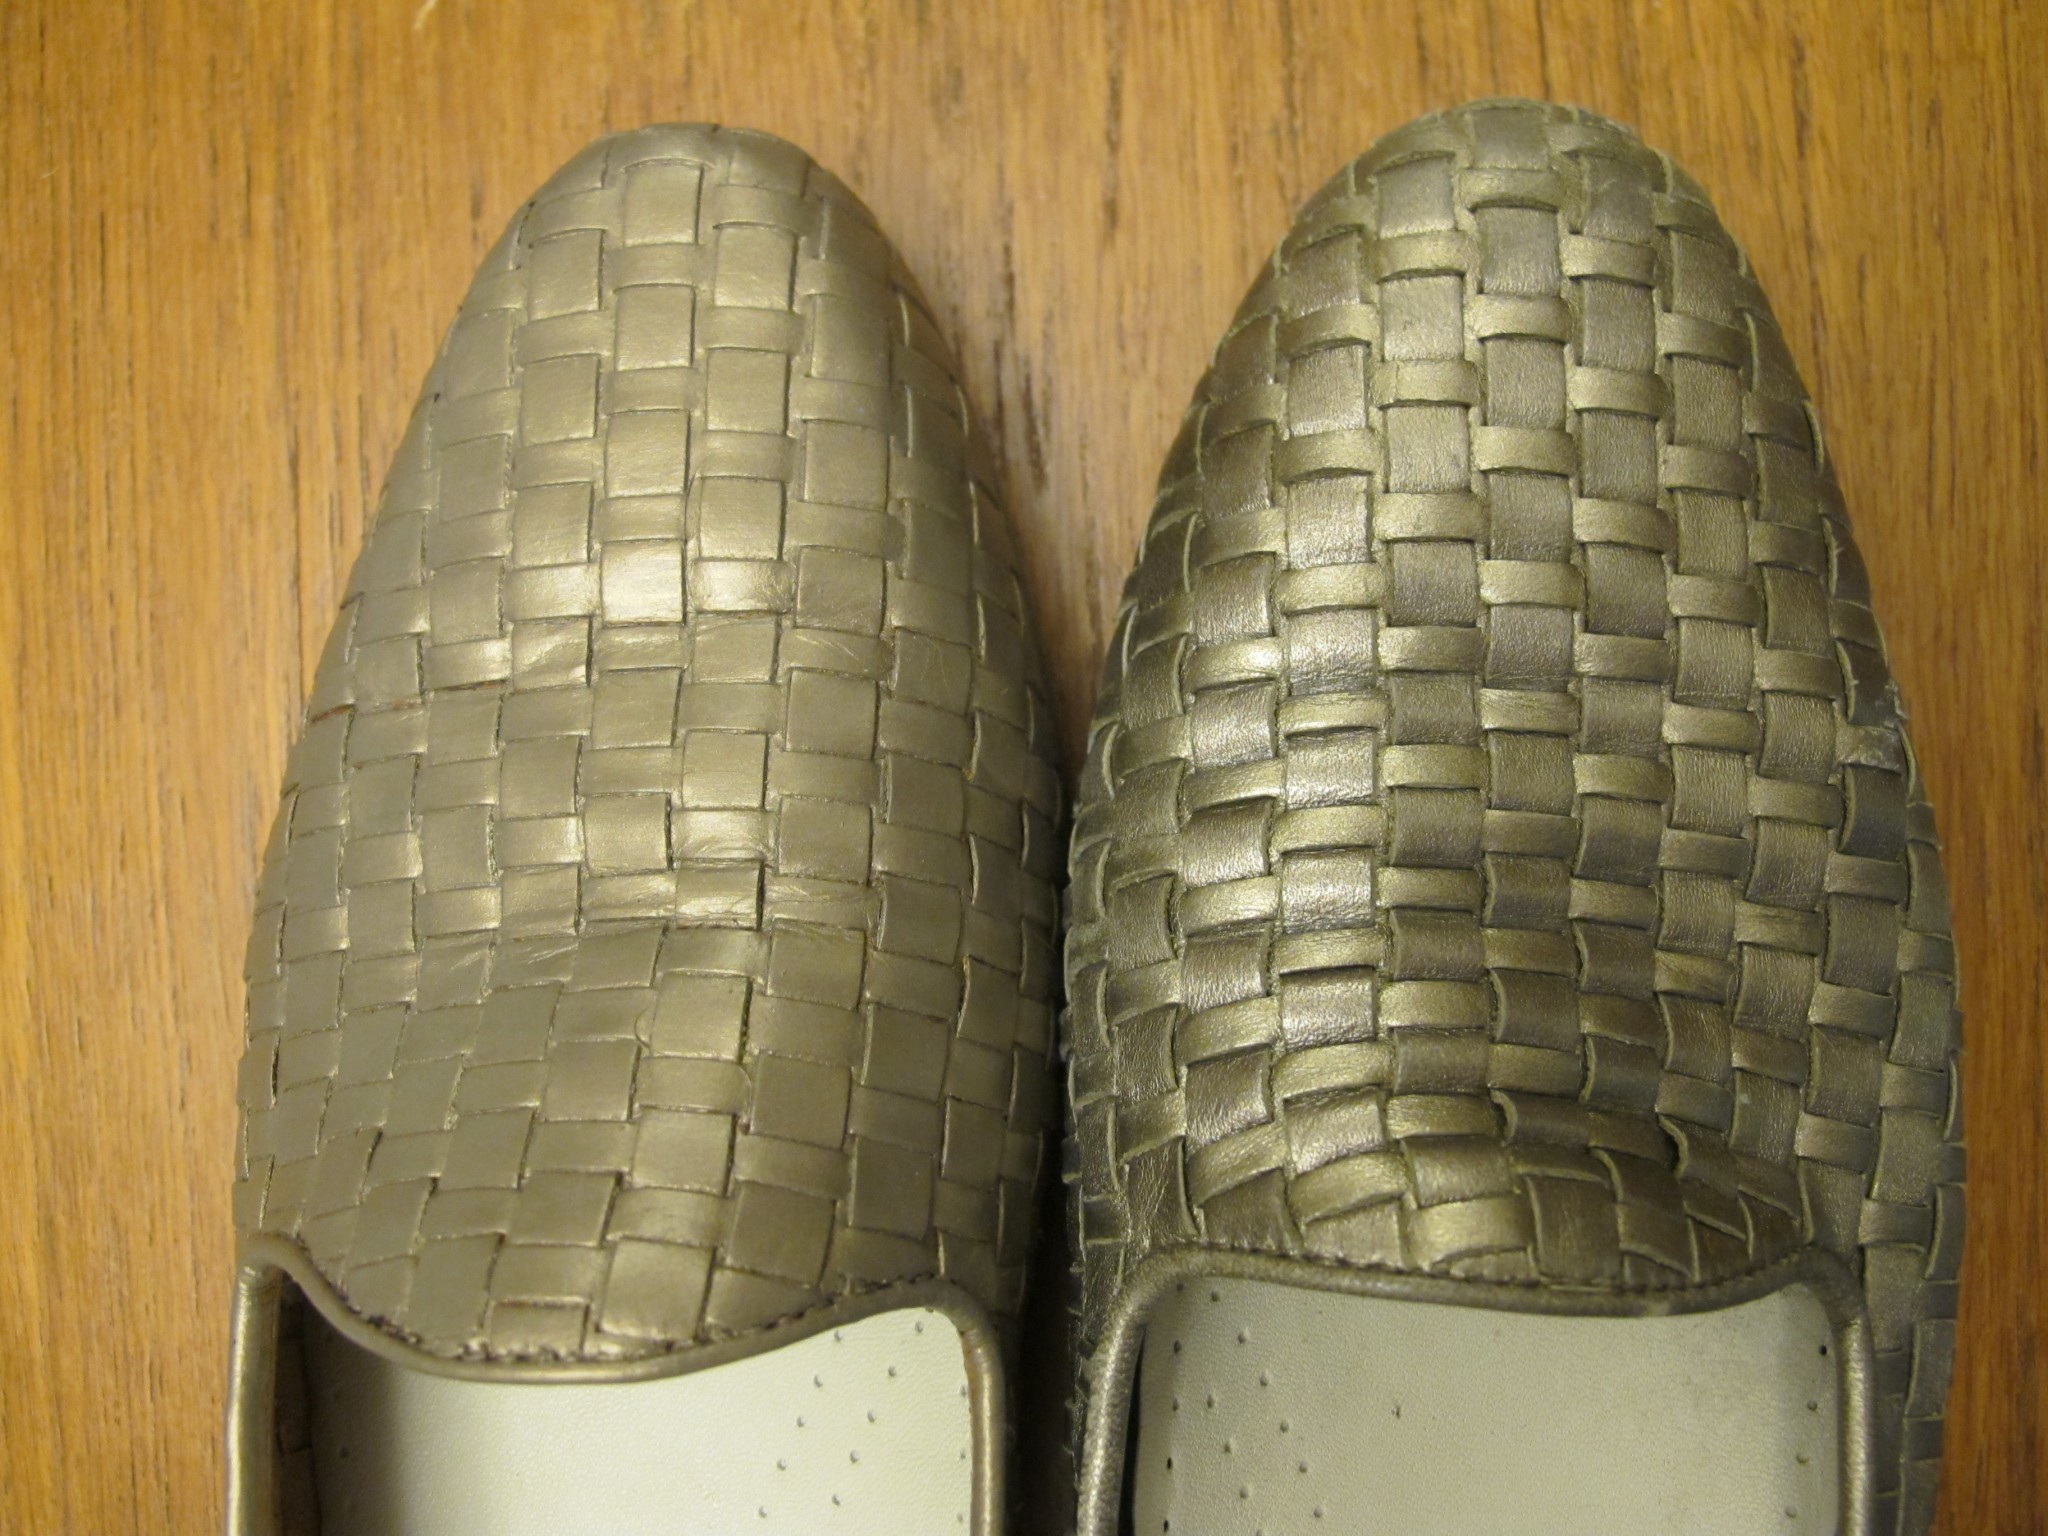
I followed this easy tutorial and bought my supplies from here for under $10. I got Angelus Leather Preparer and Deglazer, and Angelus Leather Paint in Champagne and Bronze, the latter two of which I mixed together in a paper bowl to create an approximation of the color of my beloved originals. I stripped off the finish on the new shoes using paper towels (do this outside to avoid inhaling fumes), then used a cheapo Crayola-style paint brush to apply the paint mix in two coats, drying for 20+ minutes in between. I would NOT recommend using this type of brush as the brush hairs kept coming off in the paint and were a pain to pick off before the paint dried. A sponge brush (ours was out of commission) or a higher quality hair brush would have been a better choice.
I used the same kind of painting techniques you learn for painting walls: remove excess paint from your brush before applying; smudge a little extra in all those cracks between the leather weave, then spread the rest out over other areas; paint in one direction in areas where you’ll be able to see the grain (in this case just the heel). My paint job wasn’t perfect, but for a project that took less than an hour and which I completed while keeping an eye on my adventurous child, I’m pretty happy with it! There are a couple spots where you can see a bit of excess paint or a thin patch, but I don’t think anyone will be getting close enough to my shoes to tell. And if they do, I can always kick them. Just kidding.
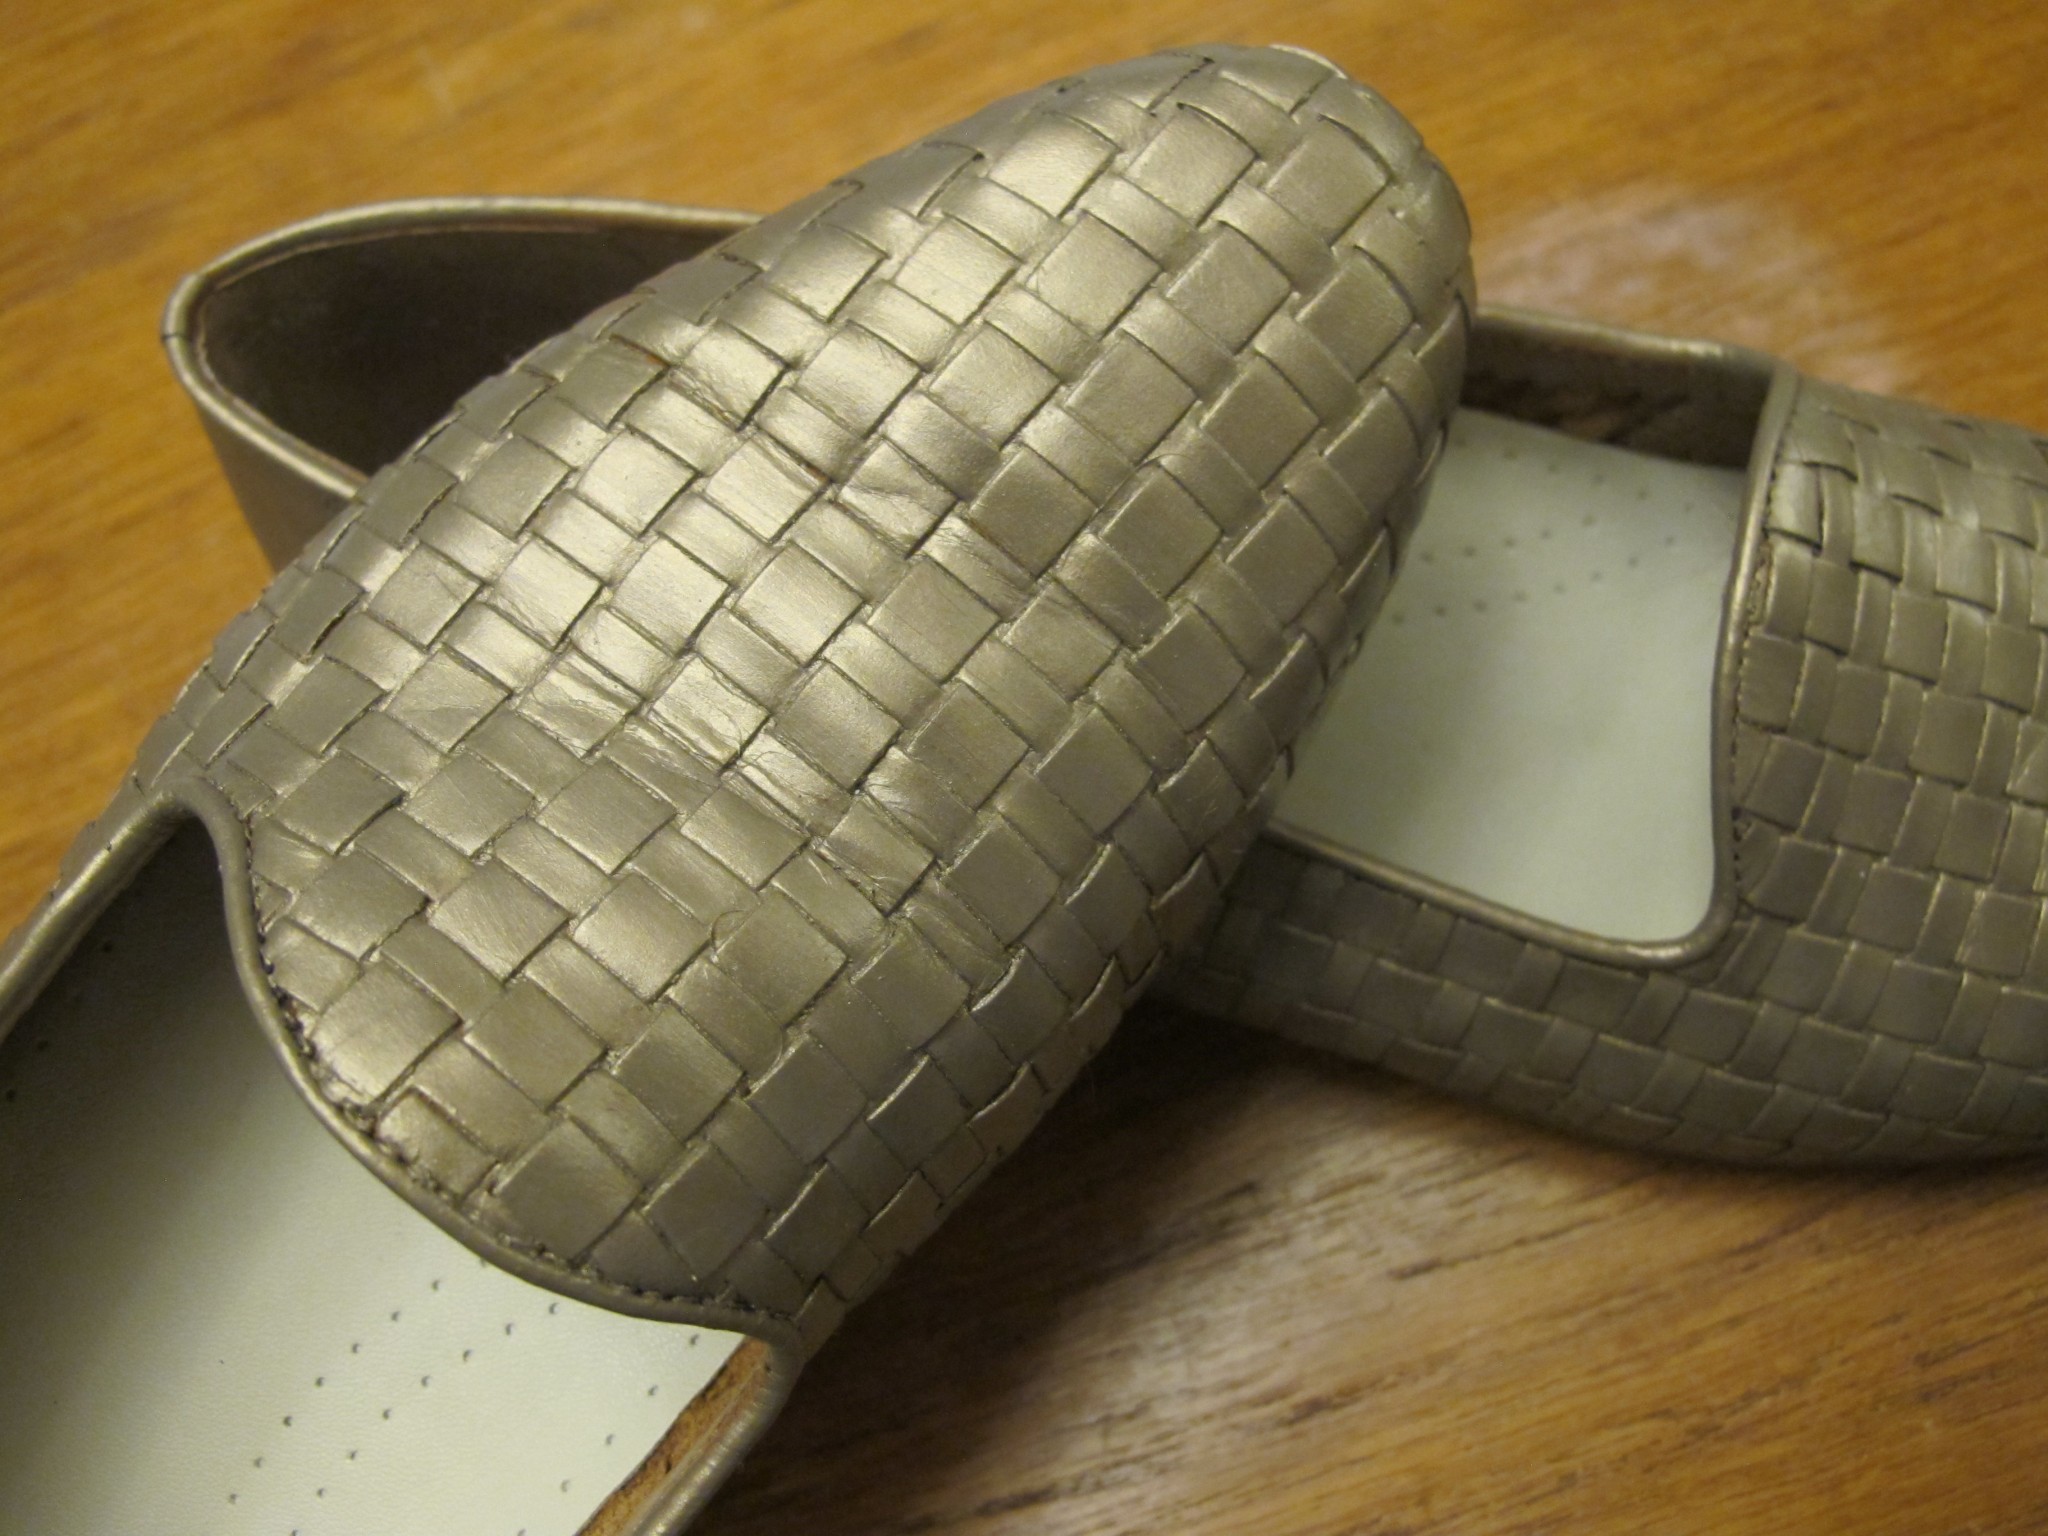
The finished pair on the left; new (L) and old (R) on the right
I do wish my paint mix had tended a little more towards the gold of the old shoe and a little less toward the champagne I ended up with; but it’s quite hard to tell from the liquid mix how it will look when dry–I thought it was going to end up much more bronzey than it did. In the end, though, I got the effect I wanted–a modest metallic that works well with everything I own. After wearing them to work a few times, I can report that the paint is wearing in nicely–no signs of cracking or flaking.
So this isn’t strictly a thrift DIY since the shoes were hand-me-downs, but the principle still holds and I thought you all would enjoy some cheap, easy inspiration in case you find the perfect thrift store shoes in a questionable (or just plain boring) shade.
Have you ever repurposed thrifted shoes? What other DIYs would you be interested in seeing? (Keep in mind I have negligible sewing skills.)

Loved this :) Thanks for sharing Leah, they look amazing!
Thanks Amanda! Let me know if you ever try something similar–the tutorial took plain black shoes and made them wingtips, plus that site has instructions for painting, y’know, comicbook superheroes on your shoes. A little beyond my talents but the outcome is amazing.
There are foam brushes at art stores for super cheap that may work for this. Also to make them shinier (like the old ones), you might try clear shoe polish.
Shoe shopping at thrift stores is super hard for women in jobs that have shoe safety requirements. Hint: try the men’s. Not as stylish but safer, and usually more sturdily built.
I would’ve used our foam brushes but I let glue harden on them and they were no longer usable. :( Good reminder to just go buy new ones!
I love the “try the men’s” section hint for shoe safety requirements. Thanks!
My weekend purse (that I love) is starting to have color wear off in places, and I remembered your tutorial and thought about painting it…do you think I could just paint the worn patches? Would I need to prep them? Would I have to do the whole bag? I don’t care if it matches perfectly perfectly, because one silver and another silver would still look much better than silver and natural leather…
Sorry to hear it, Em! If the paint is completely worn off (so you see the natural leather peeking through), I don’t know that you’d need to prep it. If it were me I think I would do the whole bag, because there is SO much variation in different leather paints and because I’d be worried the painted spots might still show the edges of where the old paint peeled off (same reason you sand down old paint off of a windowpane before repainting). Plus, you then have the entire bag with new paint so you won’t have to go back and keep patching it up if more of it wears off. I do understand the desire to just get it done as quickly as possible, thought…I definitely took a few shortcuts on this and on the shoes I painted here: http://thriftshopchic.com/in-which-i-paint-more-shoes/
Good luck, I hope it turns out fantastically!
Thanks! I appreciate the advice. It is probably best to do it fully and properly…but that seems like so much more work. I’ll keep mulling it over and doing more research