
Blog readers who’ve been around since last summer may recall the teak Trotters flats, courtesy of my mother-in-law, which I stripped and repainted champagne. Well that lovely woman’s feet are the gift that keeps on giving, because as they spread out a bit, she can no longer fit in narrow shoes and she passes them on to moi!
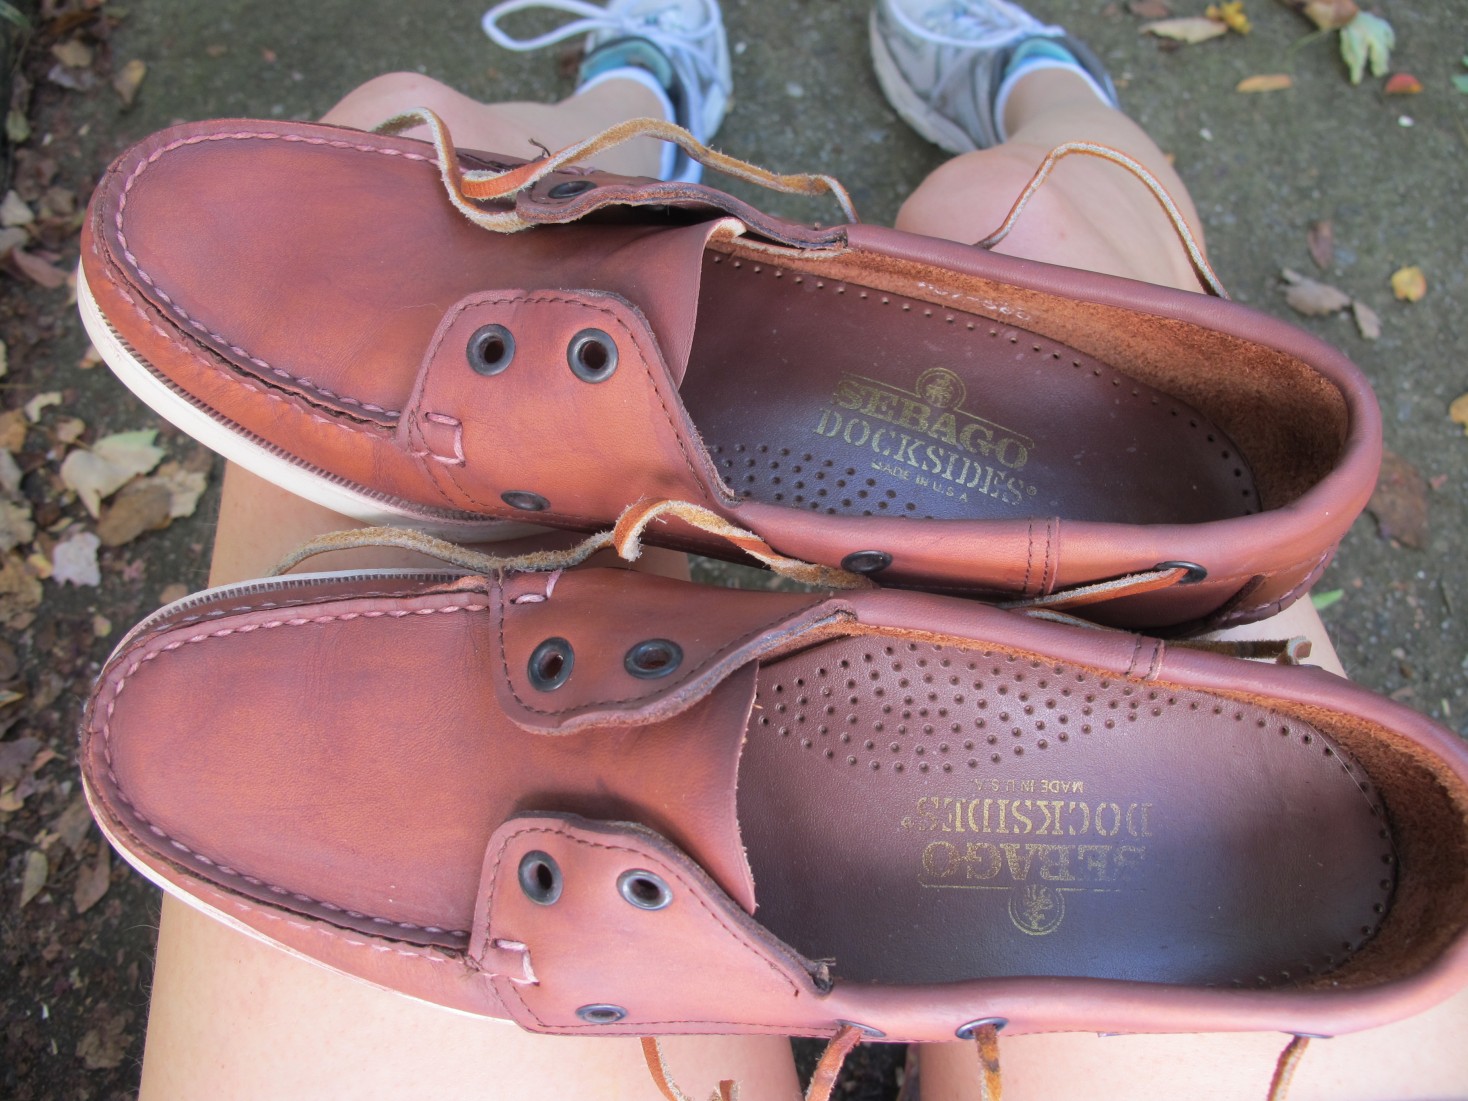
Thus I was the lucky recipient of these Sebago boat shoes, again in a dark tan color:
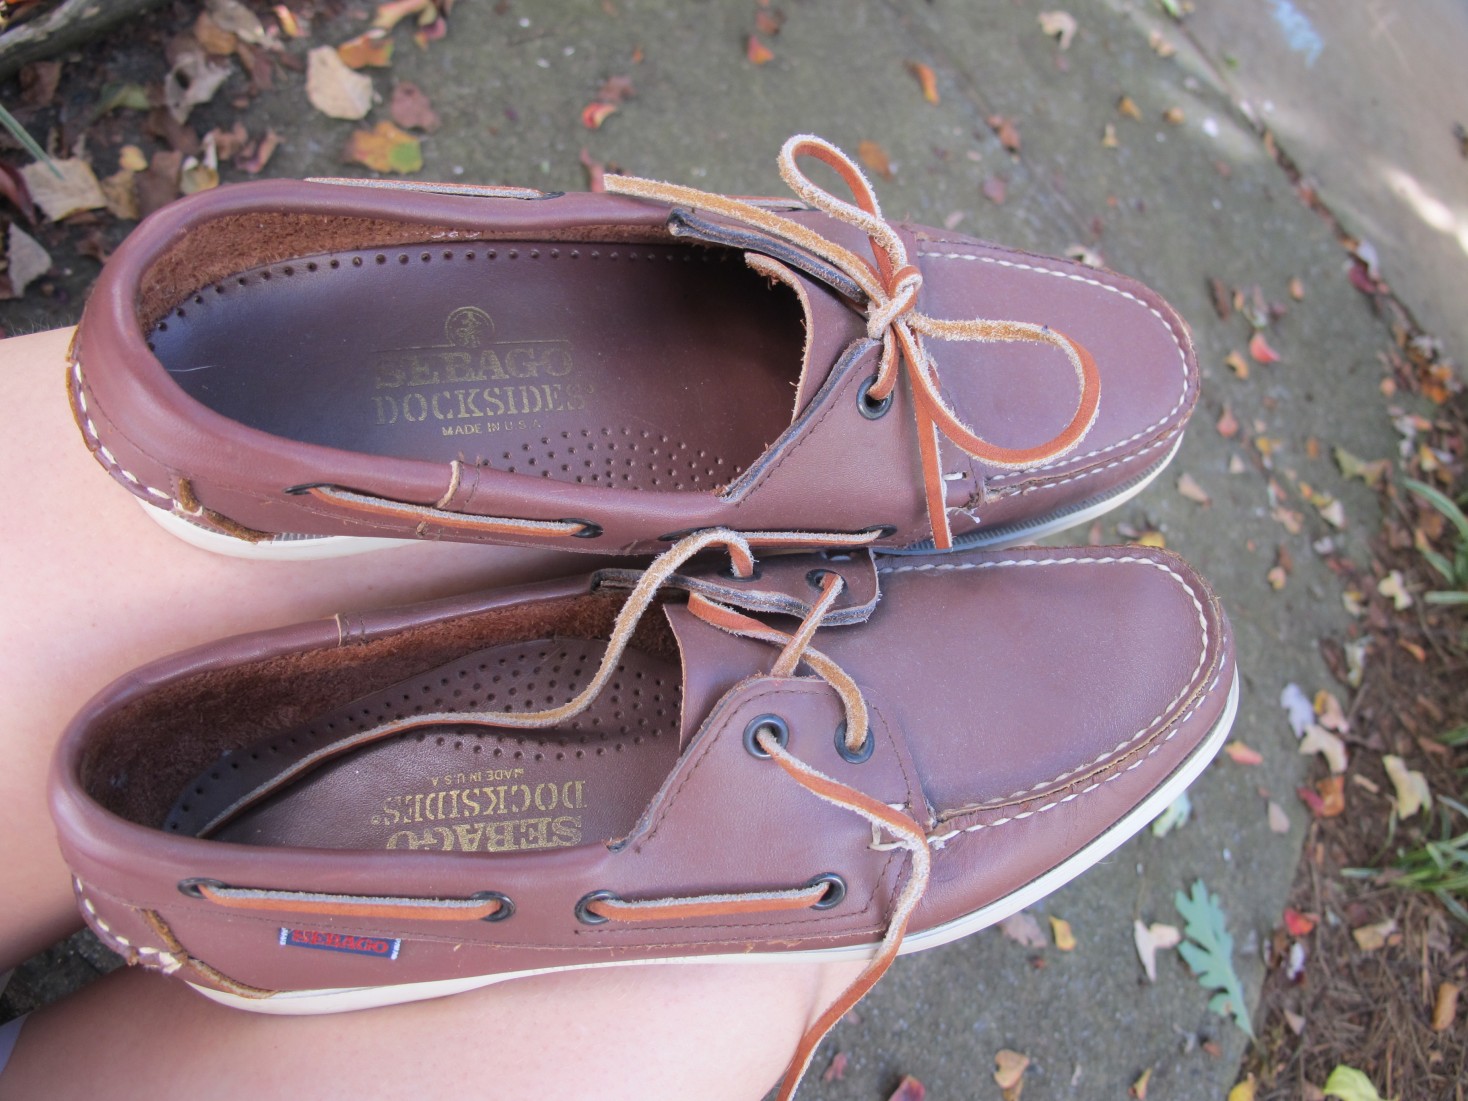
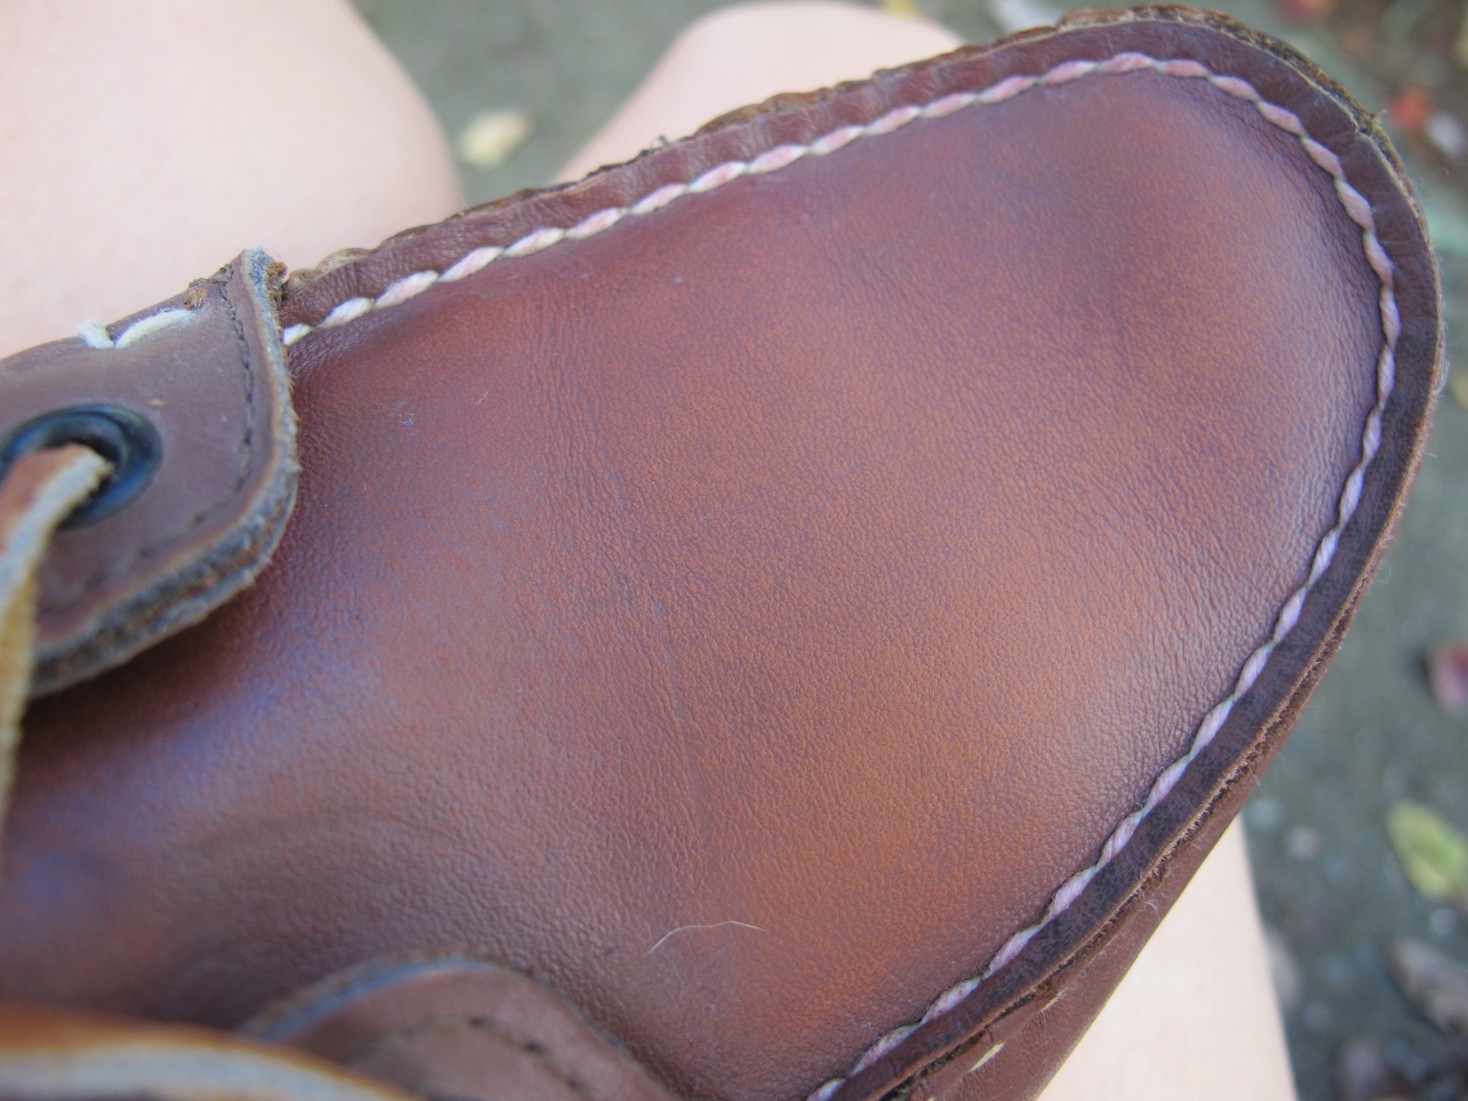
They were practically brand new, and if I had a lot of brown (any brown?) in my wardrobe I would have left ’em as is. But since my neutral colors tend towards grey and navy, I decided to redo these in a nice soft grey.
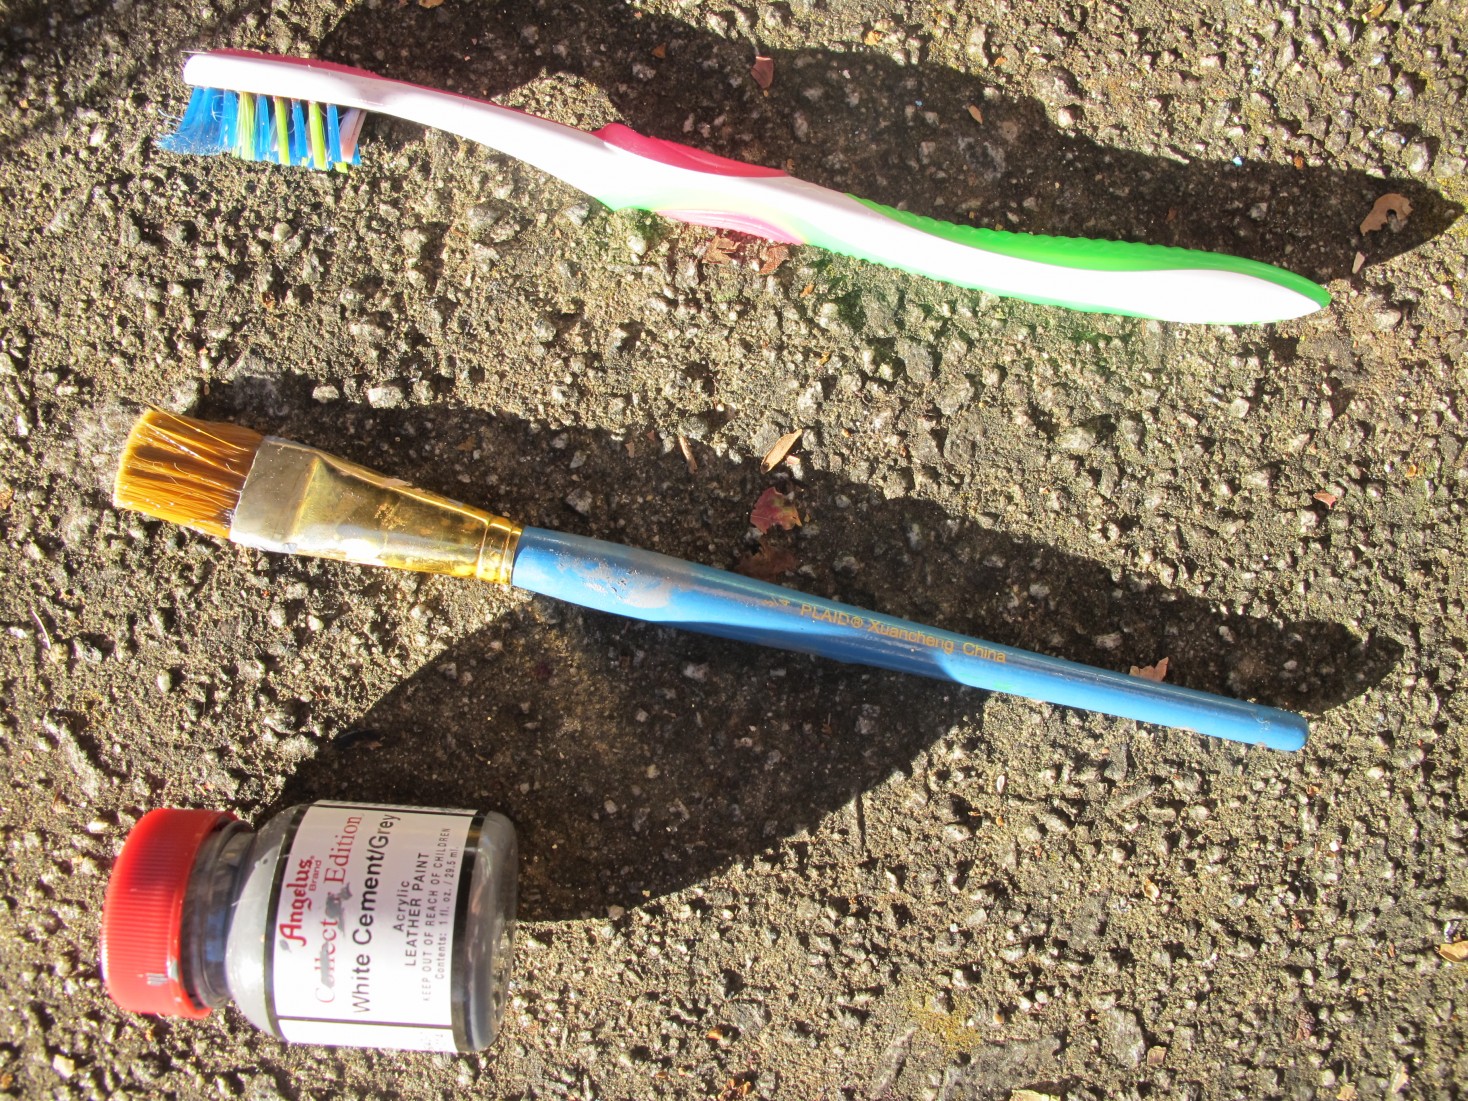
I followed the same steps as in my first shoe repainting foray, taking my own advice to use a higher quality brush this time around:
First I took the raw hide laces out of the first few holes so I’d have easy access to the tongue and some of the side parts. I accidentally went one hole too far – I’m going to have to use a needle and string to rethread that puppy because it was originally enclosed between two layers of the shoe in an inaccessible area. Pro tip if you’re working with shoes like this: check how far you can delace BEFORE yanking out the laces.
Then I got out my bottle of Angelus leather preparer and deglazer, left over from last time:
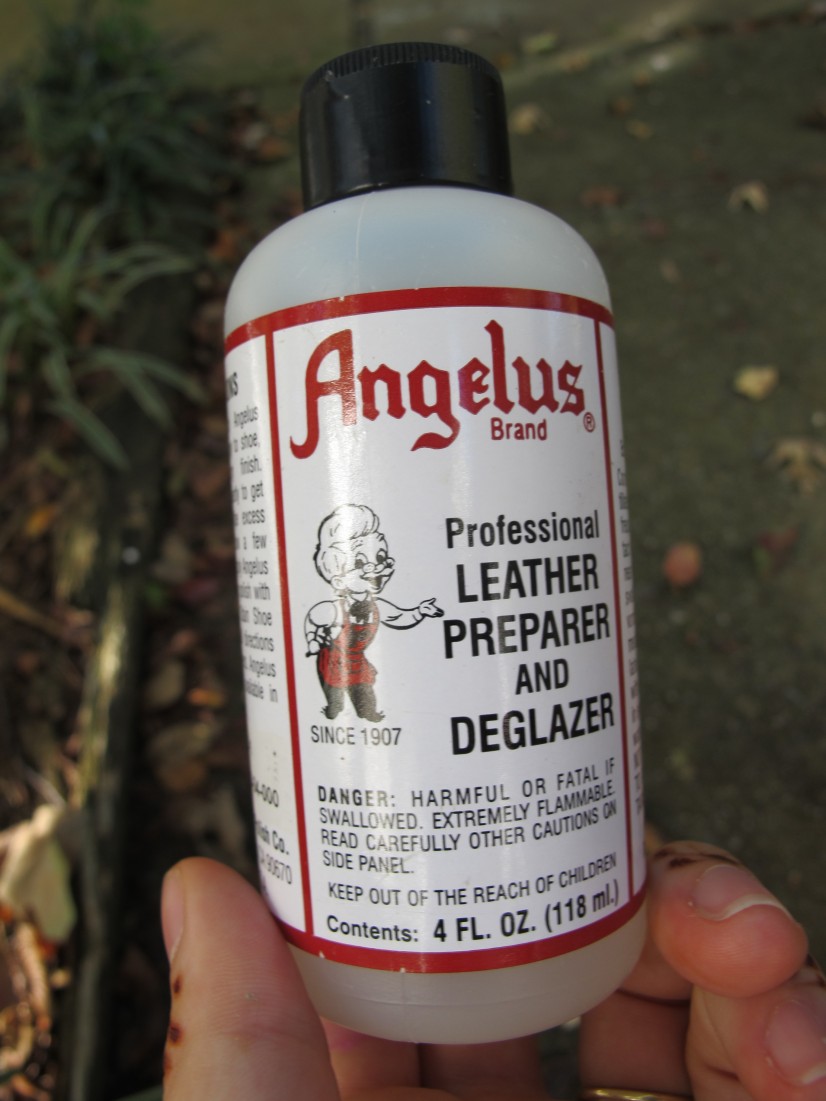
I’d say one bottle covers two pairs of shoes (flats, that is – size 10).
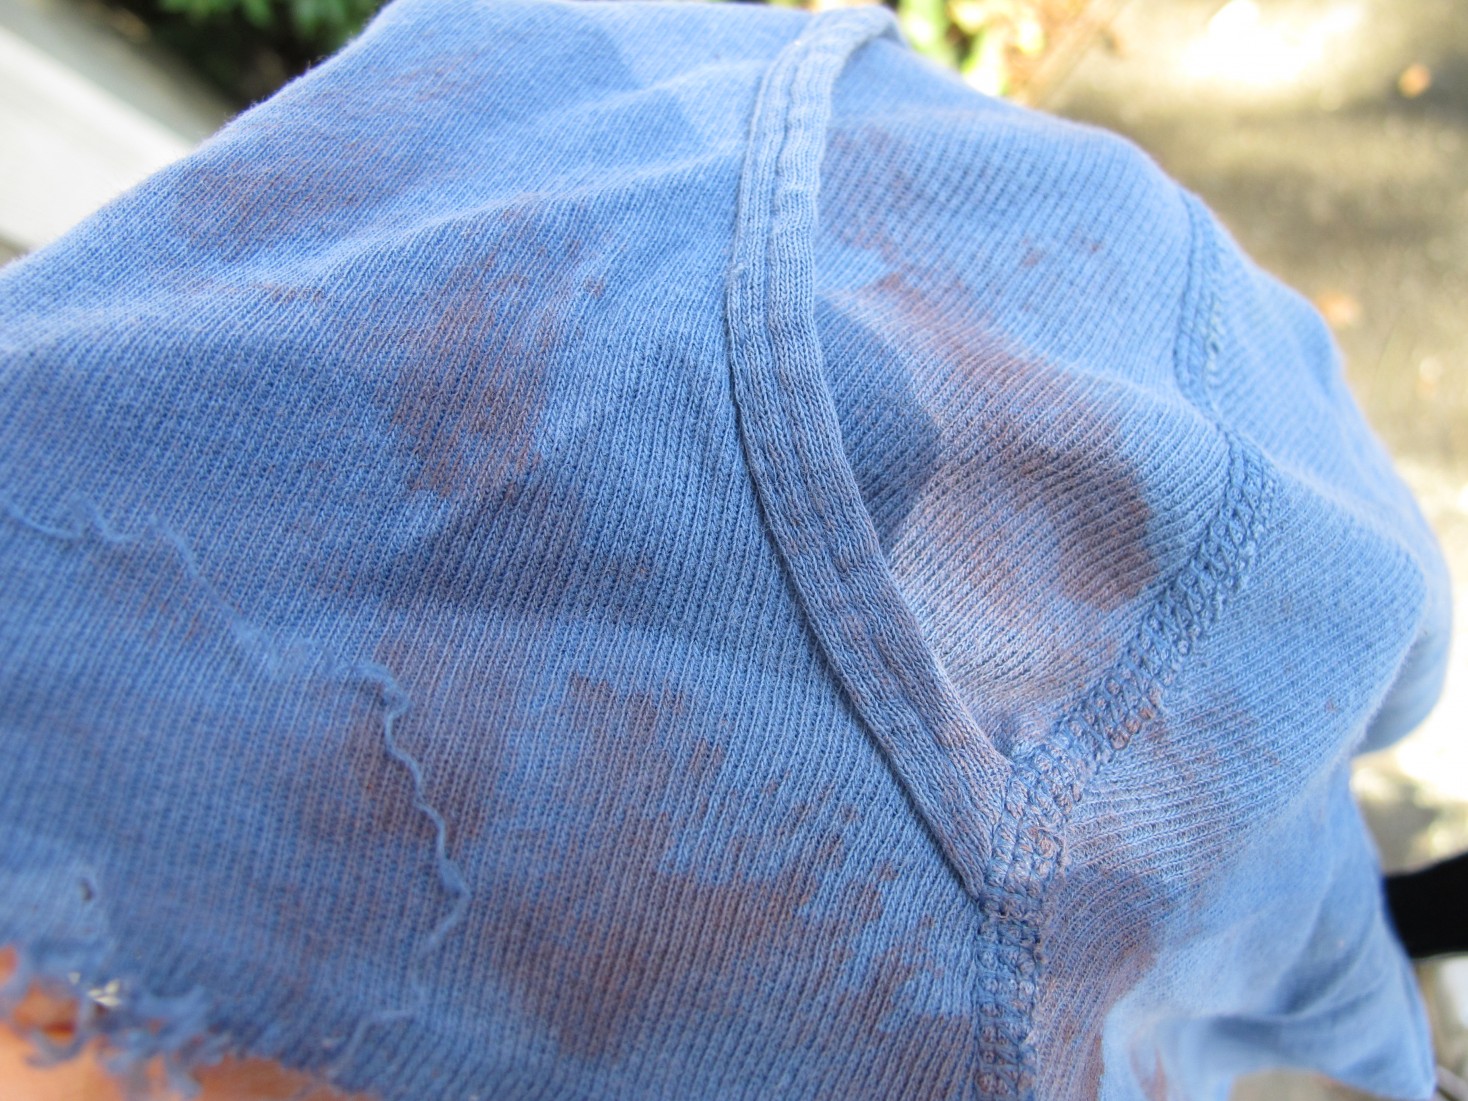
I used an old toothbrush to scrub off the original color. Similarly to nail polish remover, once your chosen implement (paper towels, rag, toothbrush) has saturated with color, it won’t remove any more pigment. This means I did a lot of little dips into the deglazer followed by good scrubbing in a small area, and then wiped the removed color on an old rag:
It was pretty hard to tell the difference between areas where color remained vs. areas that had been saturated by the leather deglazer. Eventually I figured out that if I wasn’t sure, I could just brush the area and wipe it on the rag; if color came off onto the rag, there was still original pigment there and I needed to keep working. It was pretty much impossible to keep the original color from staining the white contrast stitching, and I knew it would be impossible to keep from painting it later, so I decided early on that the contrast would just go grey like the rest of the shoe.
Color starting to come off – the waterproof coating took some elbow grease to remove. You can also see how the contrast stitching is starting to dye:
Color removed on the right, not on the left: 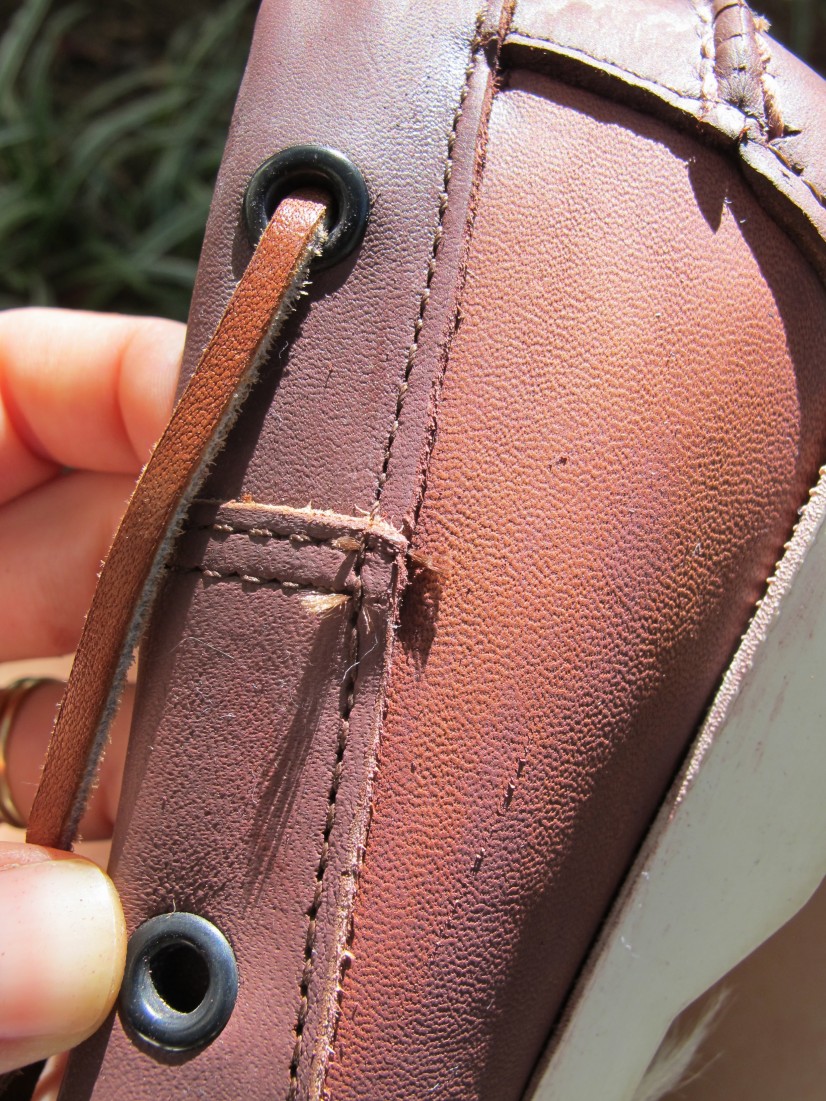
After I was satisfied that I had gotten most of the color off, I let them dry in the sun for about 20 minutes:

Next, the new color!
As with last time, with each new dip in the paint I began with the stitching, raw edges, or seams that would need a lot of paint to saturate, then spread the excess out over smoother surfaces. Direction of the brushstrokes didn’t seem to matter as much this time; after one coat I couldn’t tell which way I had painted. This led me to let my toddler help me paint the second coat on one of the shoes, a move my spouse called “brave”; but honestly, look for yourself at the end – can YOU tell the difference? (I will have to use a little deglazer to get some overenthusiastic brush marks off the sole…)
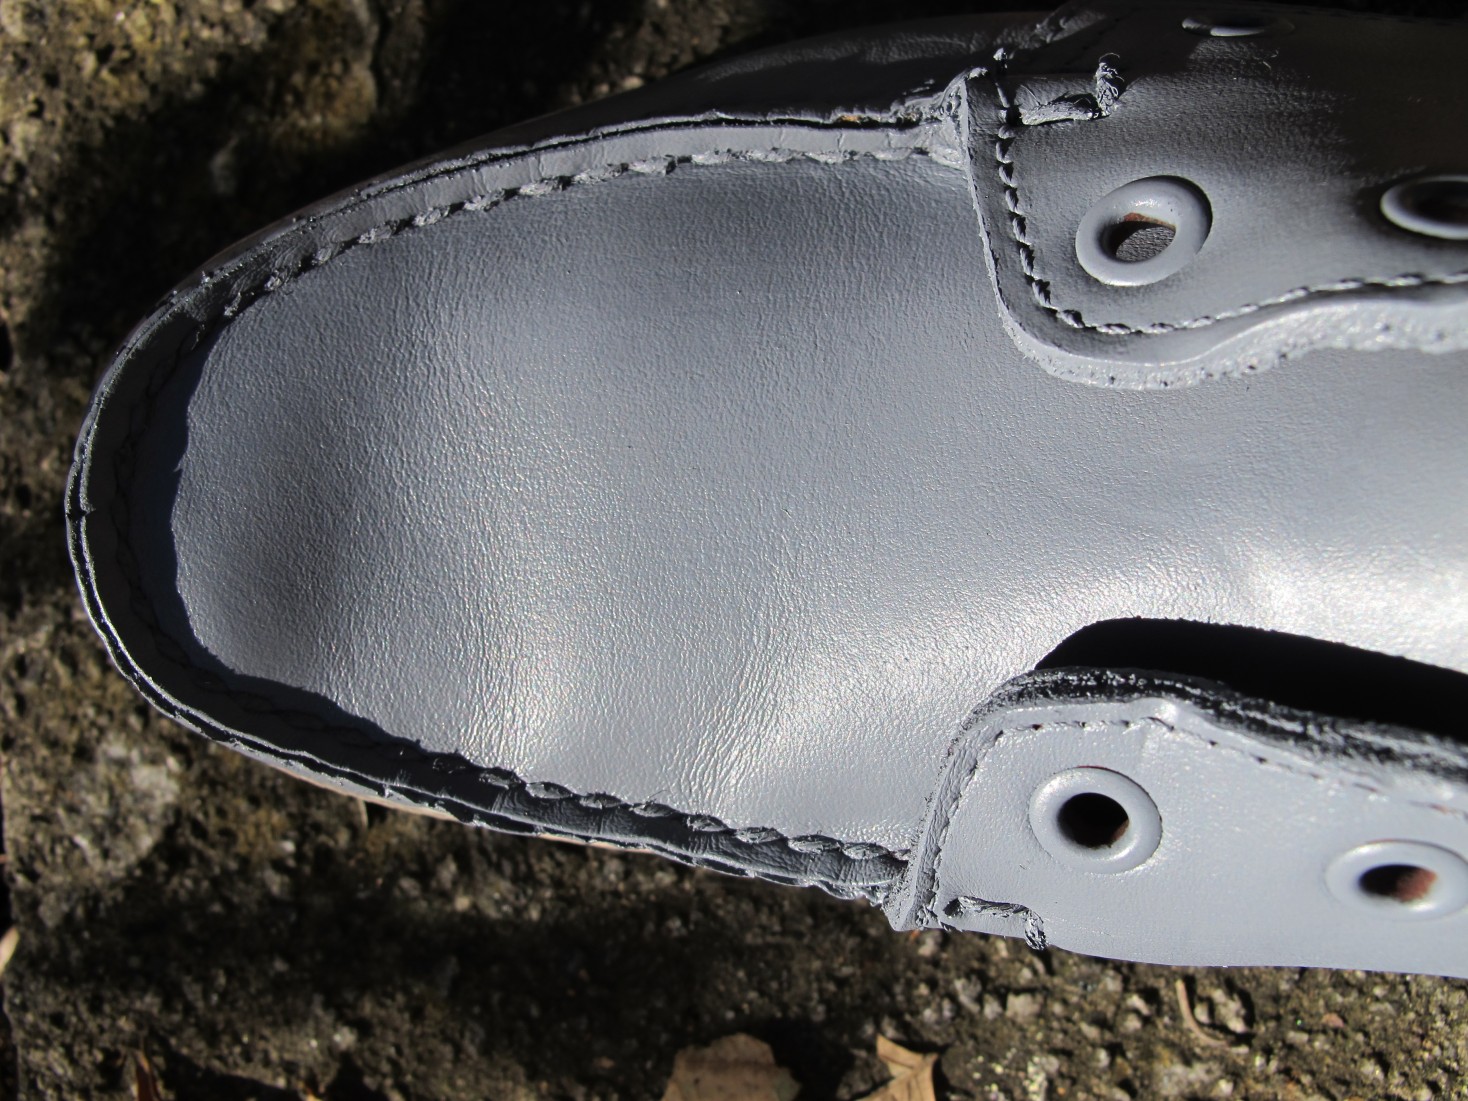
I also decided to paint the grommets because it was too dang hard to paint super carefully around them without getting paint on them as well. If I had more patience and had used a fine angle brush, I probably could have made it work.
I chose Angelus leather paint in Cement/Grey White, hoping for a muted grey that would jive with my wardrobe palette. Here’s how it looks on the first coat:
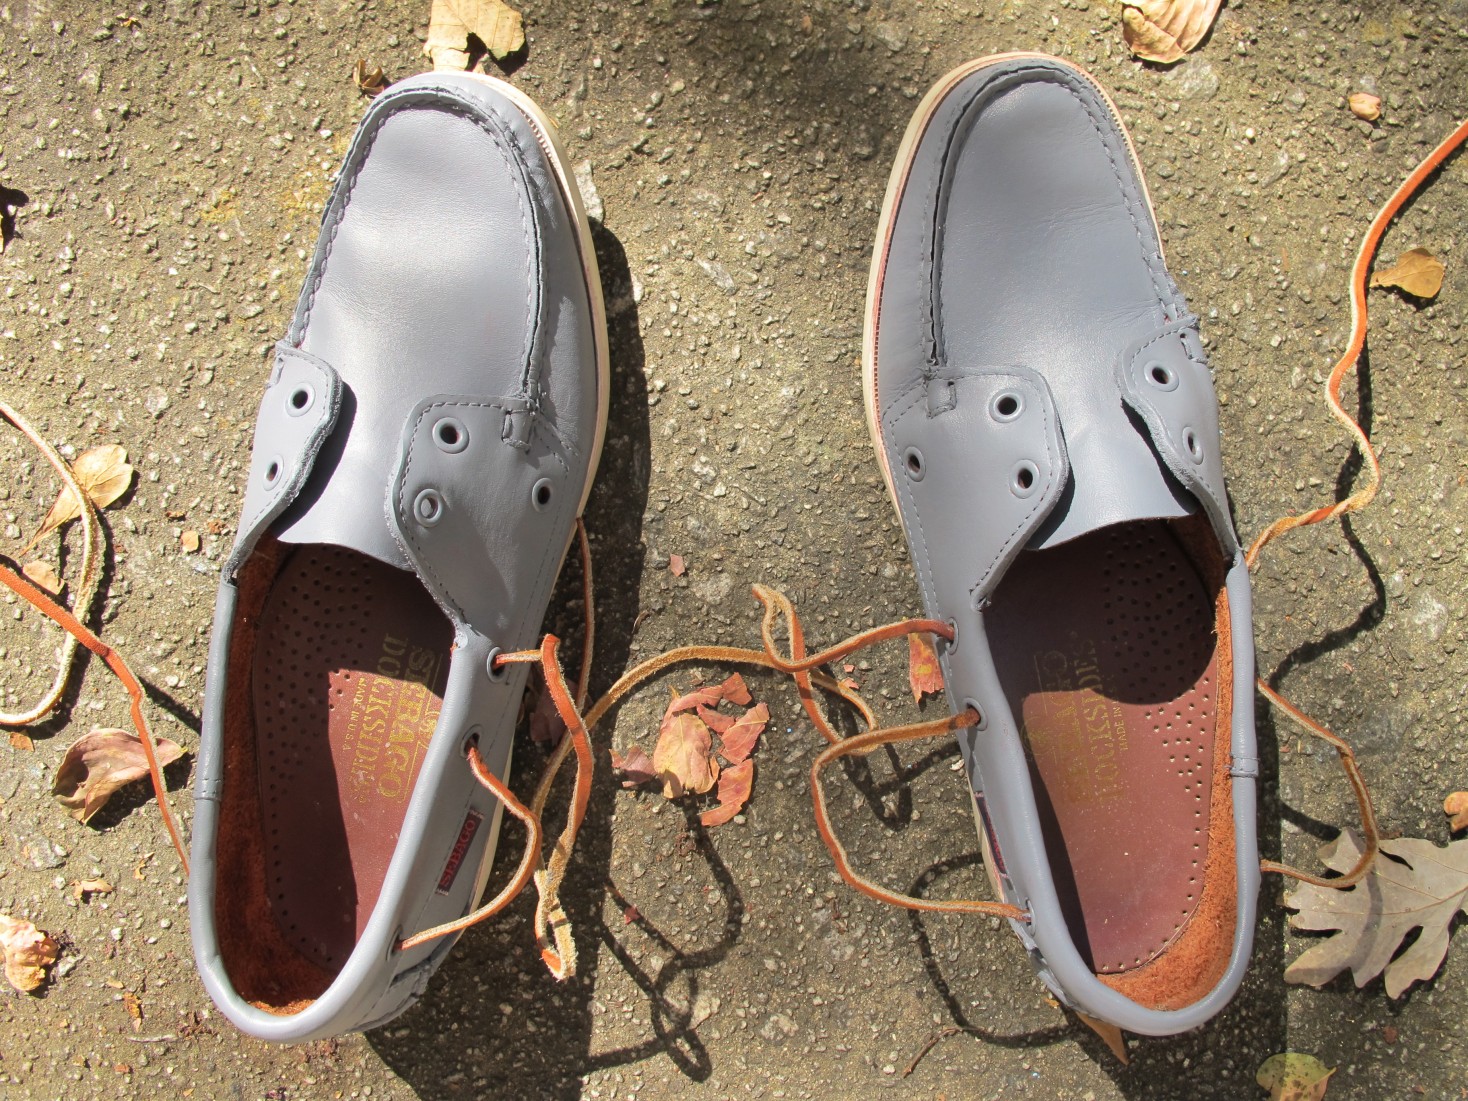
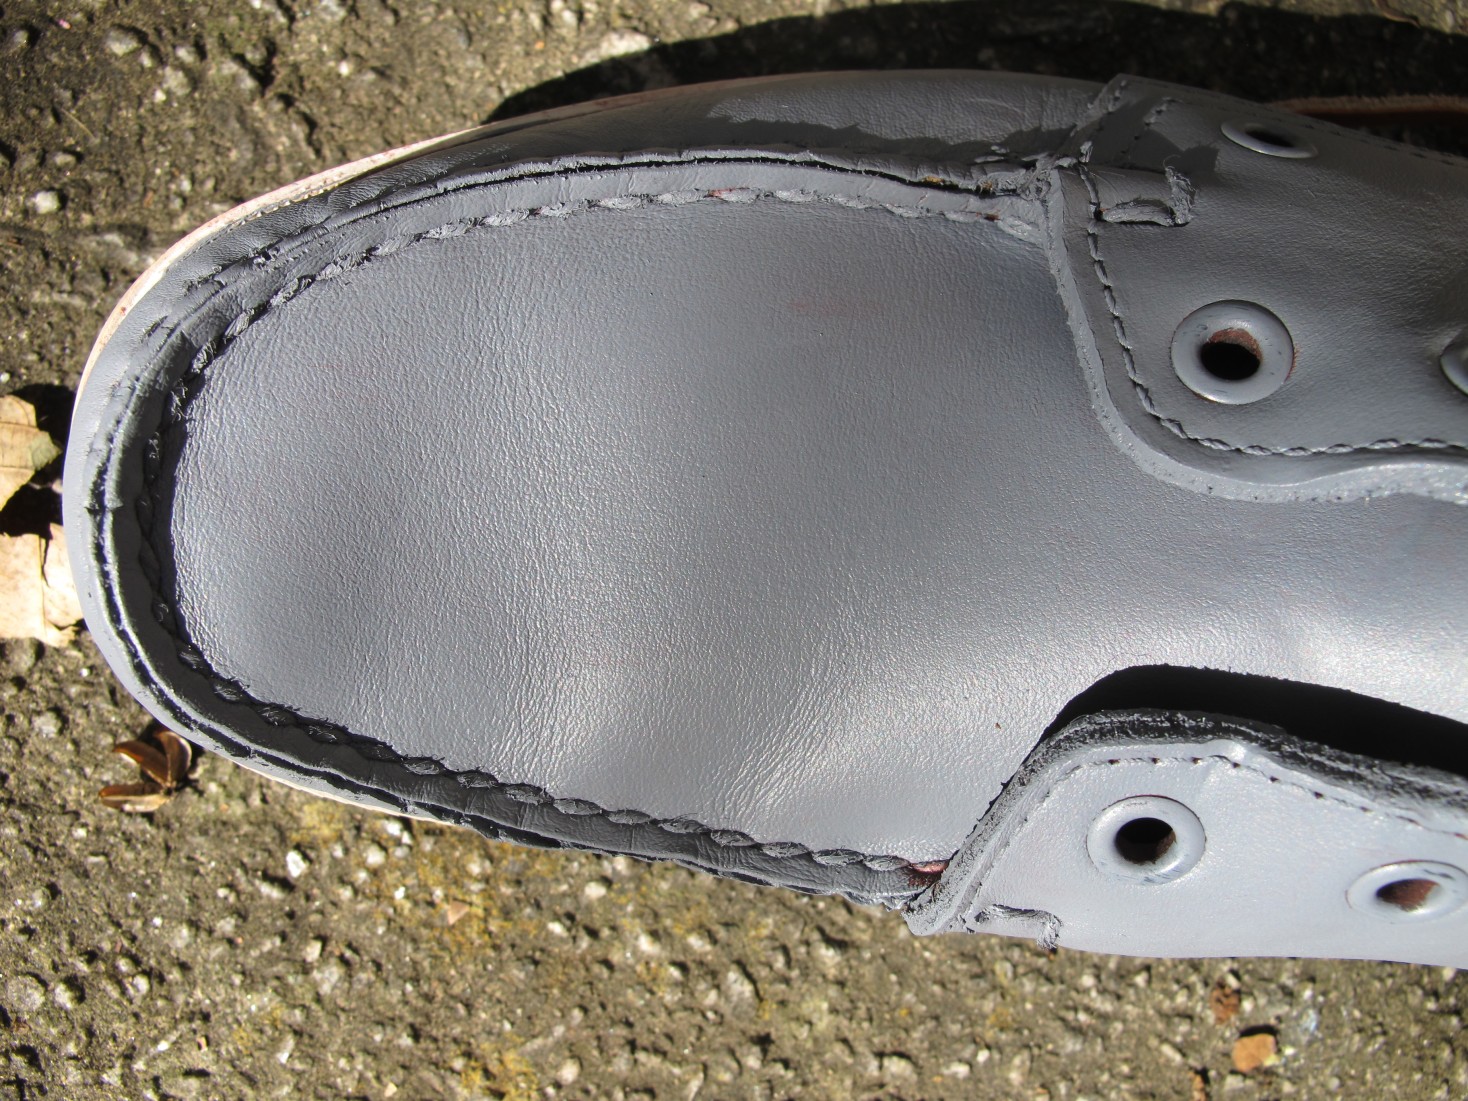
A little more blue than I would like, but I was hoping that wouldn’t be obvious after a second coat.
Between coats I let dry in the sun for an hour or so. Did I mention how lovely it was to do this outside in the warm October sun? (But watch out for falling leaves as your paint dries.)
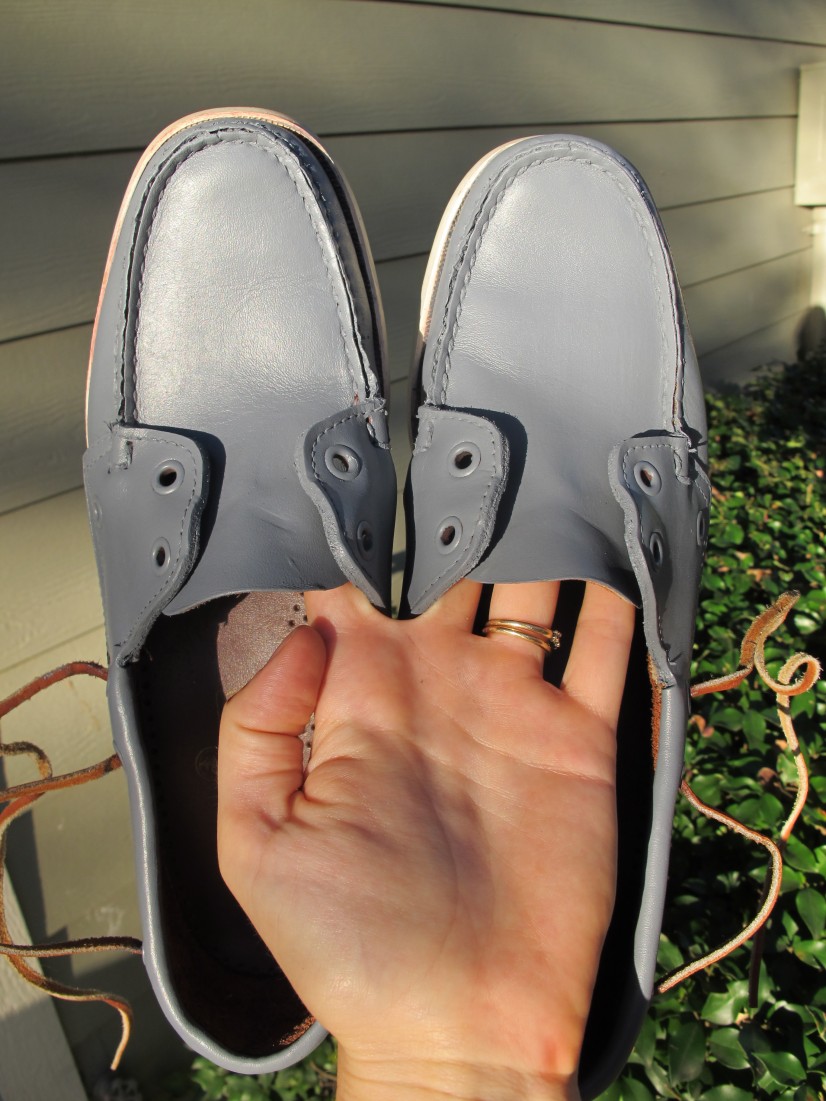
And here’s the final product after the second/last coat of paint: what do you think? I’m excited to wear them after a full 24 hours of drying (just to be sure) and a rethreading of that one lace.
This project, by the way, cost me about $3 (paint) and would cost you about $10 if you had to buy the deglazer and brush as well. Not bad for a weekend afternoon!

