Minimalist Bedding

One way we’ve pared down over the years is to get rid of excess bedding. You know – the kind that somehow takes over your linen closet and makes you feel overwhelmed on laundry day. Or the kind that drives you mad when a guest comes to visit and you can only find one clean pillowcase of a matching set.

Searching out secondhand, thrifted, and ethical linens and donating or recycling what we don’t truly need or love has allowed us to feel organized and streamlined.


Here’s what we’ve done to simplify our bedding:

Get rid of extra sheet sets. Currently we have one set of sheets for our bed; one set for the guest bed; one extra in case either of those first two needs a tight turnaround; and one set for our preschooler’s bed. For the thrifter-on-the-way, I’ve kept 2-3 fitted crib sheets from our first go-around and don’t plan to buy more. (We were gifted/secondhanded 5 with our first kid and never used them all.)

We find that even when factoring in occasional accidents, this is enough, because it motivates us to wash sheets as soon as they become dirty. Knowing we need to put them back on the bed that same night propels us to get them out of the washer and into the dryer ASAP – which means no manky clothes that sat too long in the washing machine. And when they’re dry, it saves us the chore of folding them because they just go right back on the bed. (Because let’s be honest, who wants to fold fitted sheets? No one, that’s who.)

To donate sheets in good condition, drop them off at your nearest thrift store (check first to make sure they take linens). For sheets that have gone hole-y, take them to the nearest textile recycler or cut them into rags.

Nix the top sheet. This was initially controversial at our house, since I could care less about top sheets but the spouse was rather attached to them. When we got a down duvet, however (see below), he was converted, mostly because sleeping with just a down duvet feels like sleeping on a cloud – ahhhhhhh. Our preschooler also loves going without a top sheet because she’s much less likely to get tangled up in a blanket than a sheet.

No top sheet also cuts down on washing/drying/folding. Plus making the bed is 1000% easier – we just shake out the blanket or duvet into a semblance of smoothness and we’re done.

We do put a top sheet on the guest bed because we assume that not everyone who comes to stay will want to go top(sheet)less. And we also keep the top sheet for our bed folded neatly in the linen closet for the hottest part of the summer when a duvet would roast us alive.

Consider secondhand. Unlike mattresses and pillows, which should not be bought secondhand (hi bedbugs and dust mites!), sheets and washable blankets make for great thrift store finds. You get a sense for whether the item wears well; you can feel the goods before purchase; you save money; and it’s an ethical option since you’re not creating demand for new linens that might be made in environmentally or ethically questionable ways.

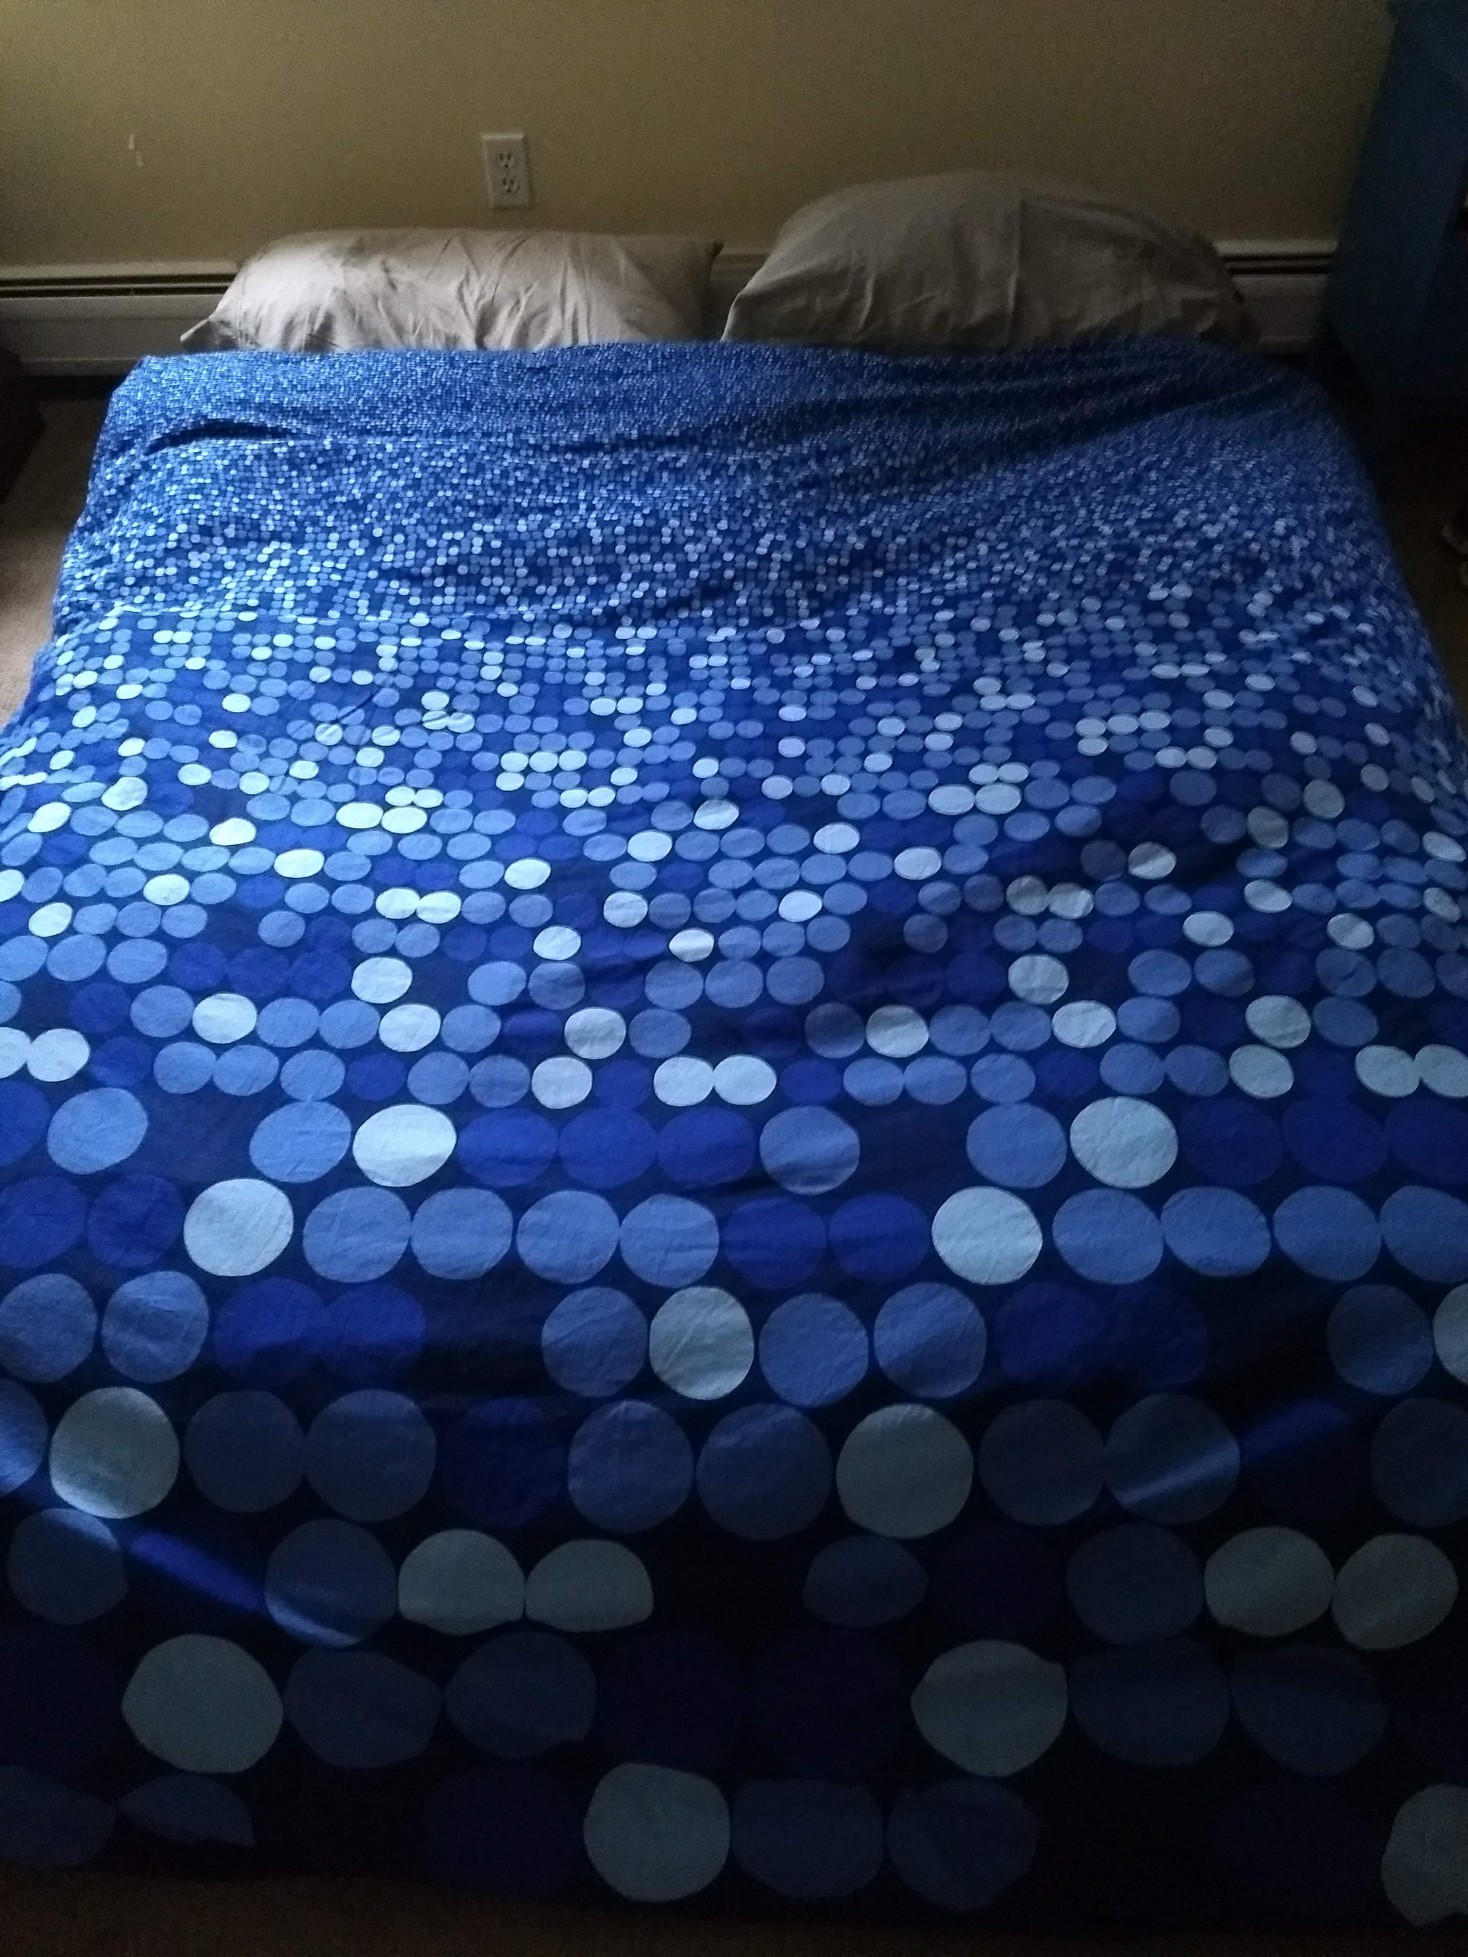
We got our backup set of sheets at Goodwill; they’re a pleasing blue and are 100% cotton from IKEA. We also got our duvet cover secondhand from a parishioner who thought we could use some extra bedding as we moved into the parsonage. Pattern-wise, it wouldn’t have been our absolute first choice, and we may eventually buy something we like better; but in the meantime it’s actually kind of grown on me:

Consider ethical retail options. If you have access to a Costco membership, they sell quality sheets and down duvets at great prices. (It’s where we got both our duvet and our main sheets.) While you need to check individual brands on offer for their labor/environmental practices, Costco as a company has great labor practices including paying employees a living wage with benefits.

IKEA also offers sheets that are made with sustainably grown cotton and/or lyocell, both of which reduce water, pesticide, and fertilizer usage. (Check the “materials and environment” tab on a particular product on their website to learn more.) If we get a new duvet cover one day, it will be one of these.

Etsy also offers US-made duvet covers but usually for a heftier price. Be sure to check whether the listing explicitly says “Made in US” (or other country with good labor practices). “Ships from US” might mean nothing more than that the US seller imported it from a wholesaler before sending it to you.

And nix microfiber when possible – it feels super comfy but is made with petroleum-based polyester fibers, tiny bits of which break off and pollute the watershed every time you wash. Try cotton sateen or a cotton/lyocell combo for a luxurious-feeling, plant-based alternative.


Tips to make life with linens easier:

For that backup set of sheets, learn how to fold a fitted sheet.

Learn how to easily put your duvet cover back on the duvet after washing it.

Speaking of duvet covers – if in doubt, get a duvet cover that is smaller than your duvet. Duvet covers often come in different dimensions than the duvets themselves, which can be a huge headache when trying to find the right size. You might be tempted to size up on the cover for roominess, but a duvet that is the same size or smaller than the cover will use that extra space to move around a lot more, leaving you with flat, empty edges and weird lumps. Our duvet cover is a few inches shorter than our duvet in both dimensions and you can’t tell – it just fills the space instead of looking overstuffed.


What’s your sheet situation? Any suggestions for how to slim down your linens and/or creatively source them?

Staging with Thrifted Decor

I mentioned in my post about our move that I’d be looking for some thrifted items to stage parts of our home as we prepared it to go on the market. Our realtor advised against staging our walk-in closet, which crushed my dreams of thrifting a chic, spare, monochromatic wardrobe just for looks. But I didn’t feel like I could walk away from the empty built-in shelves in the living room – a feeling that was part rational evaluation of how bare-cupboard it looked, and part creative stress relief during a rather intense moving process.

built ins
The living room with staged built-ins in the upper right

While my kitchen, office, and wardrobe are pretty heavily thrifted (that’s in ascending order of thriftedness), I haven’t thrifted a lot of decor before. Most of the things in our home are hand-me-downs (furniture), gifts, or items we’ve purchased/photos we’ve made on travels. My sister’s an artist so we have some things she’s made as well. All to say that even when I spot cute stuff in the thrift store, I rarely buy it because our home is happily full of meaningful objects we love.

Since this was a one-off fun project, though, I figured I’d give thrifting decor a try. Here’s how I approached it.

Find some inspiration. I follow Queen Thrift a Lot on Instagram; she does both style and and thrifted room makeovers, the latter professionally.  You can look specifically for thrifted decor ideas like hers, or just go nuts with interiors you like on IG or Pinterest.

Pick a palette. Sticking to a color palette makes a mish-mash of thrift finds look like they’re meant to be together, so that’s where I started. We had already decorated the living room with colors pulled from the rug my parents had passed down to us when we moved in (thanks Mom and Dad!): light grey/taupe; a warm, muted, earthy red; white; warm wood; and some pops of black.

living room

Shop your home. What do you already have that fits the bill? This may be obvious, e.g. the key pieces from which you pulled your color palette; but you may also be able to repurpose something that would otherwise be packed up.

I had set aside two coffee table books for staging since their big squareness fit the individual cubbies well. Be prepared for horrible lighting from here on out, courtesy of my cell phone (we’d already packed our camera):

WP_20170820_09_37_29_Pro
Sharbat Gula‘s eyes go all Emperor Palpatine thanks to poor lighting and uneven discoloration. Sorry Ms. Gula!

A fruit bowl from our kitchen that picked up the lighter wood colors:

WP_20170820_09_38_06_Pro

A very cool rock my sister-in-law gave my spouse… I think it’s petrified wood? The colors are spot on but the photograph is horribly blurry; look for it down below next to the white vase.

Thrift with an open mind. If you’re staging a room or a house, it doesn’t have to be your style; it just has to look pulled together and not particularly dated. Go in looking for the color and size you need; be willing to pay a few bucks for something you won’t keep forever and can redonate (ideally before you move so you don’t have to pack that extra stuff!). Even with furniture, spending $50 – $300+ to get pieces that work in the space and help them feel lived in costs a lot less than paying someone to stage your home.  And if you find something you love and will keep, all the better!

Keeping that open mindset at the fore, here’s what I found:

WP_20170820_09_39_03_Pro WP_20170820_09_38_35_Pro

I love the minimalist palette and design on this plate; it reminds me of some desert-made art in my childhood home. Decorative plates make zero sense to me (why not eat off of it, or use the space to display something more interesting/your books?), otherwise this might have made the “keep” list.

Likewise, I could see keeping the white/buff streaked vase in another style life, but it was filled with styrofoam (why??) so back it will go. It looked great next to the petrified wood, though.

WP_20170820_09_38_14_Pro

The picture does not do justice to this amazing crystalline glaze teapot. I flipped a small ceramic plate in the same color family that we already had upside down to boost it up a little higher so it was more visible from the floor. The plate will likely get donated when we clear everything out; the teapot was an unexpected coup de coeur and I’ve talked myself into finding a space for a teapot we’ll never use (since we never use teapots and I have no idea if it’s food safe).

WP_20170820_09_38_42_Pro WP_20170820_09_37_48_Pro

I have no idea what the thing on the left is but it was the right color (next to it is our other coffee table book). The pineapple candle holder on the right – much more red in real life – is too baroque for my taste, but it had a matching, larger candle pedestal (below) and I figured putting them in two different spots would help tie in all the disparate pieces.

WP_20170820_09_38_47_Pro

The matching mugs for the pot! Oh happy day. I used a velvet keepsake box we already had to boost one up both for a little visual interest and to take up some more vertical space since the mugs were on the short side.

WP_20170820_09_38_20_Pro WP_20170820_09_38_26_Pro

The larger pineapple, another candle pedestal, and what we dubbed the Leaning Tower of Bird Cage. I have no idea what that thing is but it was the right height for the taller space in the middle.

Play with it. Don’t be afraid to rearrange, sleep on it, and rearrange it again. It took me three or four tries to get to a distribution of heights and colors I liked. Pinterest/IG can be very helpful here as well in training your eye on how different colors/sizes/styles can go together.

Here’s how it all looked together, with sunset photos my father-in-law took in the center:

WP_20170820_09_39_52_Pro

The lower left cubby was left open for real estate brochures.

Once again, from far away but with better lighting:

built ins

Total cost was under $40. It was a bit more than I wanted to spend, but for a project I enjoyed and a beautiful teapot/mugs I’ll keep, it was worth it.

Look for extras. We thrifted neutral-colored lamp shades to replace the dark amber ones the lamps came with when friends, moving four years ago, gave us theirs (thanks Les & Lauren!). Our space needed light and for $4 a piece, new with plastic wrap still on, they did the trick very nicely:

WP_20170820_09_41_16_Pro

You can see them in action again below, where you’ll also notice our mantelpiece art:

living room

I diligently scoured my area Goodwills for art big enough to fill that space and with the right hues, but came up empty handed. So the week before our house went on the market, I picked out a photo of wildflowers I’d taken at Arabia Mountain National Heritage Area with all the colors from our living room in it, had it blown up at Costco for $10, bought a frame at IKEA for $20, and voilà, we had art we loved that played well with our staging:

imgsvr

Who knows if we’ll keep that same print in our new space; our color scheme may very well be different. But for $10 a print I’m going to have a lot of fun choosing a replacement from among our travel photos! (PS if you are near Atlanta you should definitely visit Arabia Mountain, particularly in early spring – the wildflowers growing on bare rock are otherworldly.)


Have you ever staged your home? Did you do it yourself or pay someone to do it? Do you thrift decor/homewares? If so, what’s been your favorite find? Comment to share!

What I Wore: Pink & Wine

I don’t know if the color of this scarf is properly called “wine” but I’m going with it:

WP_20170509_13_05_34_Pro
Dress: H&M
Blazer: Cartonnier
Scarf: no label – I think it’s wool
Sandals: Clarks (retail)

Here’s a closeup.  The “wine” color is a bit intense/saturated compared to my normal wardrobe palette, but the pink/gold/orange tones in it lighten things up a bit, as does the pink jacket and the white dress:
WP_20170509_12_59_33_Pro
Mmmm, print-mixing…

I don’t do square scarves very often and this is why:WP_20170509_13_05_12_Pro

I can’t get them to stay where I want/showing the part of the pattern I want. Suggestions? Maybe I’ll just pin the sucker to my dress next time…

Here is the outfit sans blazer:
WP_20170509_13_15_25_Pro

Side view:
WP_20170509_13_15_31_Pro

Styling: I started with a dress; Tuesday = yoga day which calls for a simple one-piece to change into after 90 minutes of down dog. I wanted to warm things up with some red-based tones after having worn navy blue-heavy outfits the previous three days, and I knew the v-neck of the dress would work well as a spot to showcase a scarf; hence this particular number, with colors that make me beam!
I knew we’d have meetings in chilly parts of the building so I added a blazer, with this woman’s wide range of reds as inspiration for my color choice:

WP_20161205_15_33_18_Pro
From this post

That way I could also justify keeping my red nail polish on!

I rolled my cuffs and went to work (literally).

Thoughts: the print-mixing on this is my happy place. I really like how the pink/wine (mulberry?)/red all read together and have Costco lady above to thank for that. In hindsight I would have worn a gold necklace peeping through the scarf and my gold cuff to bring a little more polish (and pick up the gold tones in the scarf).

What are your tricks for making a scarf stay in place? What do you think of my smorgasboard of red-based hues?  Scroll down to comment.