DIY Pendant Necklace Update

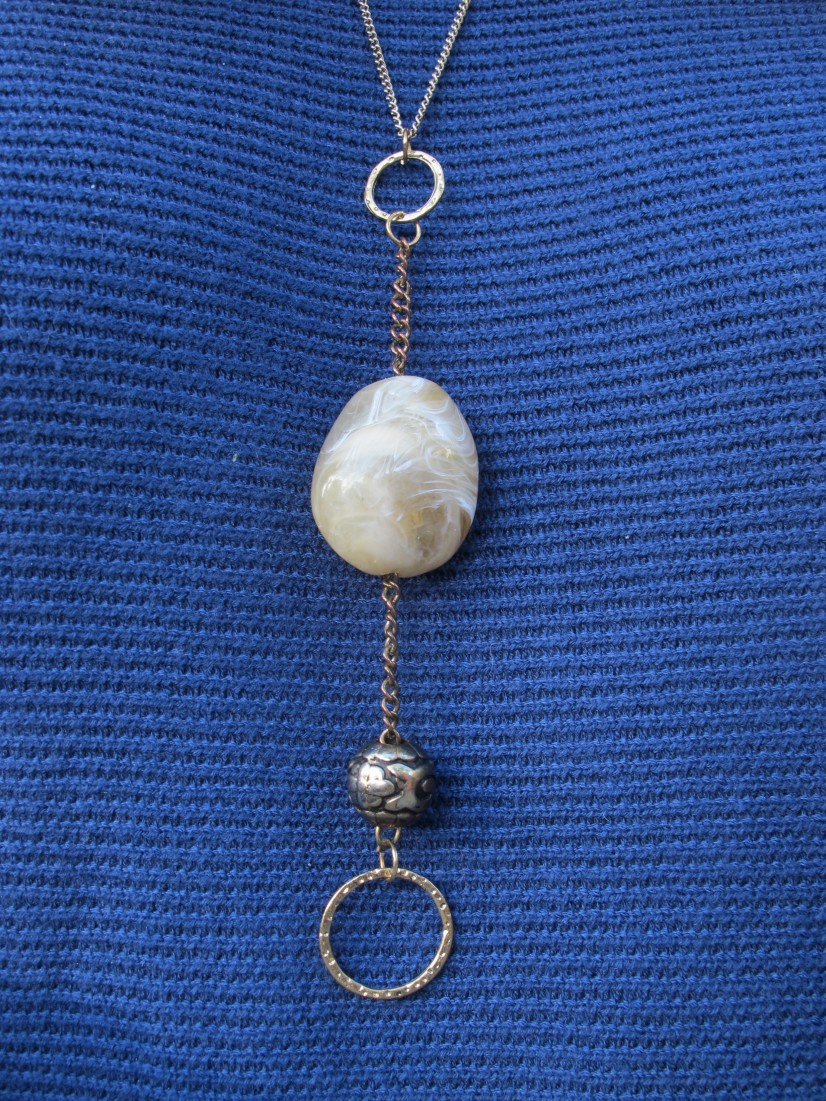
A while back, I lost my original DIY pendant necklace:

IMG_3713

Sad face. I’ve lazily waited a few weeks for it to turn up, feeling no urgency since I hadn’t been wearing it much anyway. But as I started to lean more into solid tops just begging for a little pendant pick-me-up, I realized how much I had relied on this puppy. Absence makes the heart grow fonder and all that.

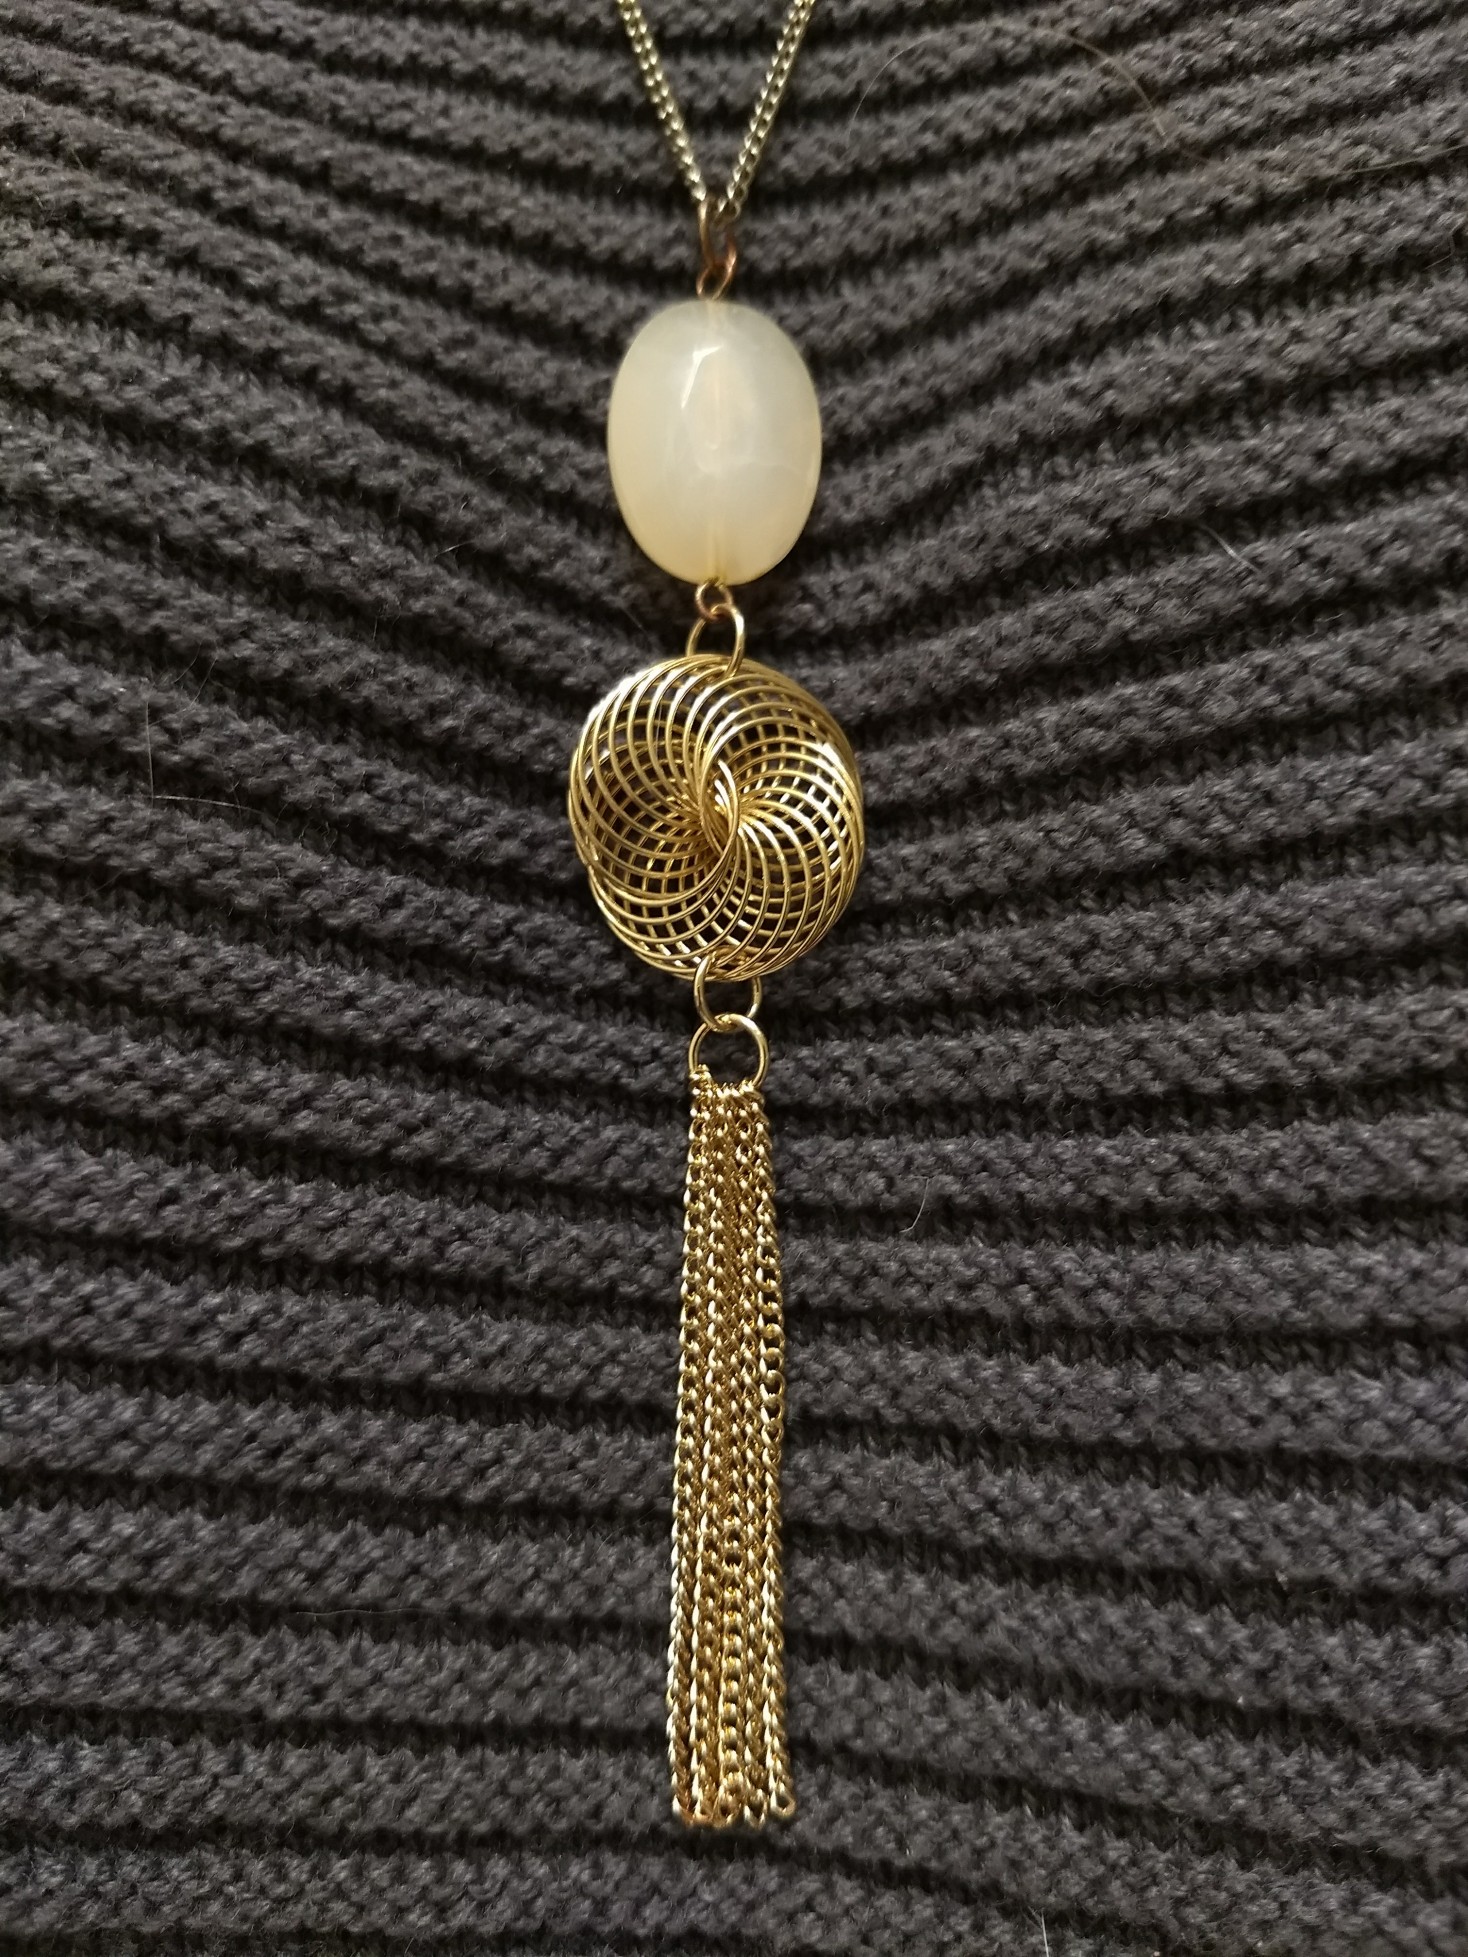
So I set about reconstructing it. I unfortunately had no more creamy, taupe-y pentagonal dodecahedrons (geometry term of the day!), and it turned out to be easier to leave the chain links on the metal spiral bead they were attached to, so it ended up looking quite different – but you can see where I got the inspiration:

IMG_20171126_175706250

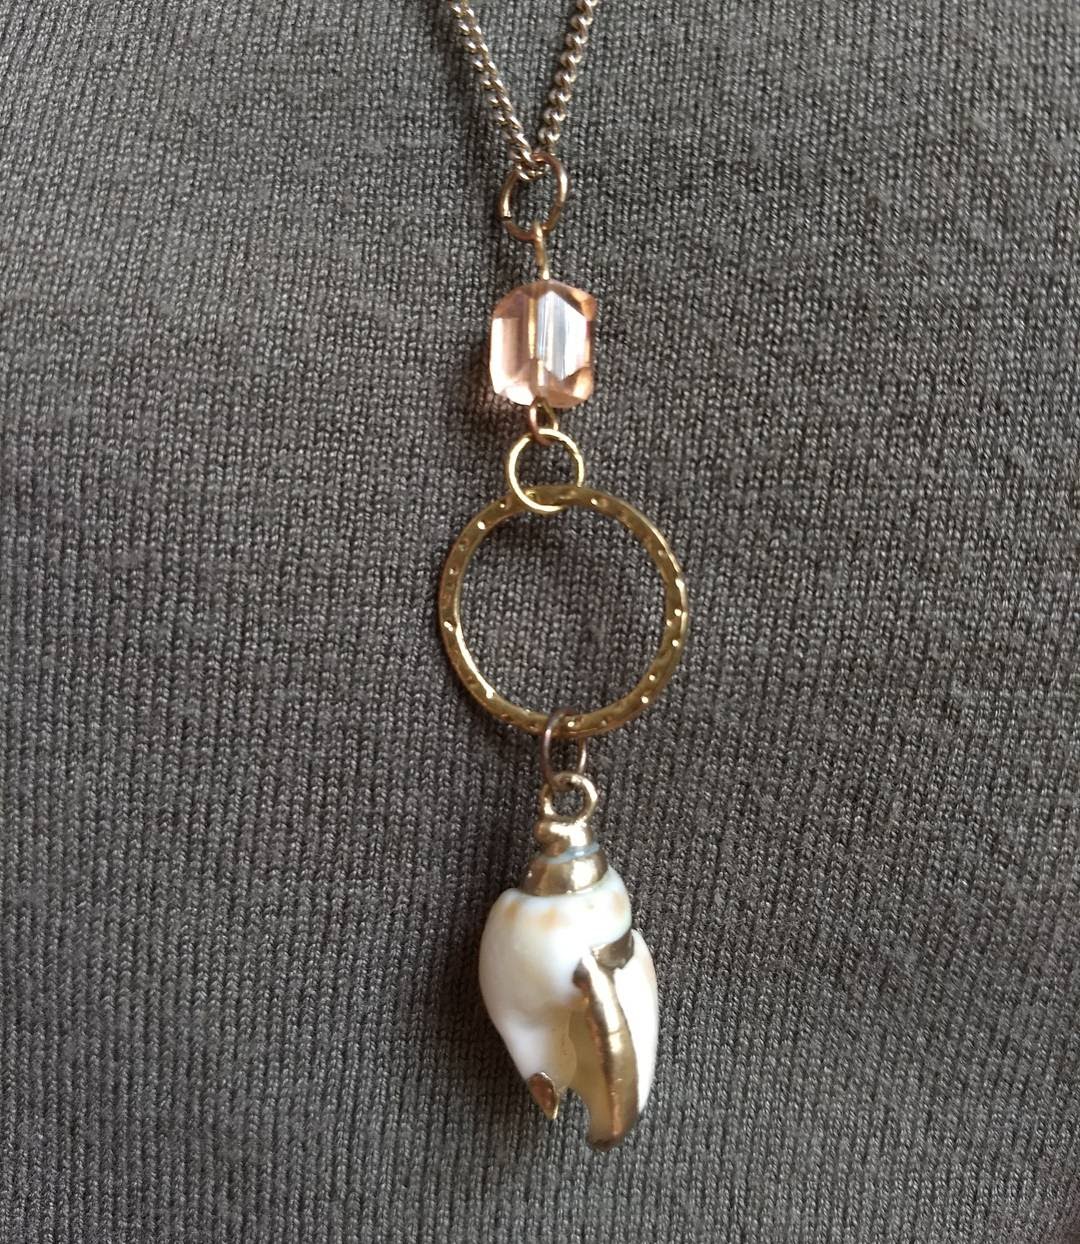
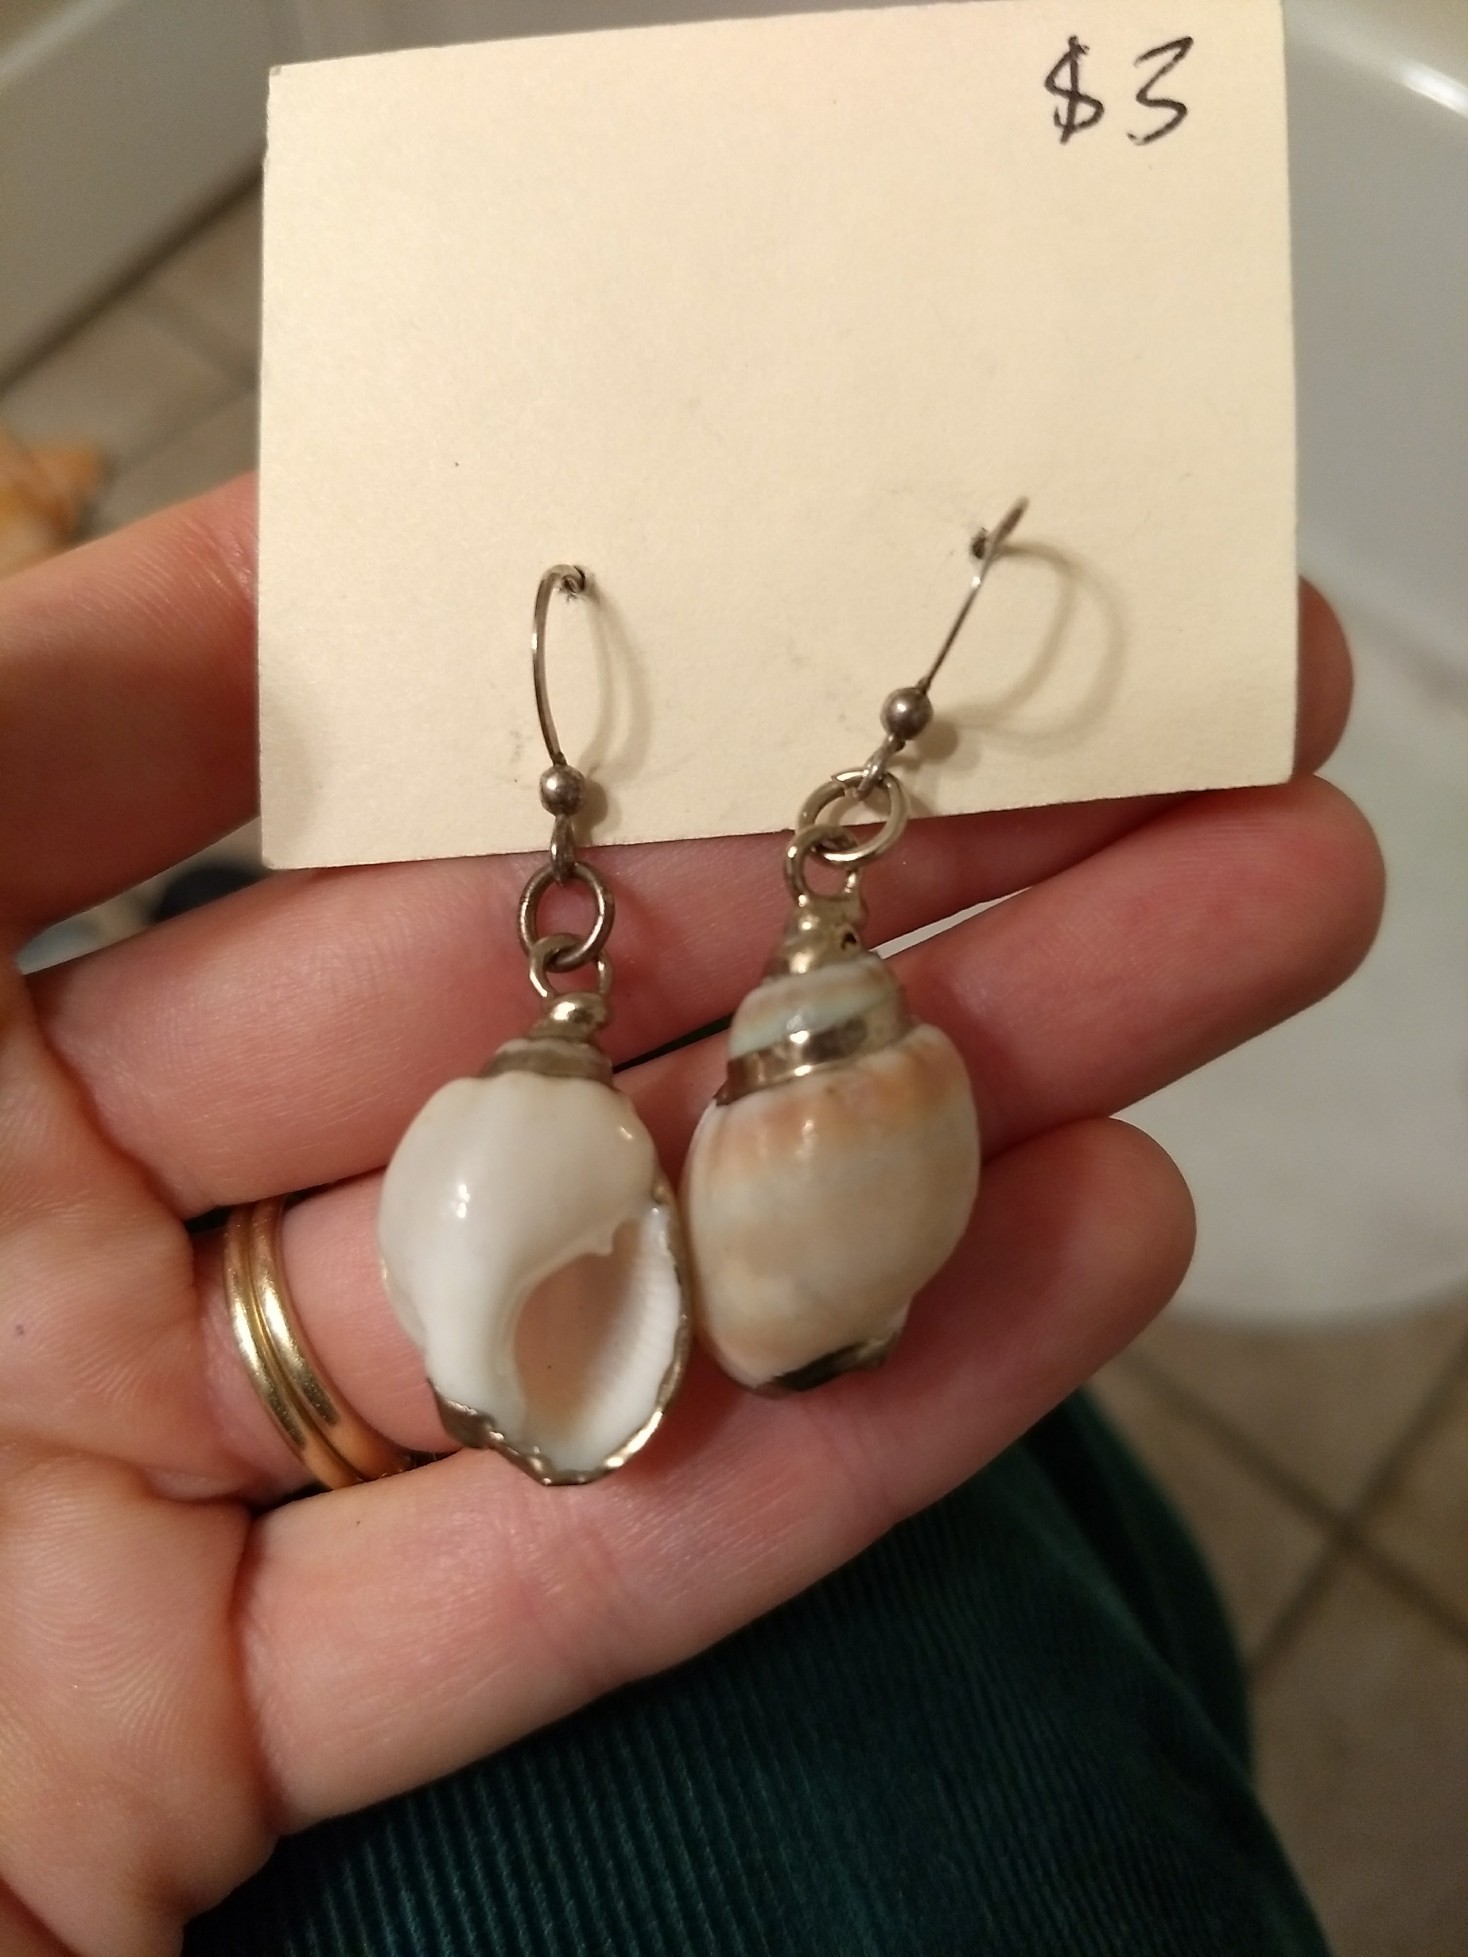
While I had my supplies out, I also made a pendant out of some gold-tipped shell earrings I thrifted the week before.

From this…IMG_20171115_205629605

…to this:

IMG_20171122_091433_660Crystals + blush pink – is that not the most millenial piece of jewelry you’ve ever seen?


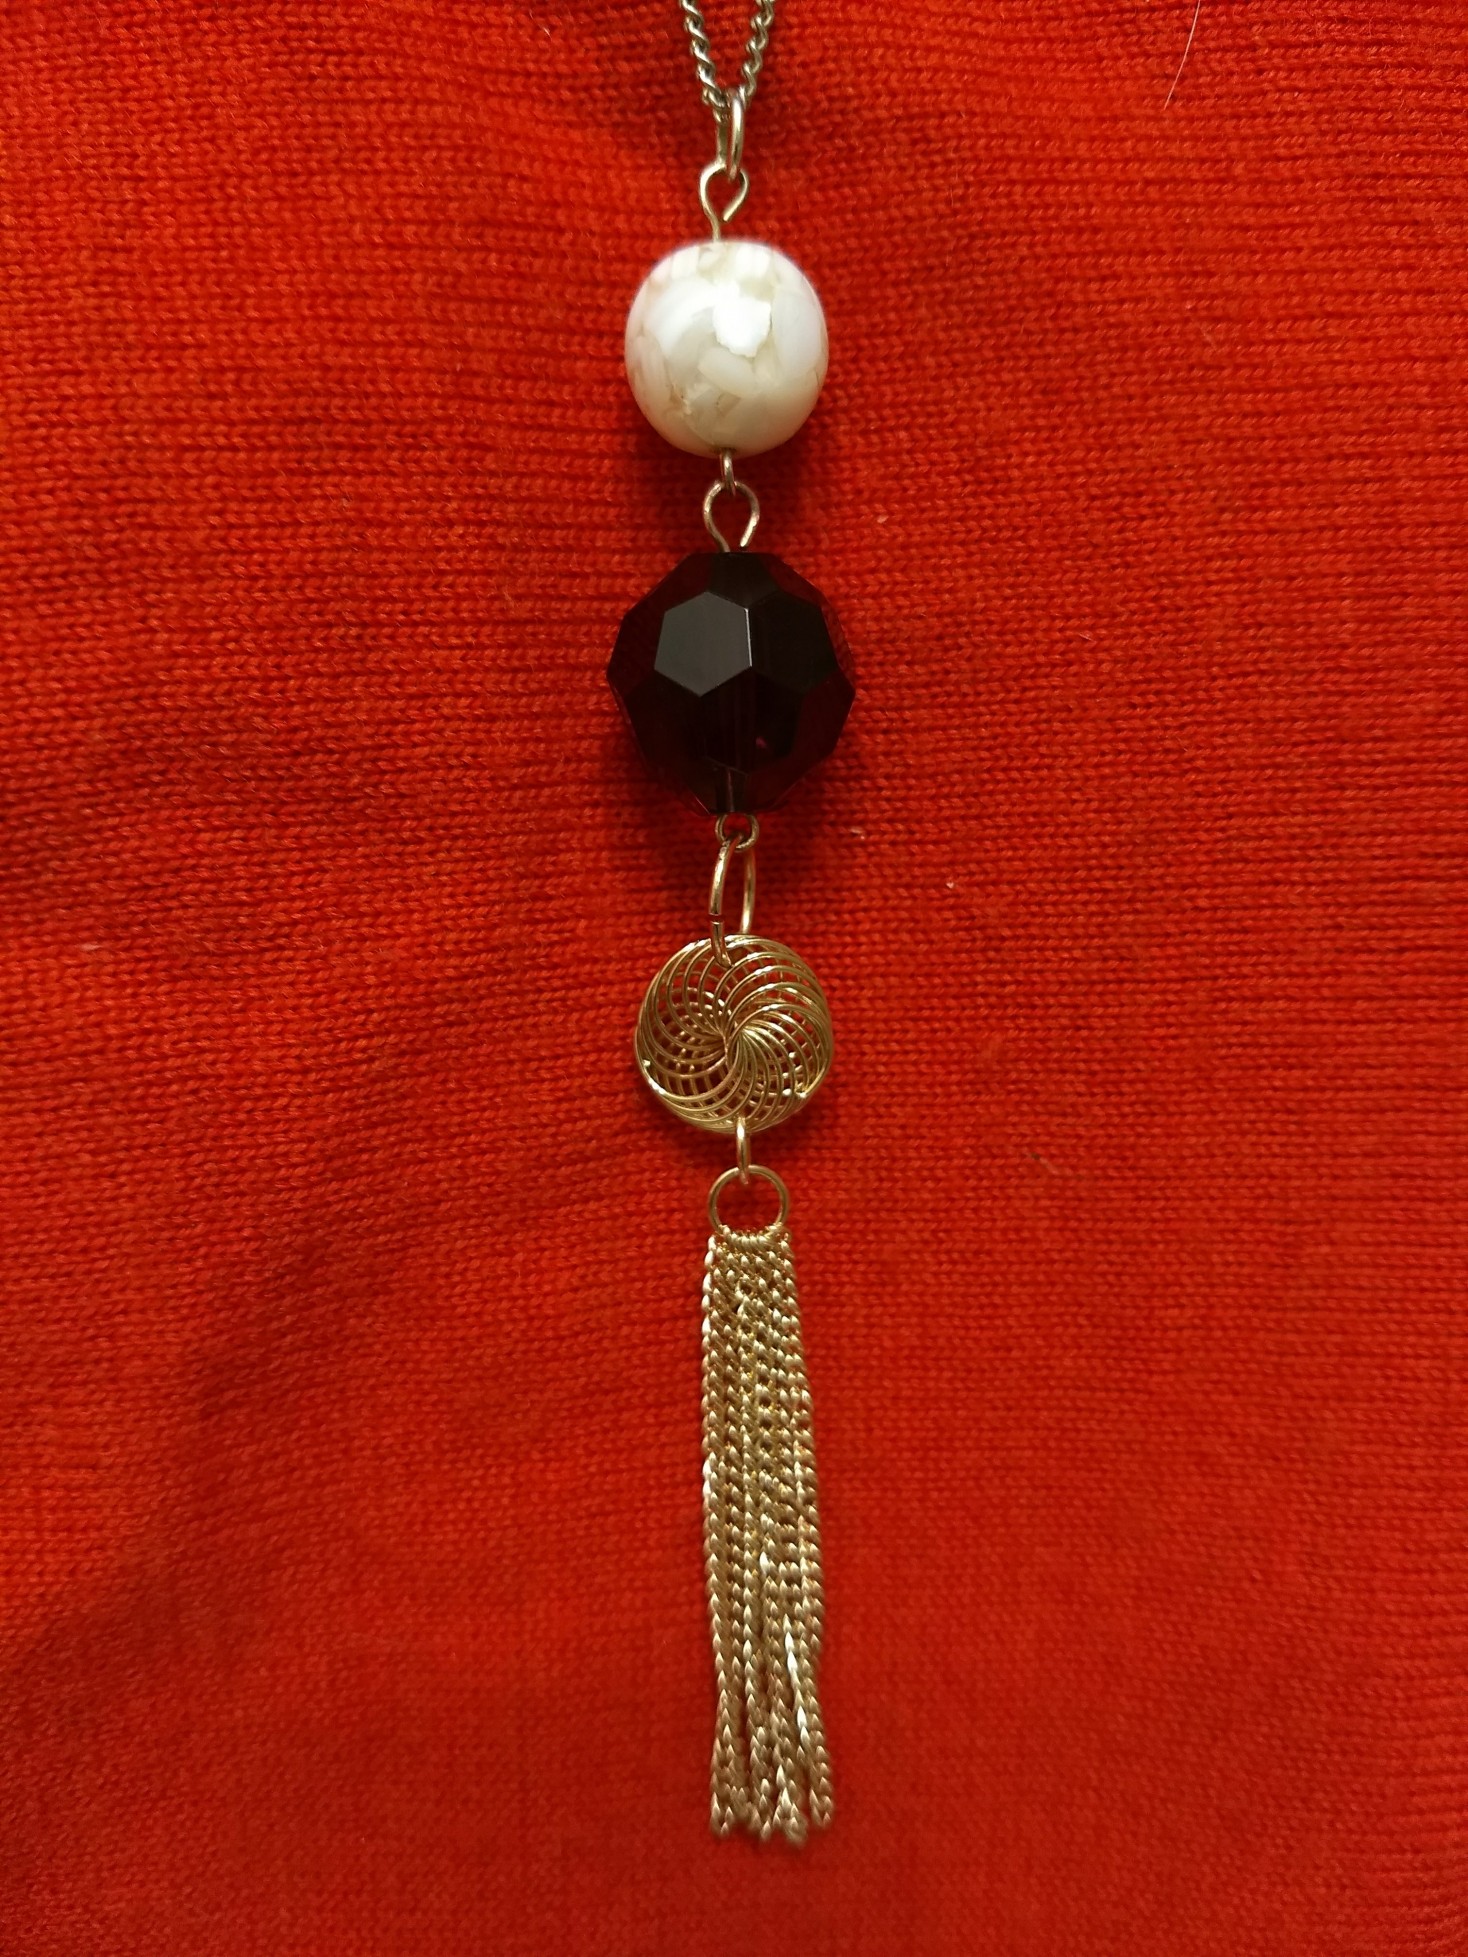
I also made another one similar to the first, but in bigger proportions:

IMG_20171126_175146642

I’ve worn each one once or twice so far; expect to see these popping up on my Instagram while I figure out which pieces go with what outfits and which I really love. (It’s a case of the “more becomes less” phenomenon also seen in my wardrobe – i.e., make a bunch of pendants and see which ones stick!)

If you’d like more detailed instructions on how to make your own pendant from thrifted parts, I documented the making of that original pendant here.  Fingers crossed I eventually find the original squirreled away in some unfolded pile of laundry!

What I Wore: Blue “Crop Top” for Work

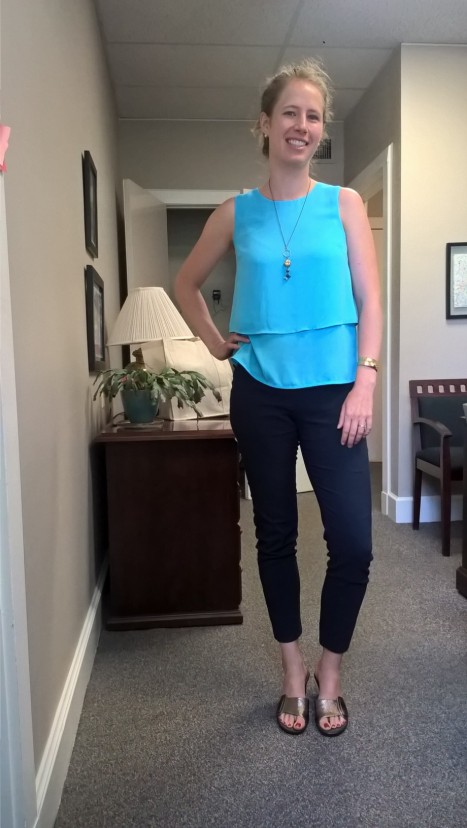
Here’s a what-I-wore shot from last week, featuring the “faux crop” shirt that’s also in this post. I love how the bright, robin’s egg blue pairs with the navy in the pants – one of my favorite color combos:

WP_20170717_16_53_48_Pro

Shirt: Dahlia – thrifted
Pants: Alfani – thrifted
Shoes: Bandolino – thrifted
Cuff bracelet: Monet – thrifted
Necklace: DIY from thrifted parts

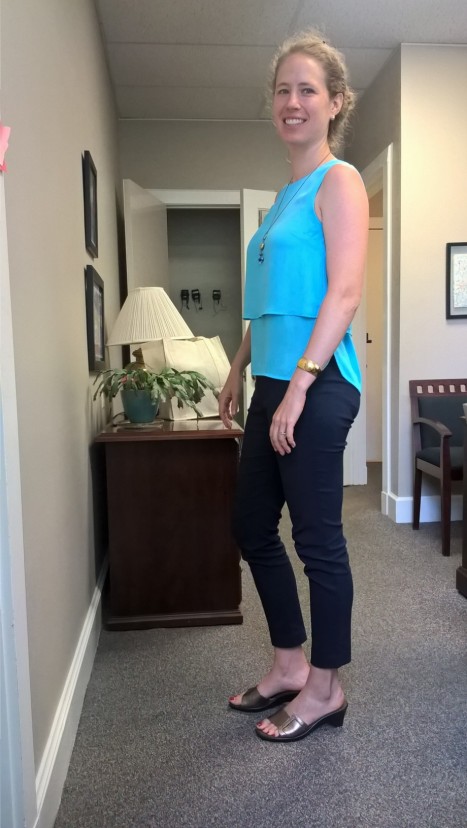
From the side – a much better view of how this whole thing looks untucked:

WP_20170717_16_53_42_Pro

Do you like my post-beach hair? Ha! The salt gives it outrageous body and waves for a few days, but eventually it just turns coarse and I have to wash out the salt. I went to bed with it fine, but woke up with things out of control and no time to wash, so up it went into a bun!

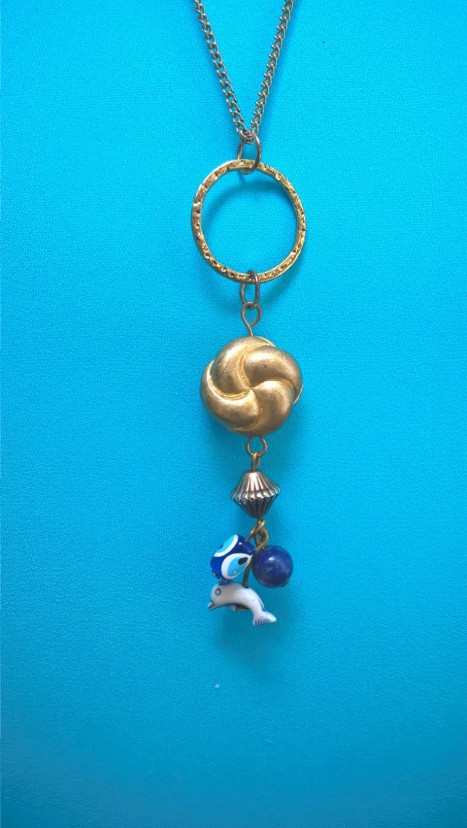
A little better shot of this necklace than last time:

WP_20170717_16_52_03_Pro

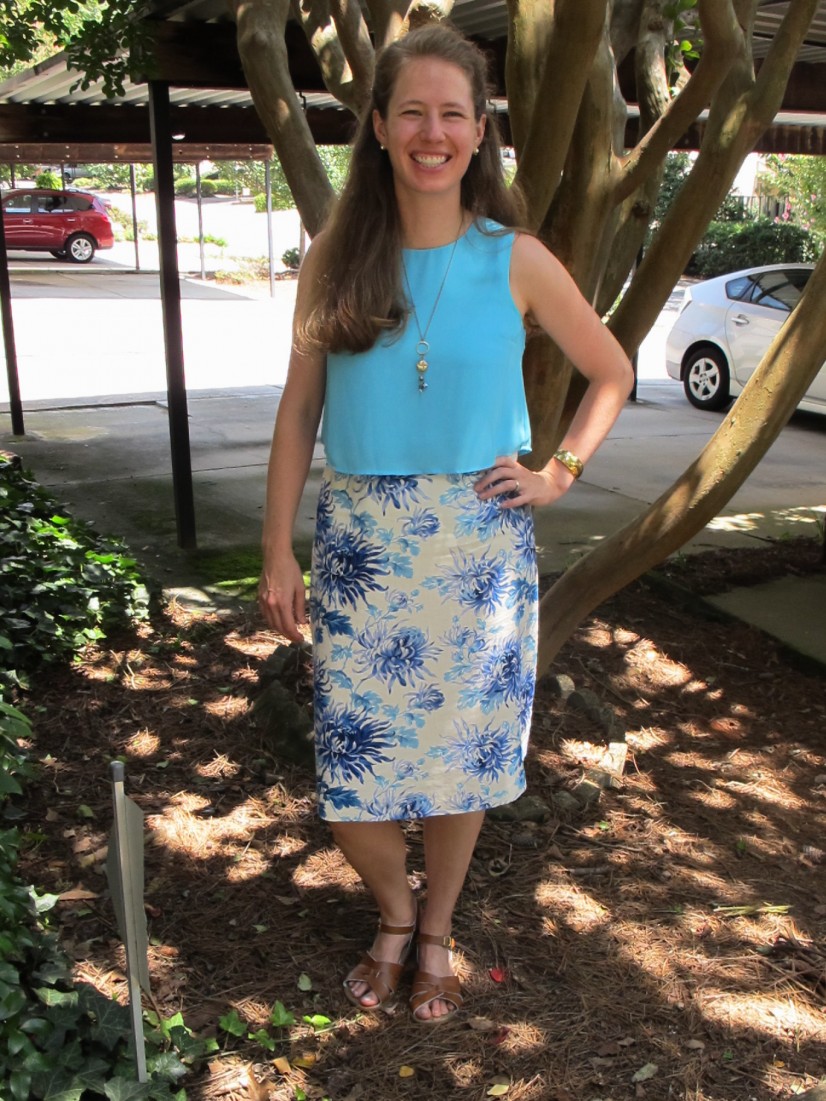
And just for comparison, how different this top looks when half-tucked into a skirt:

IMG_5801


Do you have a favorite color combo for outfits? Which look do you like better? Click through and scroll down to comment!

Friday ReBlog: No Sew DIY Ugly Christmas Sweater Arm Warmers

Yes this is a day early.  If you get inspired by these awesome arm warmers, I want you to be able to go get supplies TODAY and make them TOMORROW in time for any last-minute Christmas shenanigans.  Or, you know, they’d make a nice DIY Saturday AM to cozy up your arms for Christmas Eve.  Your call.

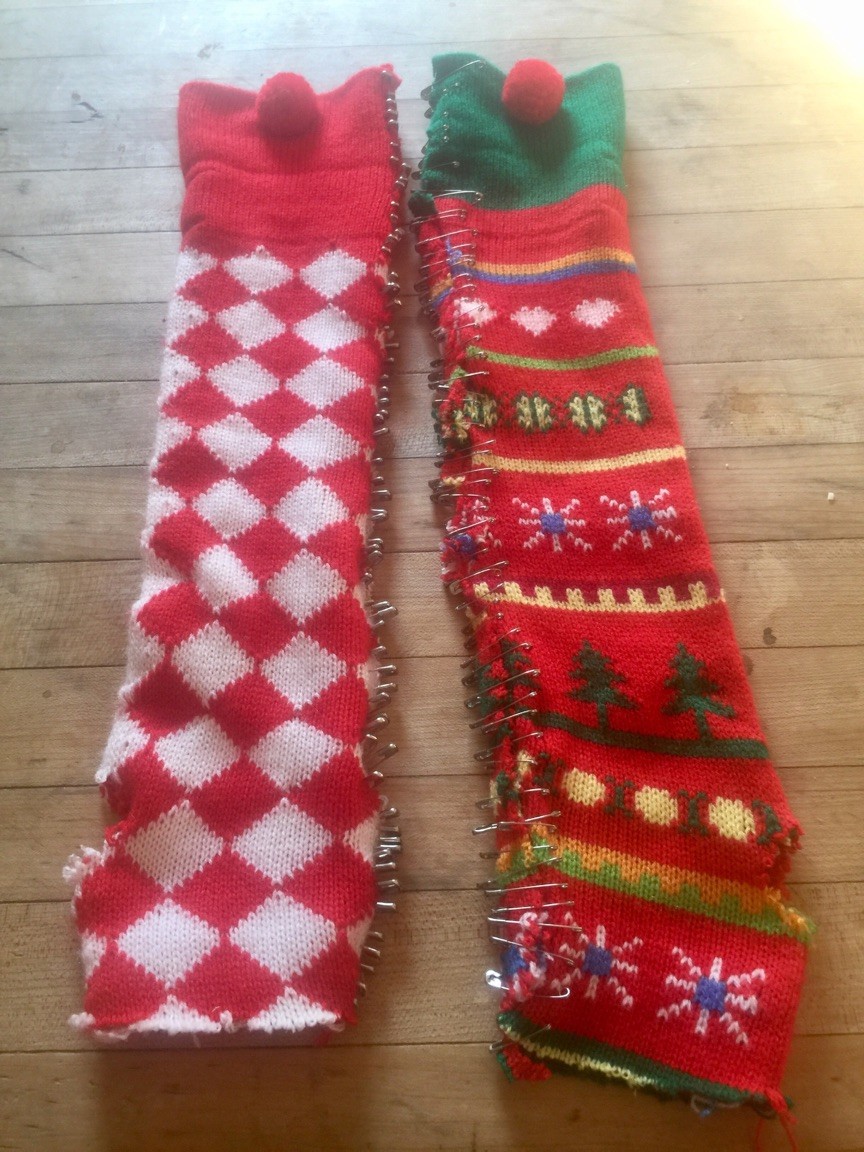
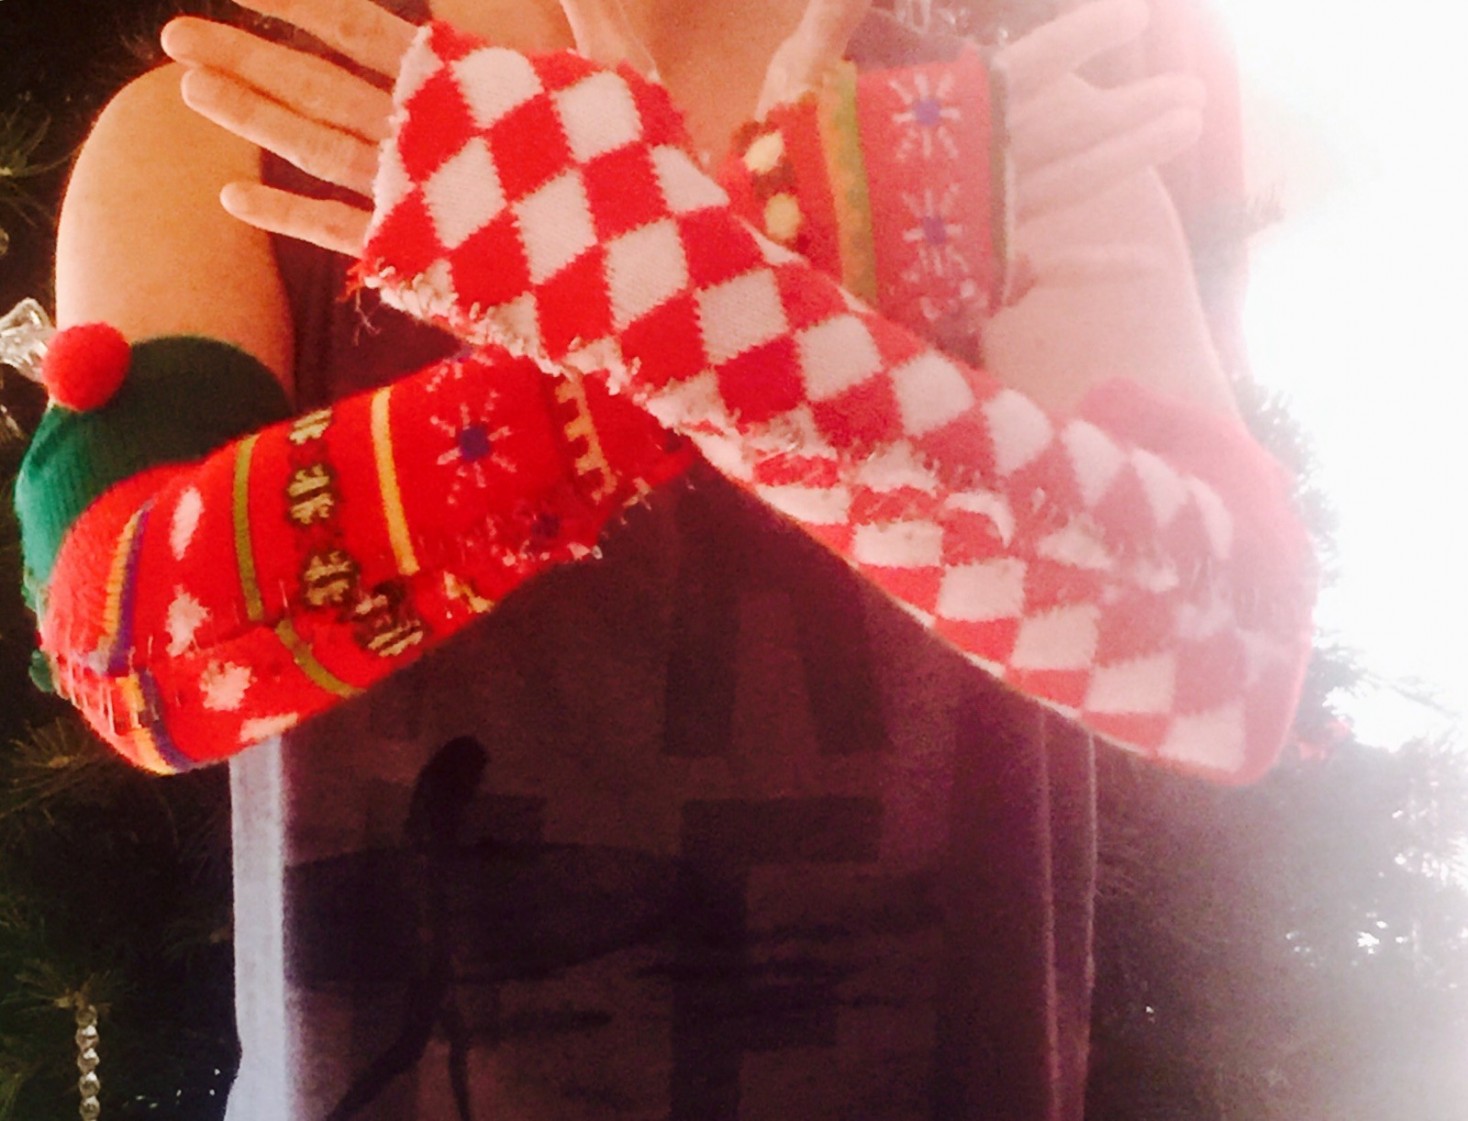
My friend Tracy is an avid thrifter (surprised?) but also much more of a DIY badass than I am.  We went to a holiday party at the house of a mutual friend last weekend and instead of merely thrifting an ugly Christmas sweater to wear (or completely missing that part of the invitation and showing up in regular clothes…whoops, that was me), she thrifted two ugly Christmas sweaters and MADE ARM WARMERS OUT OF THEM.  WITH SAFETY PINS.

It’s like an ugly Christmas sweater had little arm-warming babies with a punk rocker.  Check this out:  v__d4d6

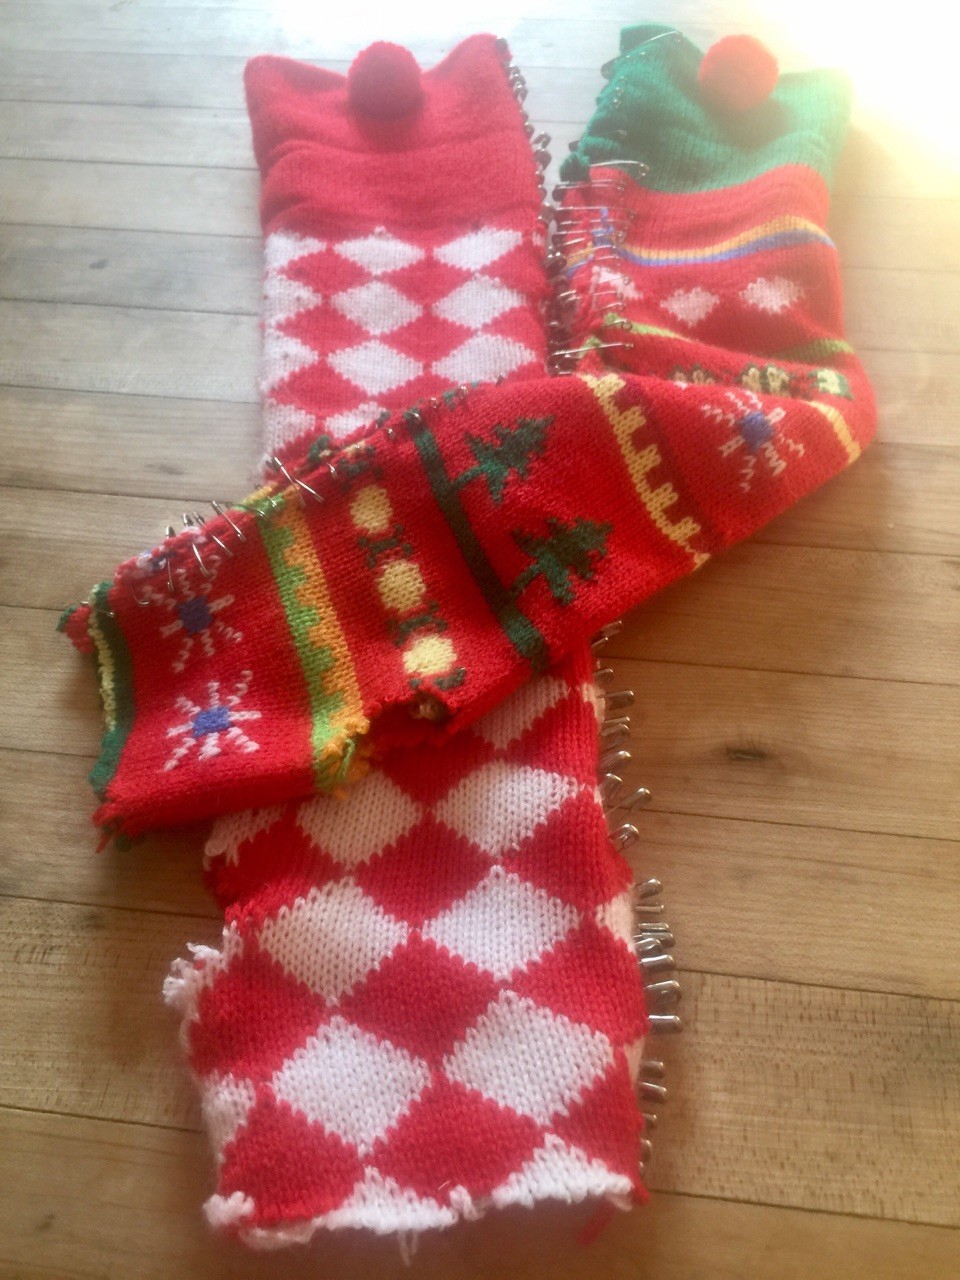
She basically measured the width of her forearm, doubled it, and cut a piece that size from the parts of each sweater she liked.  Then she cut thumb holes (the best) and instead of sewing, she thought “Why not use this pile of safety pins I have lying around?”  Why not, indeed.

v__0a70

If you were looking to make them last awhile, you could sew instead of pinning and reinforce the thumb holes with hand stitching.  BAM.

v__a043

If you and yours are looking for an easy, thriftable, warm, no-sew, and (most importantly) rad Christmas project, get amongst it.  Thanks, Tracy, for sharing!

What are your favorite holiday-related things to thrift?  Scroll down to comment!


DIY: In Which I Paint More Shoes

Blog readers who’ve been around since last summer may recall the teak Trotters flats, courtesy of my mother-in-law, which I stripped and repainted champagne.  Well that lovely woman’s feet are the gift that keeps on giving, because as they spread out a bit, she can no longer fit in narrow shoes and she passes them on to moi!

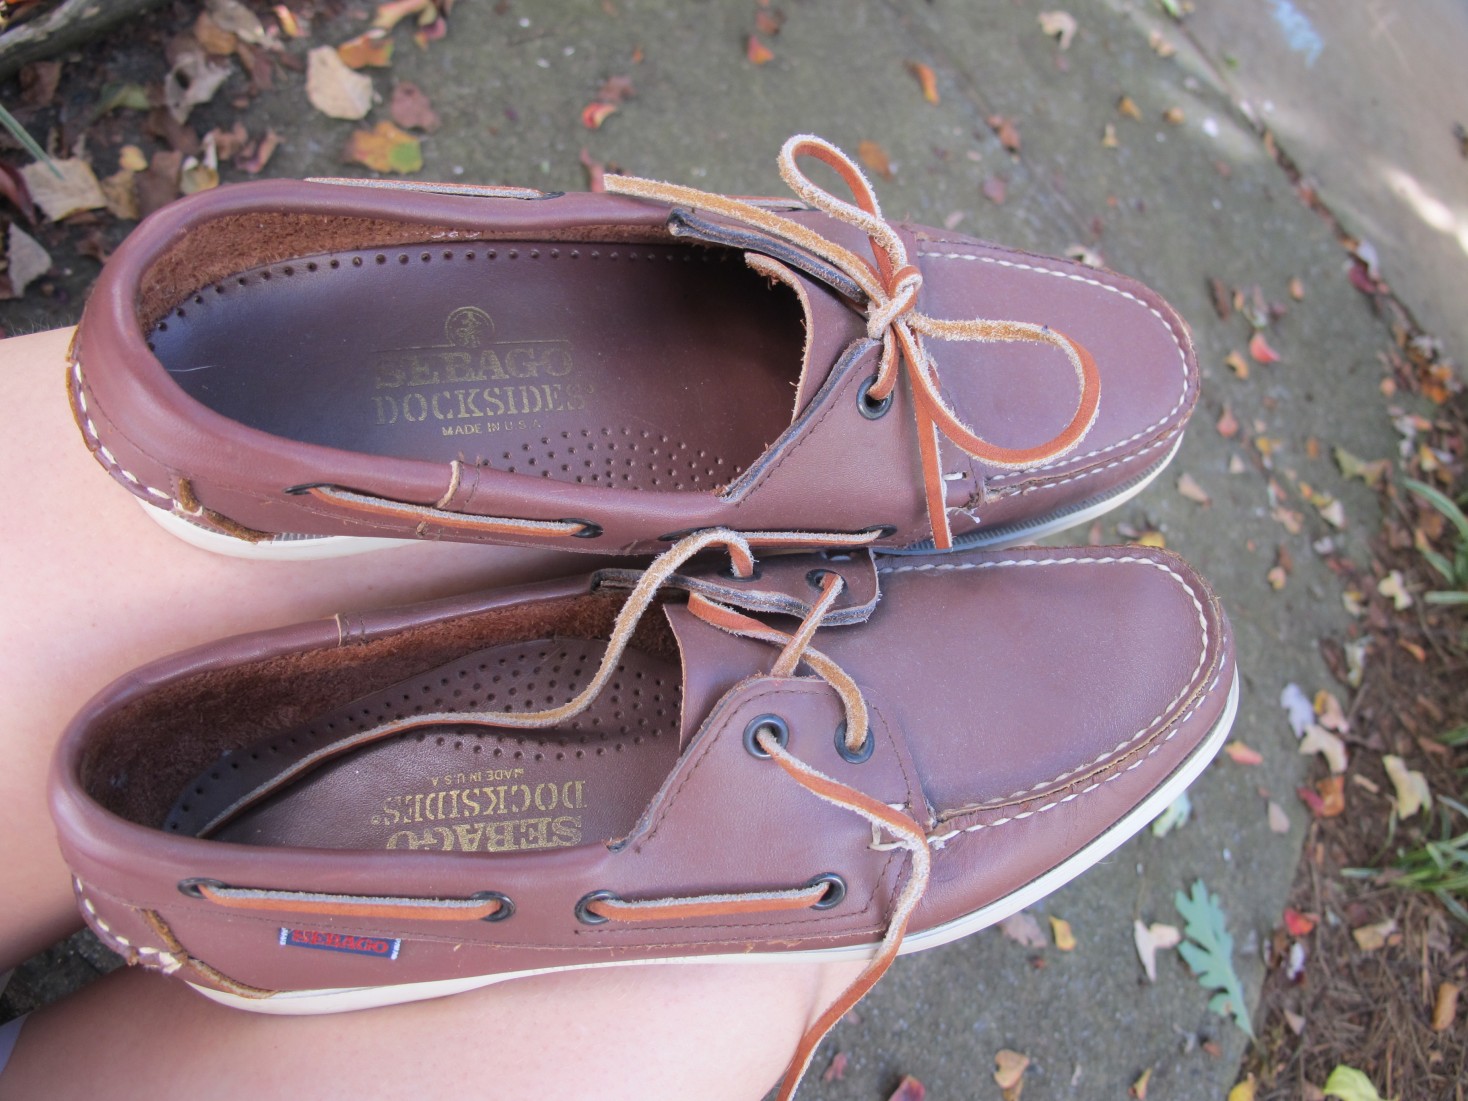
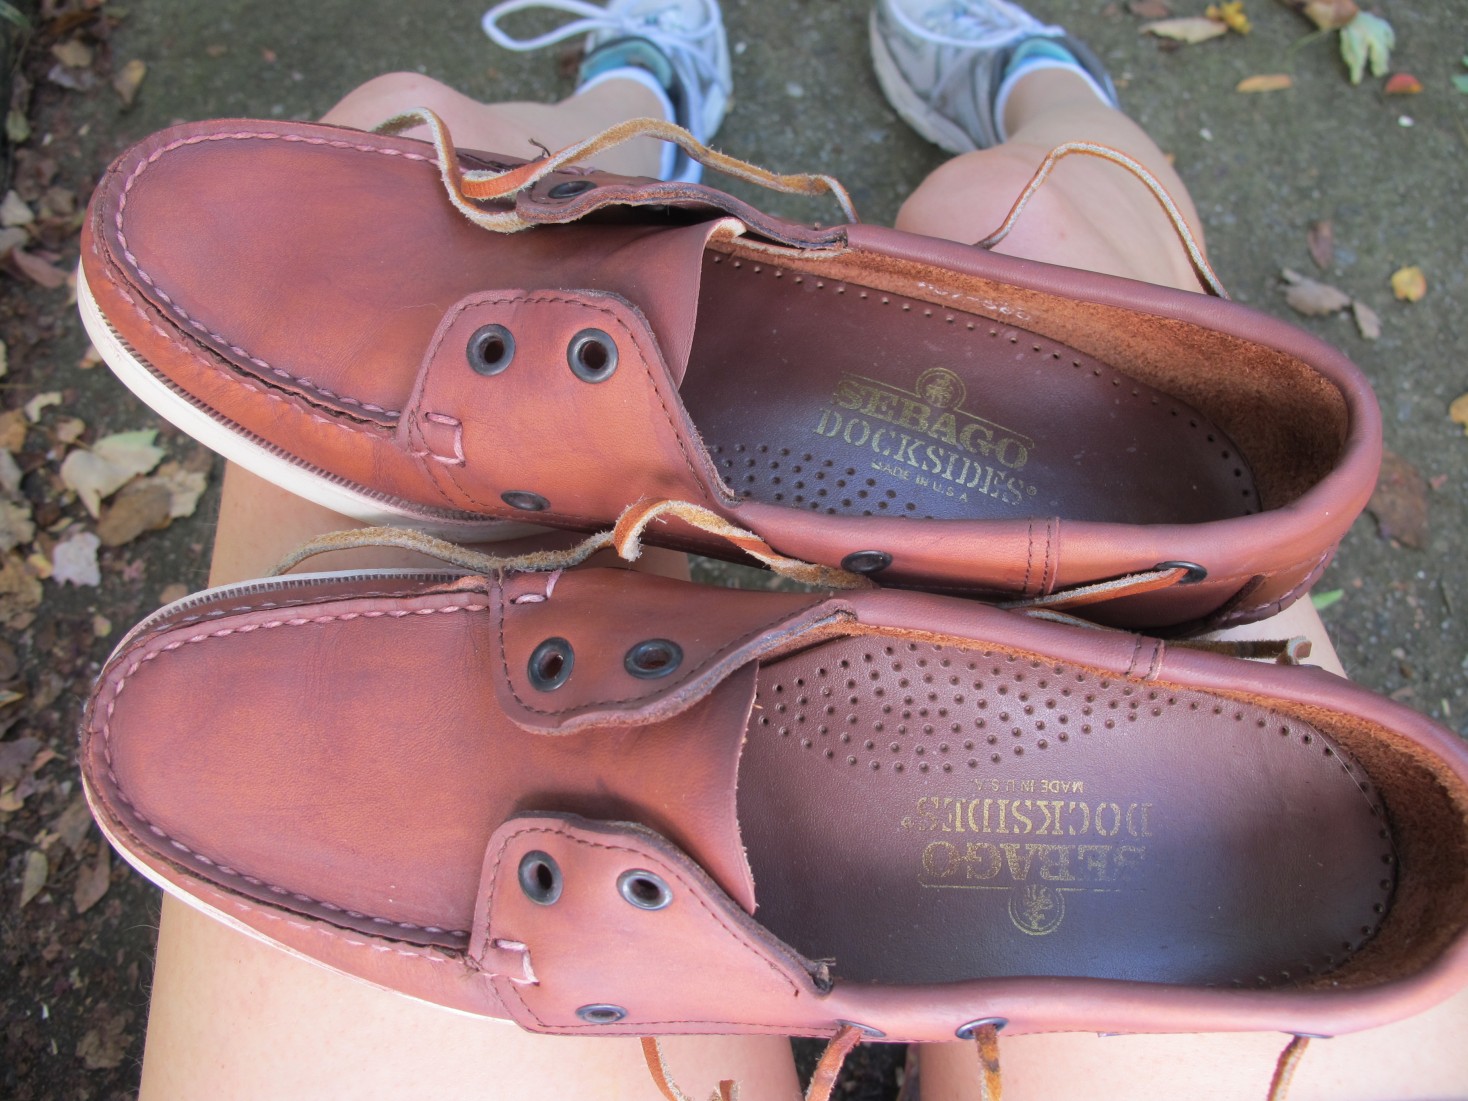
Thus I was the lucky recipient of these Sebago boat shoes, again in a dark tan color:
img_4474

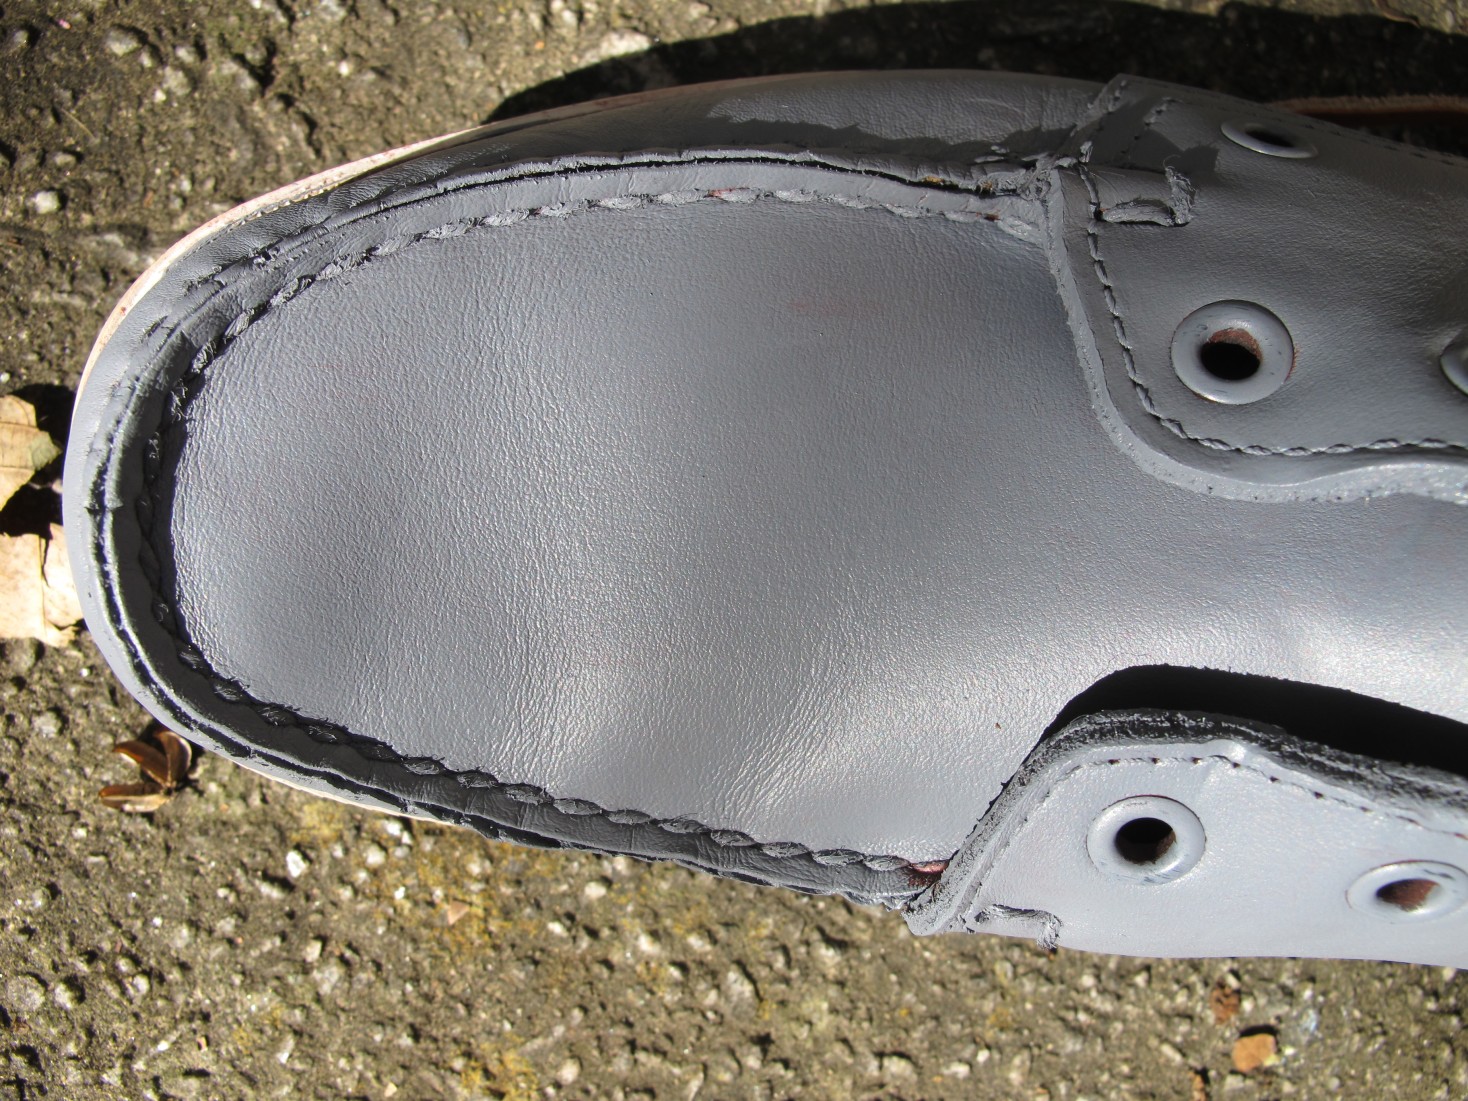
They were practically brand new, and if I had a lot of brown (any brown?) in my wardrobe I would have left ’em as is.  But since my neutral colors tend towards grey and navy, I decided to redo these in a nice soft grey.

I followed the same steps as in my first shoe repainting foray, taking my own advice to use a higher quality brush this time around:

img_4493


First I took the raw hide laces out of the first few holes so I’d have easy access to the tongue and some of the side parts.  I accidentally went one hole too far – I’m going to have to use a needle and string to rethread that puppy because it was originally enclosed between two layers of the shoe in an inaccessible area.  Pro tip if you’re working with shoes like this: check how far you can delace BEFORE yanking out the laces.

Then I got out my bottle of Angelus leather preparer and deglazer, left over from last time:
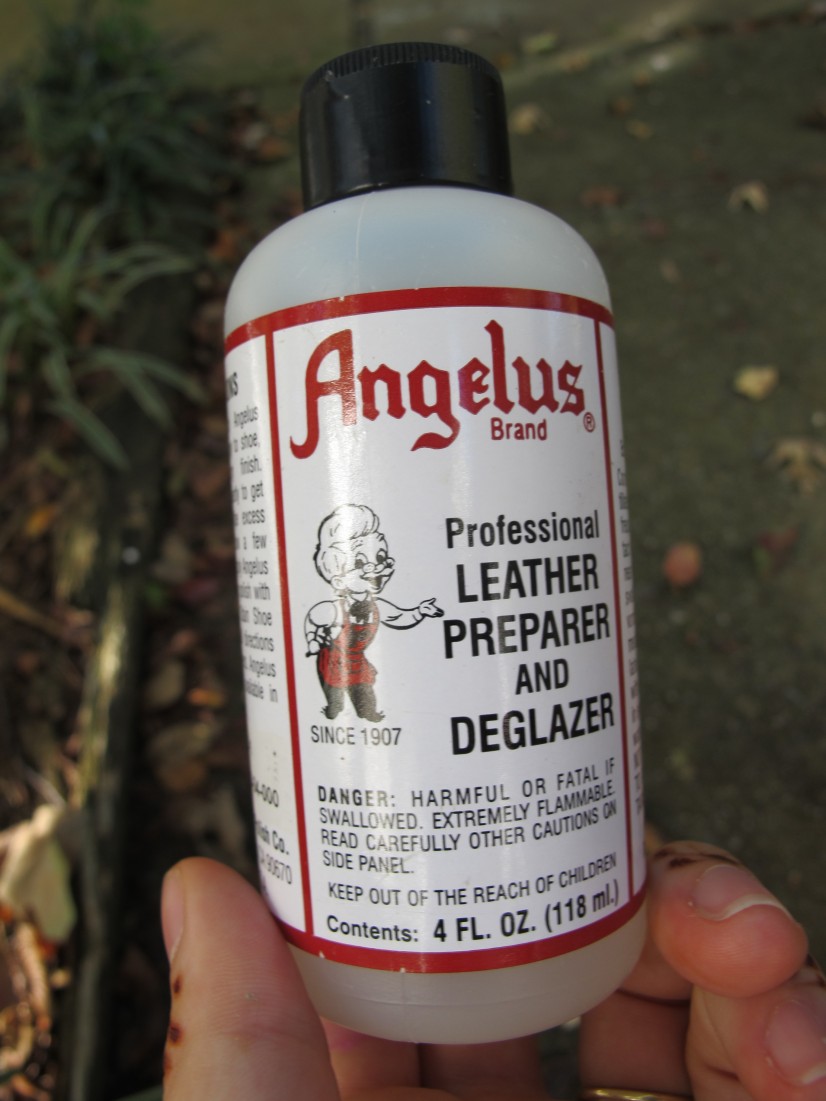
img_4475

I’d say one bottle covers two pairs of shoes (flats, that is – size 10).

I used an old toothbrush to scrub off the original color.  Similarly to nail polish remover, once your chosen implement (paper towels, rag, toothbrush) has saturated with color, it won’t remove any more pigment.  This means I did a lot of little dips into the deglazer followed by good scrubbing in a small area, and then wiped the removed color on an old rag:
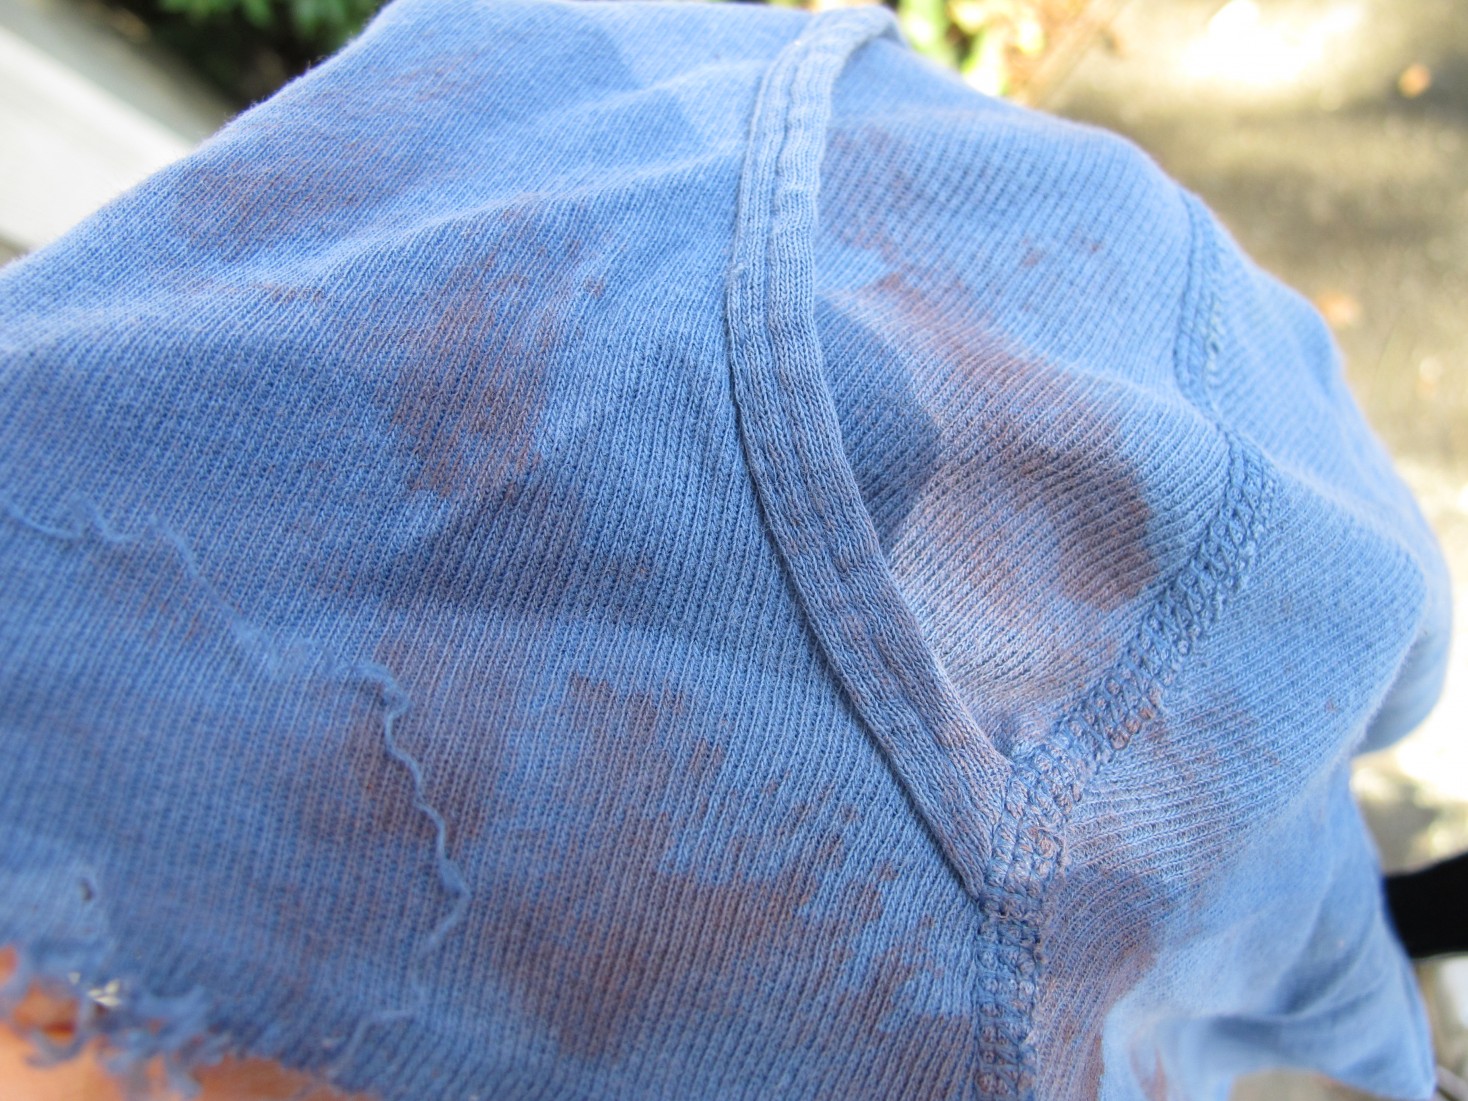
img_4491

It was pretty hard to tell the difference between areas where color remained vs. areas that had been saturated by the leather deglazer.  Eventually I figured out that if I wasn’t sure, I could just brush the area and wipe it on the rag; if color came off onto the rag, there was still original pigment there and I needed to keep working.  It was pretty much impossible to keep the original color from staining the white contrast stitching, and I knew it would be impossible to keep from painting it later, so I decided early on that the contrast would just go grey like the rest of the shoe.

Color starting to come off – the waterproof coating took some elbow grease to remove.  You can also see how the contrast stitching is starting to dye:
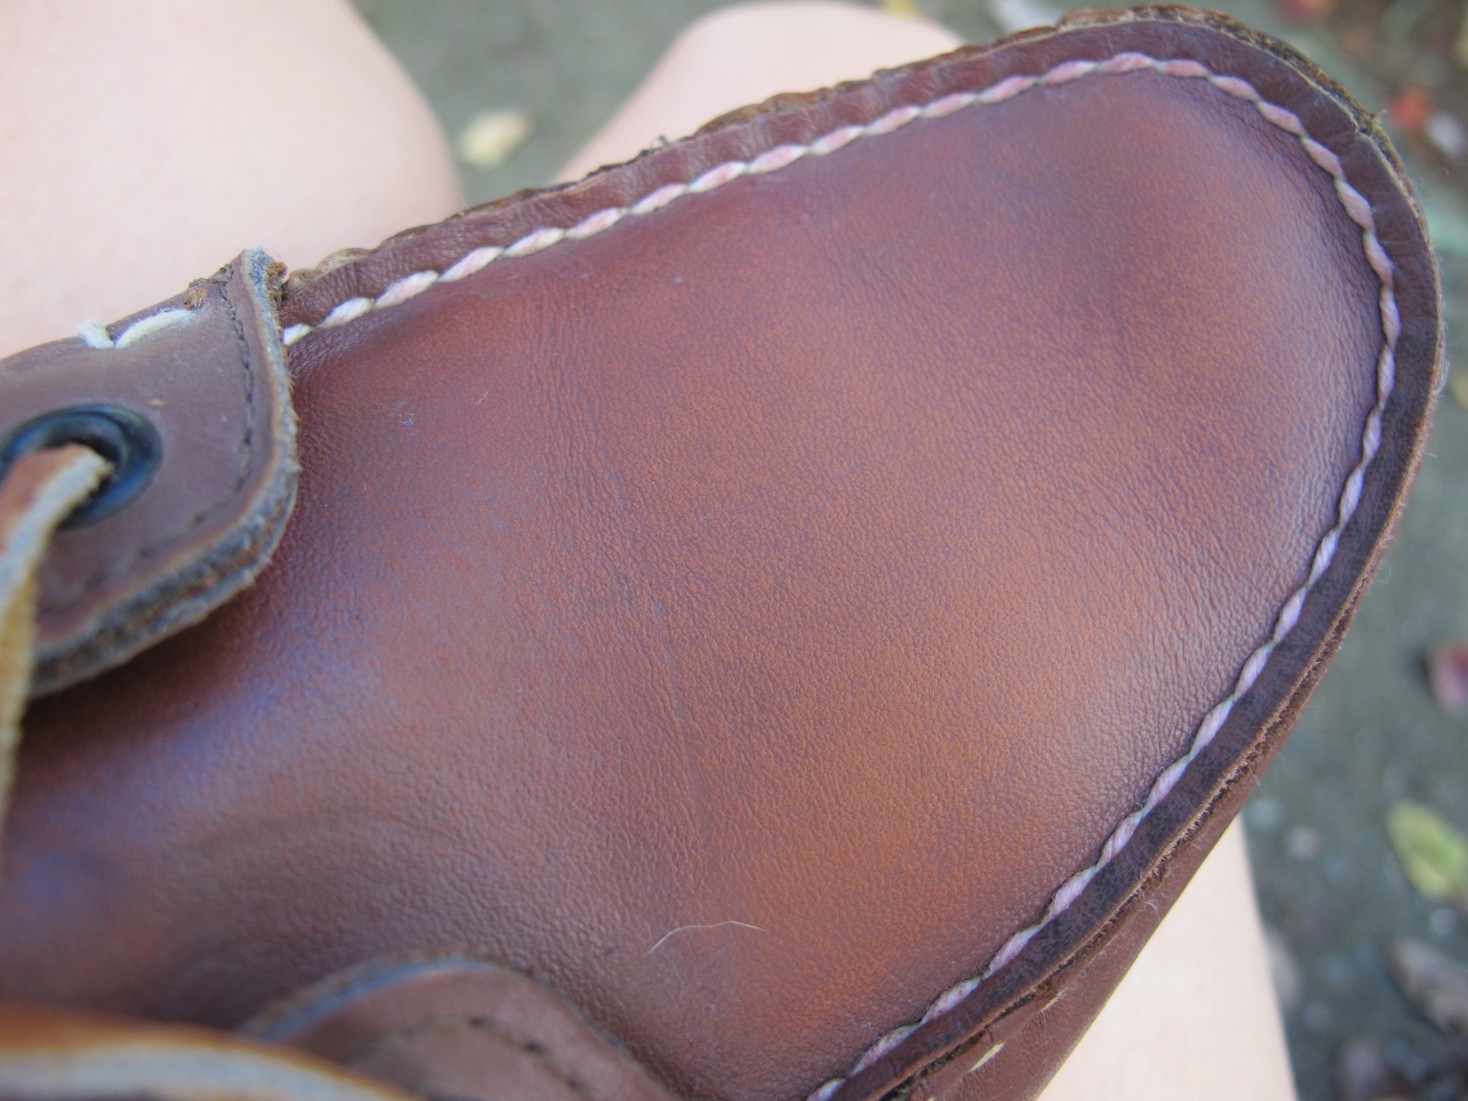
img_4477

Color removed on the right, not on the left: img_4483
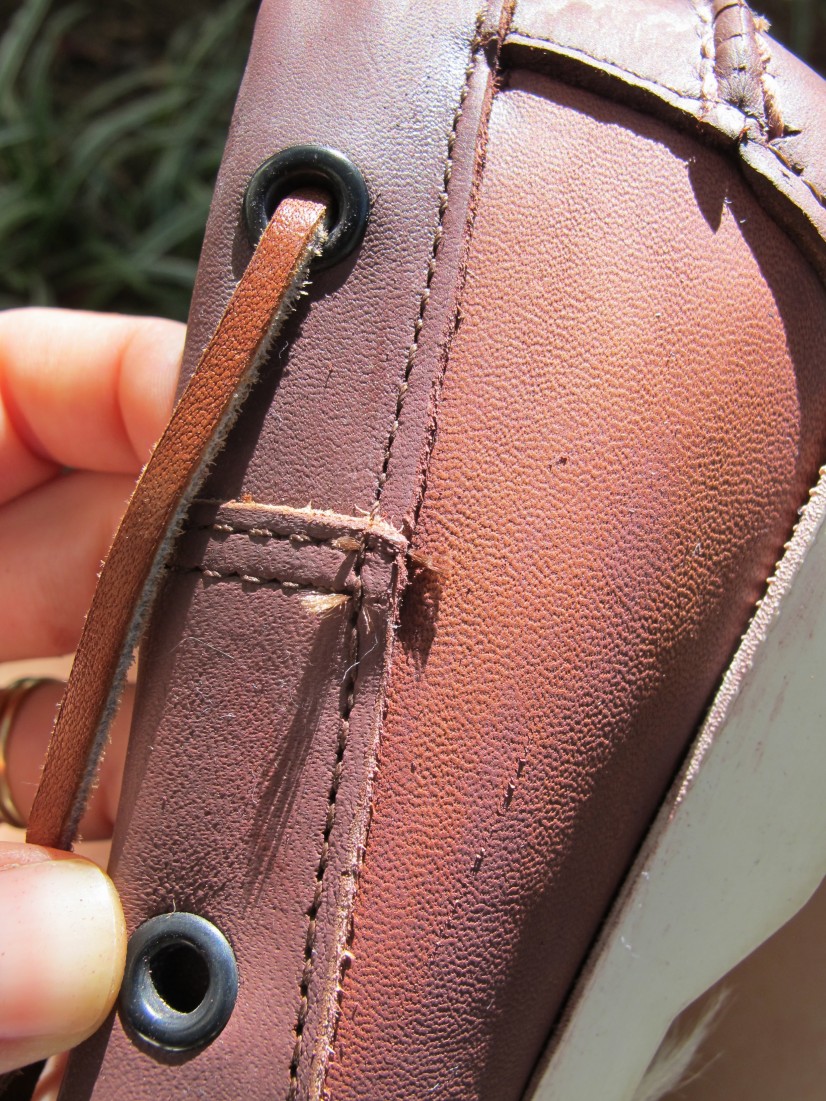
 

After I was satisfied that I had gotten most of the color off, I let them dry in the sun for about 20 minutes:

img_4485 img_4484

Next, the new color!

As with last time, with each new dip in the paint I began with the stitching, raw edges, or seams that would need a lot of paint to saturate, then spread the excess out over smoother surfaces.  Direction of the brushstrokes didn’t seem to matter as much this time; after one coat I couldn’t tell which way I had painted.  This led me to let my toddler help me paint the second coat on one of the shoes, a move my spouse called “brave”; but honestly, look for yourself at the end – can YOU tell the difference?  (I will have to use a little deglazer to get some overenthusiastic brush marks off the sole…)

I also decided to paint the grommets because it was too dang hard to paint super carefully around them without getting paint on them as well.  If I had more patience and had used a fine angle brush, I probably could have made it work.

I chose Angelus leather paint in Cement/Grey White, hoping for a muted grey that would jive with my wardrobe palette.  Here’s how it looks on the first coat:
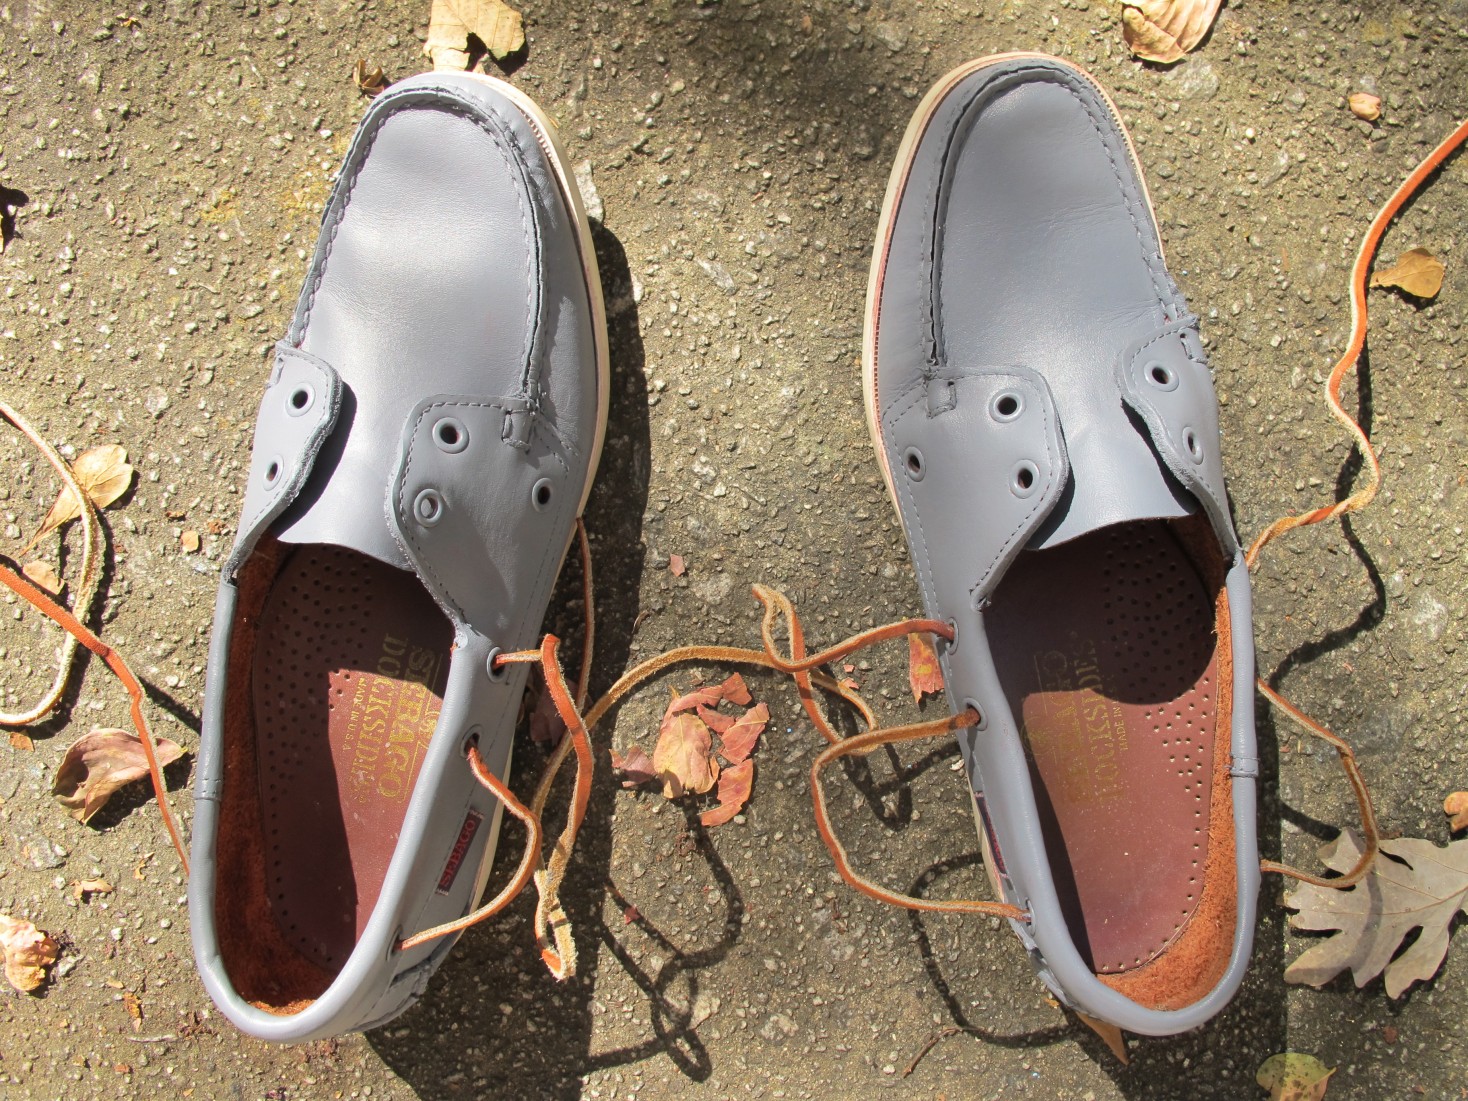
img_4486 img_4487

A little more blue than I would like, but I was hoping that wouldn’t be obvious after a second coat.

Between coats I let dry in the sun for an hour or so.  Did I mention how lovely it was to do this outside in the warm October sun?  (But watch out for falling leaves as your paint dries.)

And here’s the final product after the second/last coat of paint: what do you think?  I’m excited to wear them after a full 24 hours of drying (just to be sure) and a rethreading of that one lace.
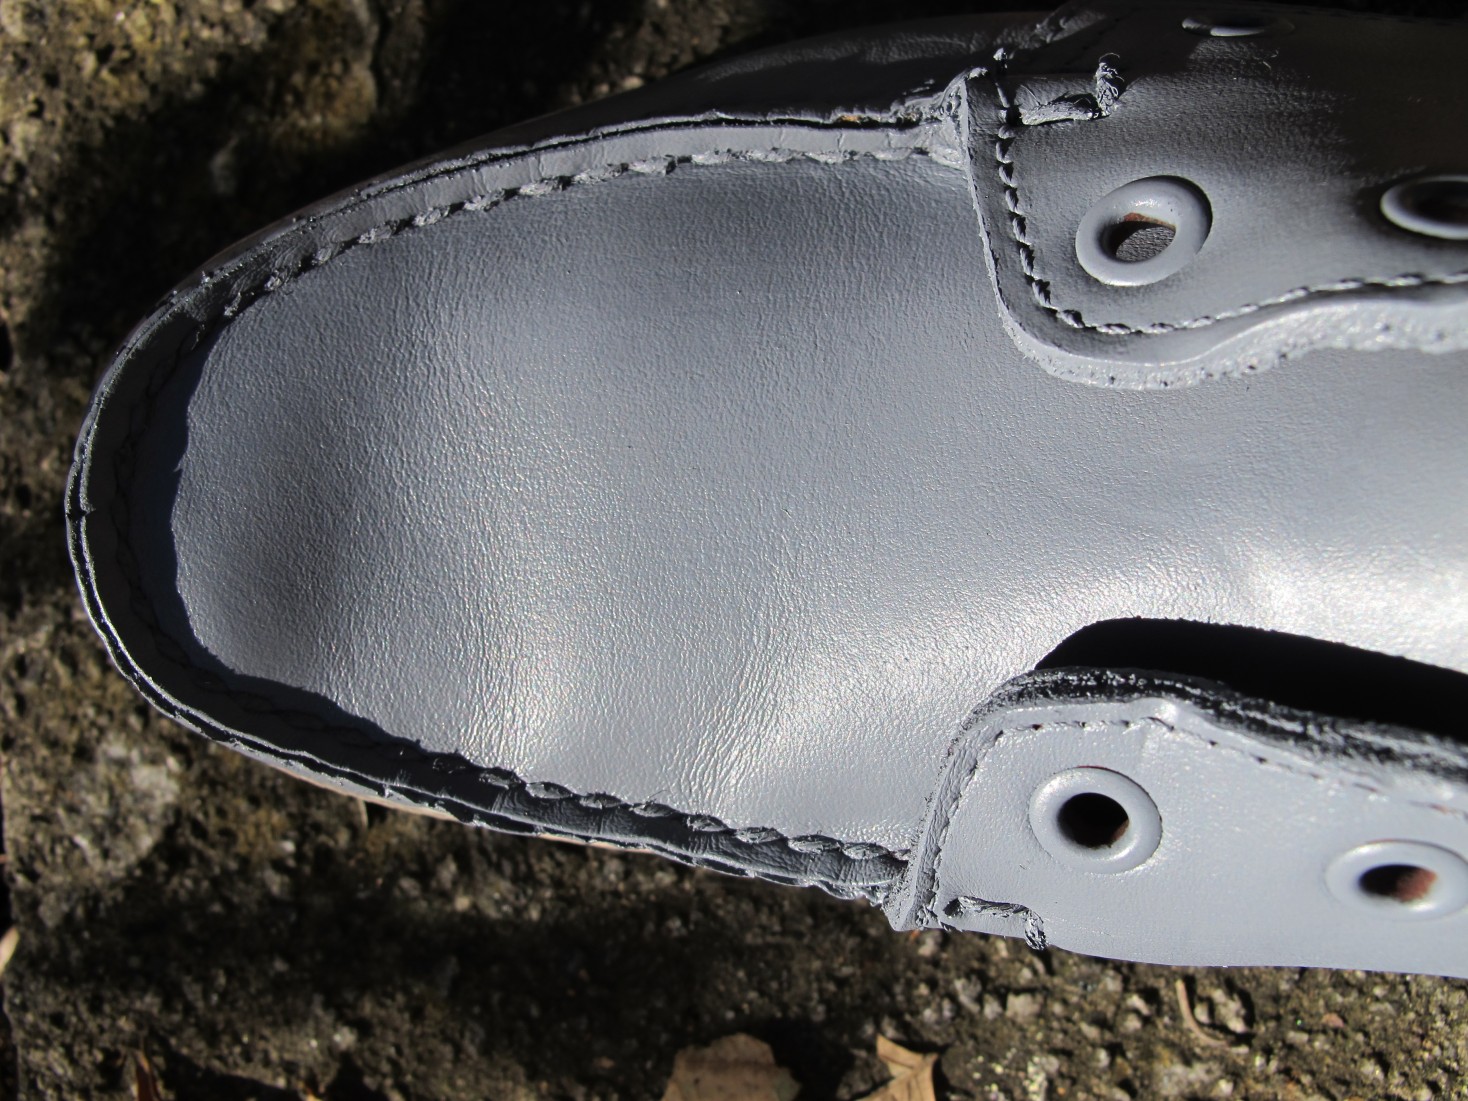
img_4489

img_4494

This project, by the way, cost me about $3 (paint) and would cost you about $10 if you had to buy the deglazer and brush as well.  Not bad for a weekend afternoon!


What I Wore: Adding Color to a Neutral-Heavy Wardrobe

adding-colorMy summer wardrobe has lots of corals, tomato reds, teals, and a dash of cerulean that liven up some neutral pants and dresses.  My winter wardrobe, though?  It’s a pretty stark assemblage of creams, greys, and navies with a tiny touch of blush pink and gold.  I have an open closet and staring at all those neutral cold weather clothes lined up every time I passed was starting to make me feel a little too Ice Queen.

My first thought was to get some red shoes to warm things up.  Because red shoes are SASSY.  They are bold and fun and insouciant and they completely change the tenor of a wardrobe.  And red – either a solid bright red or a darker oxblood variant – would be the perfect winter version of the corals and tomatoes so prominent in my summer closet.

Well, shoes are a bit harder to thrift than other things, partly because our feet come in so many different sizes and partly because I personally have AAA narrow feet and need an arch.  So it’s a rare affair to find thrifted shoes that fit and are comfy, and ankle boots (the style I had in mind) are even harder to come by – as a still-current trend they haven’t really made it to the thrift sales floor en masse yet. (These Sam Edelman suede beauties aside.  I’m still sad they were too big for me.)

I thought for awhile about buying a new pair retail, which is how I have gotten a few pairs of my shoes – either as gifts or bought with my own hard cash – because I care that much about having comfortable, well-shod feet.

But then I started thinking there had to be a cheaper, more environmentally friendly way to bring some color into my wardrobe.  I realized I already owned nail polish in oxblood that I LOVE and could easily sport on days when I’m feeling too neutral.  I also already had a scarf in the neighborhood of cranberry and with some gold and coral accents that would make it interesting and translatable to other parts of my wardrobe.  So far I hadn’t spent a cent and my closet already had more life!

I was still hoping for an actual piece of clothing, though, so I thought about thrifting for a turtleneck or thin sweater in burgundy/cranberry/oxblood.  But I was a little wary of wearing the color near my face since it’s pretty robust for my skin tone.

Then I nabbed the Talbots catalogue that comes to my boss at work and spent my lunch flipping through it for inspiration.  (I feel like Talbots is about half twee and half dead ringer for my style…so this little habit is a half-guilty pleasure.)  The color and texture of this “rum raisin” skirt fell in the dead ringer category and I made a mental note that that hue would work as a great “red” for fall/winter.

Lo and behold, the very next Saturday I had a chance to go to my local Goodwill and flip through the pants racks for something similar.  I found American Eagle Outfitters jeggings (great fit, too casual for work), Talbots cords in a spectacular flame red-orange (my size but didn’t fit and too intense), and some Style & Co. cords in a slightly redder, less purple cast of “rum raisin.”  They were a size larger than my normal and marked “P,” but something told me to try them on anyway.

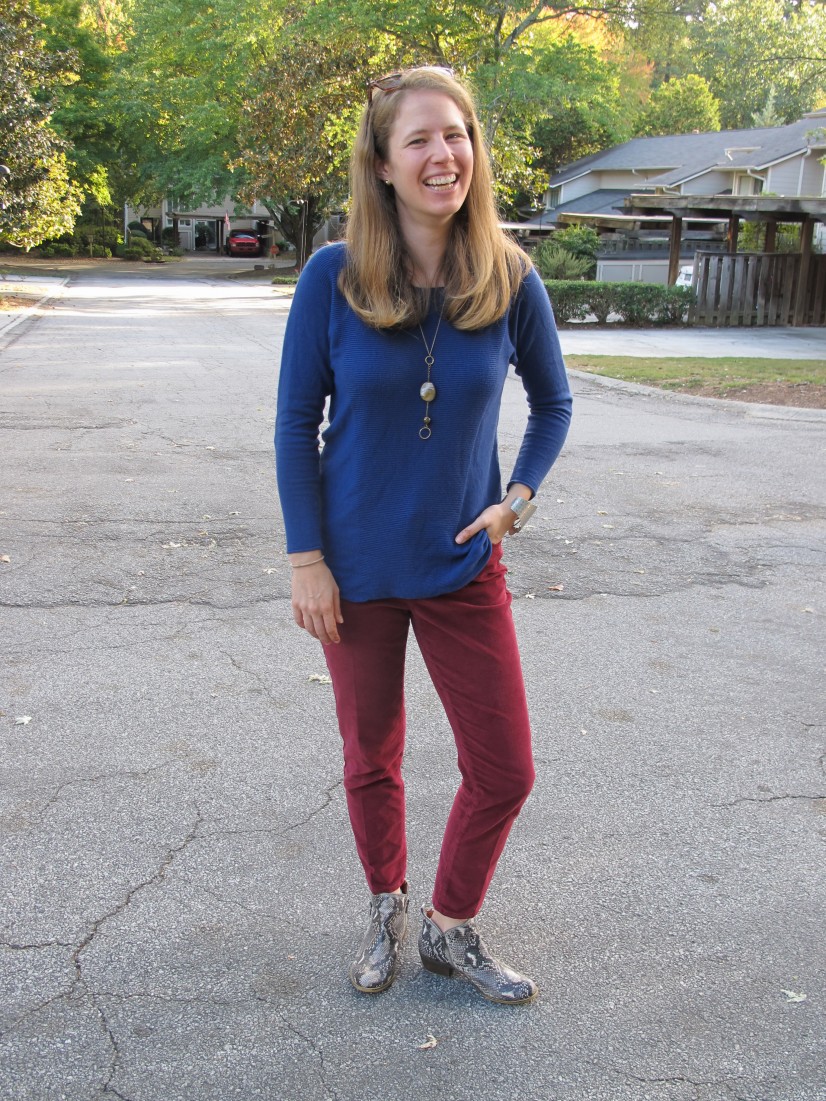
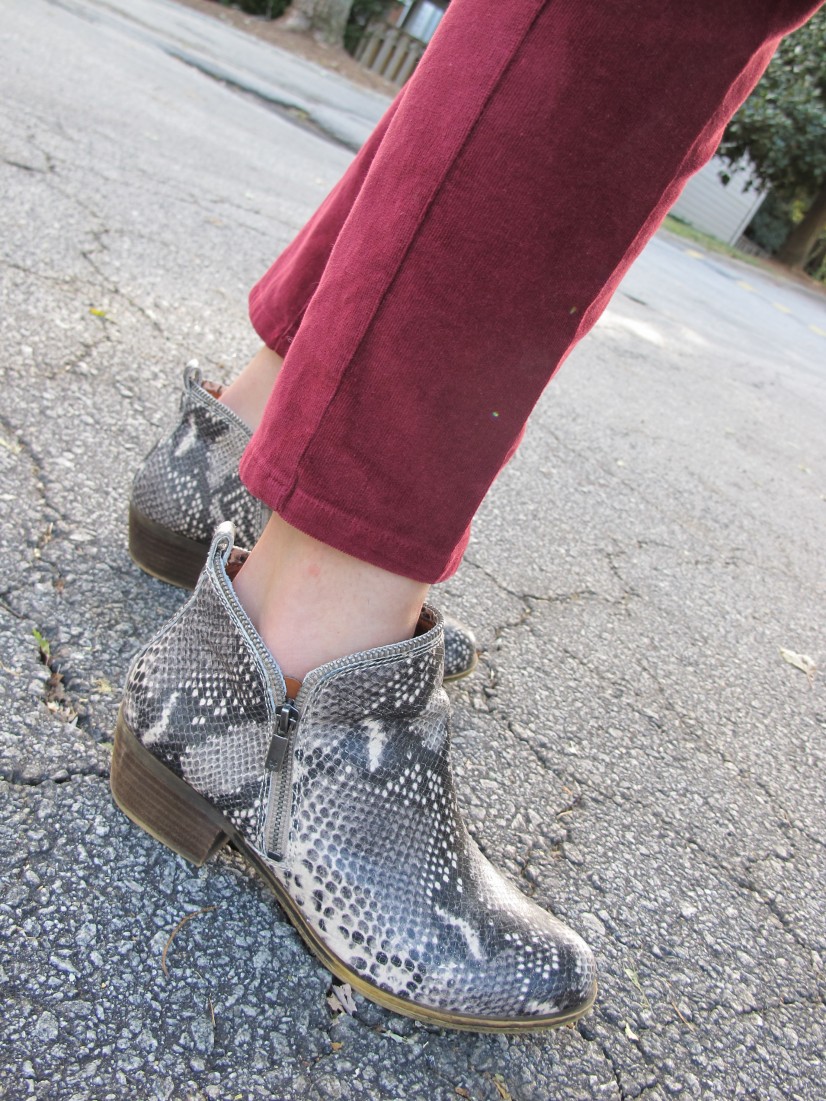
They fit!  Well, they fit in the waist and had a nice high rise, although a belt may be necessary; but they are too short in the leg for my normal taste.  HOWEVER they are the perfect length for wearing with ankle boots without having to cuff/tuck/overlap:

img_4508

img_4513

I also picked up this Joan Vass top which is a perfect fit for my wardrobe for reasons I’ll write about next week.  This outfit would have read a lot more neutral/monochrome with grey pants or cream pants, but instead the red changes things up completely.  It’s able to bring a little fall to those green green trees you see in the background…10 days into October.  Not complaining though!

img_4505
Giving the photographer that “quit making me do weird facial expressions” look.

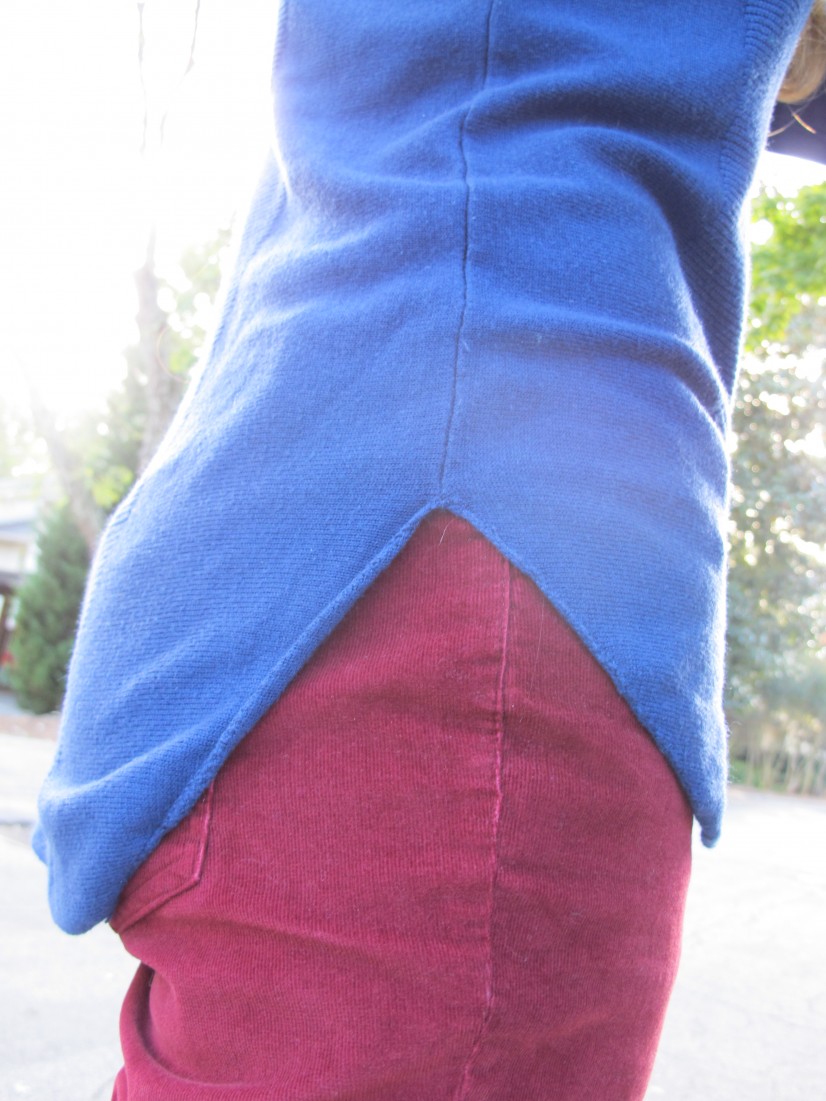
The split hem draws attention to the two colors playing off each other:

img_4515

Which I gotta do whenever I can since even my necklaces are neutral:

img_4512

Top: Joan Vass Studio, thrifted
Pants: Style & Co., thrifted
Ankle boots: Lucky Brand, Christmas gift
Necklace: DIY from thrifted parts


That’s the saga of adding some color to my neutral-heavy winter wardrobe – and for now, I think it’s enough.  I can’t wait to pair these pants with almost infinite top/cardigan combinations since they will all work together.  I’m looking forward to painting the nails when it gets well and truly cold – that color’s a little dramatic for fall.  And I’m excited to try that scarf out with my white sheath dress – or what else?  Scroll down with suggestions!

If you’d like some more ideas about adding color to your neutral closet, check out this series (link goes to the oldest in the series) and this series (link goes to the newest post in series) over at The Vivienne Files.  I hope my post convinces you that you don’t need to go out and buy a bunch of stuff (thrifted or not) to enliven your wardrobe; Janice’s visual magic might help you envision how one or two pieces could make what you already have really pop.


If you have a neutral-heavy wardrobe, do you ever feel the desire for some COLOR?  If so, how do you mix it in?


What I Wore & My Secret Weapon for Keeping My Wardrobe Focused

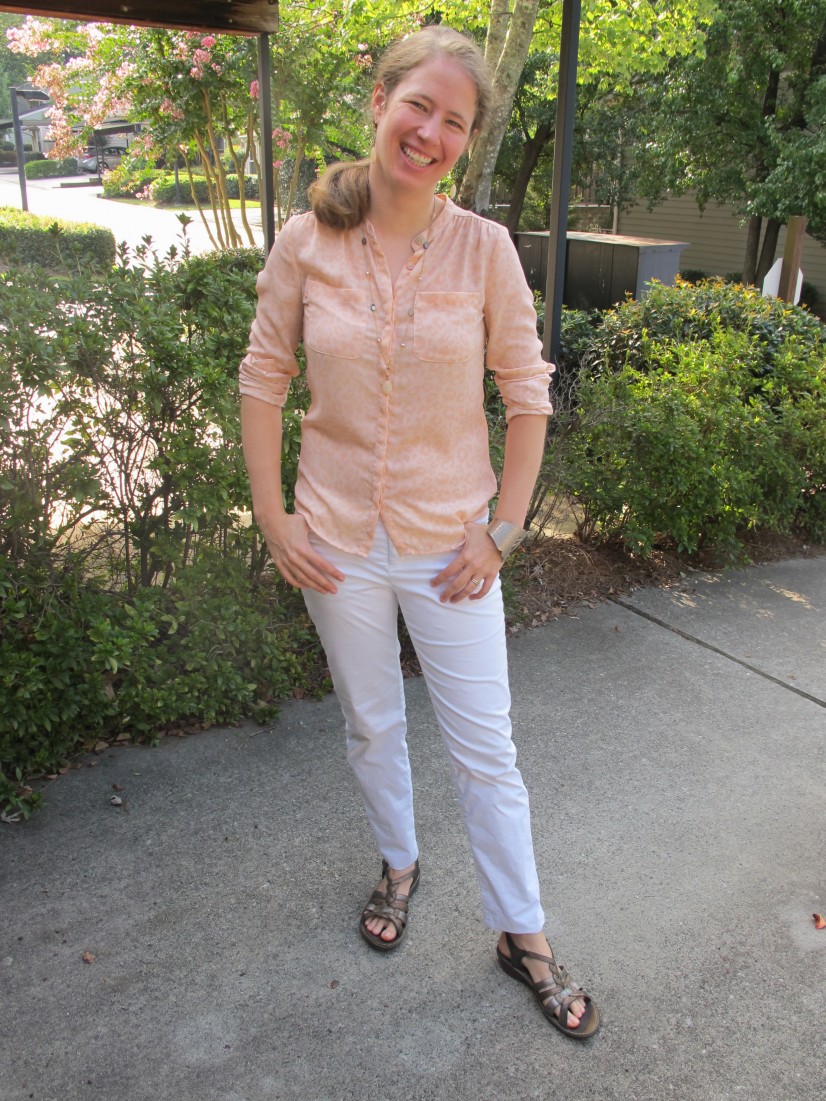
A quick What I Wore from our long weekend here in the states:

IMG_4197

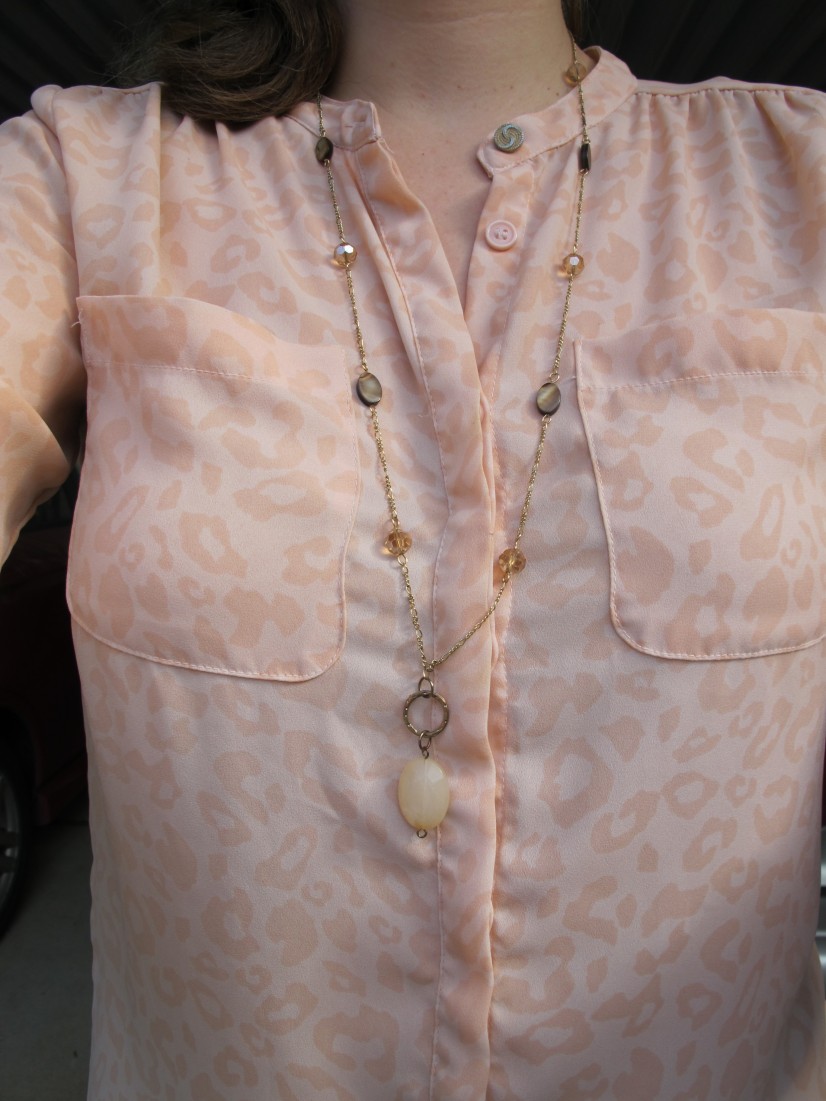
I don’t typically wear necklaces over button-downs, but it seemed to work here – something about the delicate nature of the necklace and the way the leopard pattern broke up the strong lines of the shirt:

IMG_4194

Speaking of leopard, turns out I do own a leopard-print top…but in such a subtle, almost gentle color combo that it still does not solve my leopard conundrum.  (More on this later in the month.)

Top: Forever 21, thrifted
Pants: Banana Republic, thrifted
Sandals: Clarks, gift from family
Necklace, earrings: DIYed from thrifted parts


And now, as advertised, my secret weapon for keeping my wardrobe in hand.
Continue reading “What I Wore & My Secret Weapon for Keeping My Wardrobe Focused”